
“All parts should go together without forcing. You must remember that the parts you are reassembling were disassembled by you. Therefore, if you can’t get them together again, there must be a reason. By all means, do not use a hammer.”
IBM Manual, 1925
In 2015, after a year working for LookingPoint, I decided that my old Dell desktop I had at home just wasn’t cutting it anymore. My Dell desktop and my Visio laptop had gotten me though years of school work, home work, and some light PC gaming, but it was time to move on. I had graduated college and landed a sweet IT job, so now it was time to graduate to the next level of gaming computer.
I had upgraded my PC about a hundred times over the years, but this would be the first time I got to build one from the ground up. The world was my oyster, and with out any restrictions I ended falling into the classic money pit issue. I decided to go all out and buy some extremely high priced components and ended up running out of budget before I could even turn it on. Classic example of a college kid who finally gets a job that pays a decent amount of money, goes and blows it all on something unnecessary.
Recently I started building it again, as its just been sitting here as a monument of failure. I am in a better spot financially so its time to finish what I started. Most of this build has been completed. You should be able to tell by the quality of photos what was old, and what is new.
CaseLabs Case Build
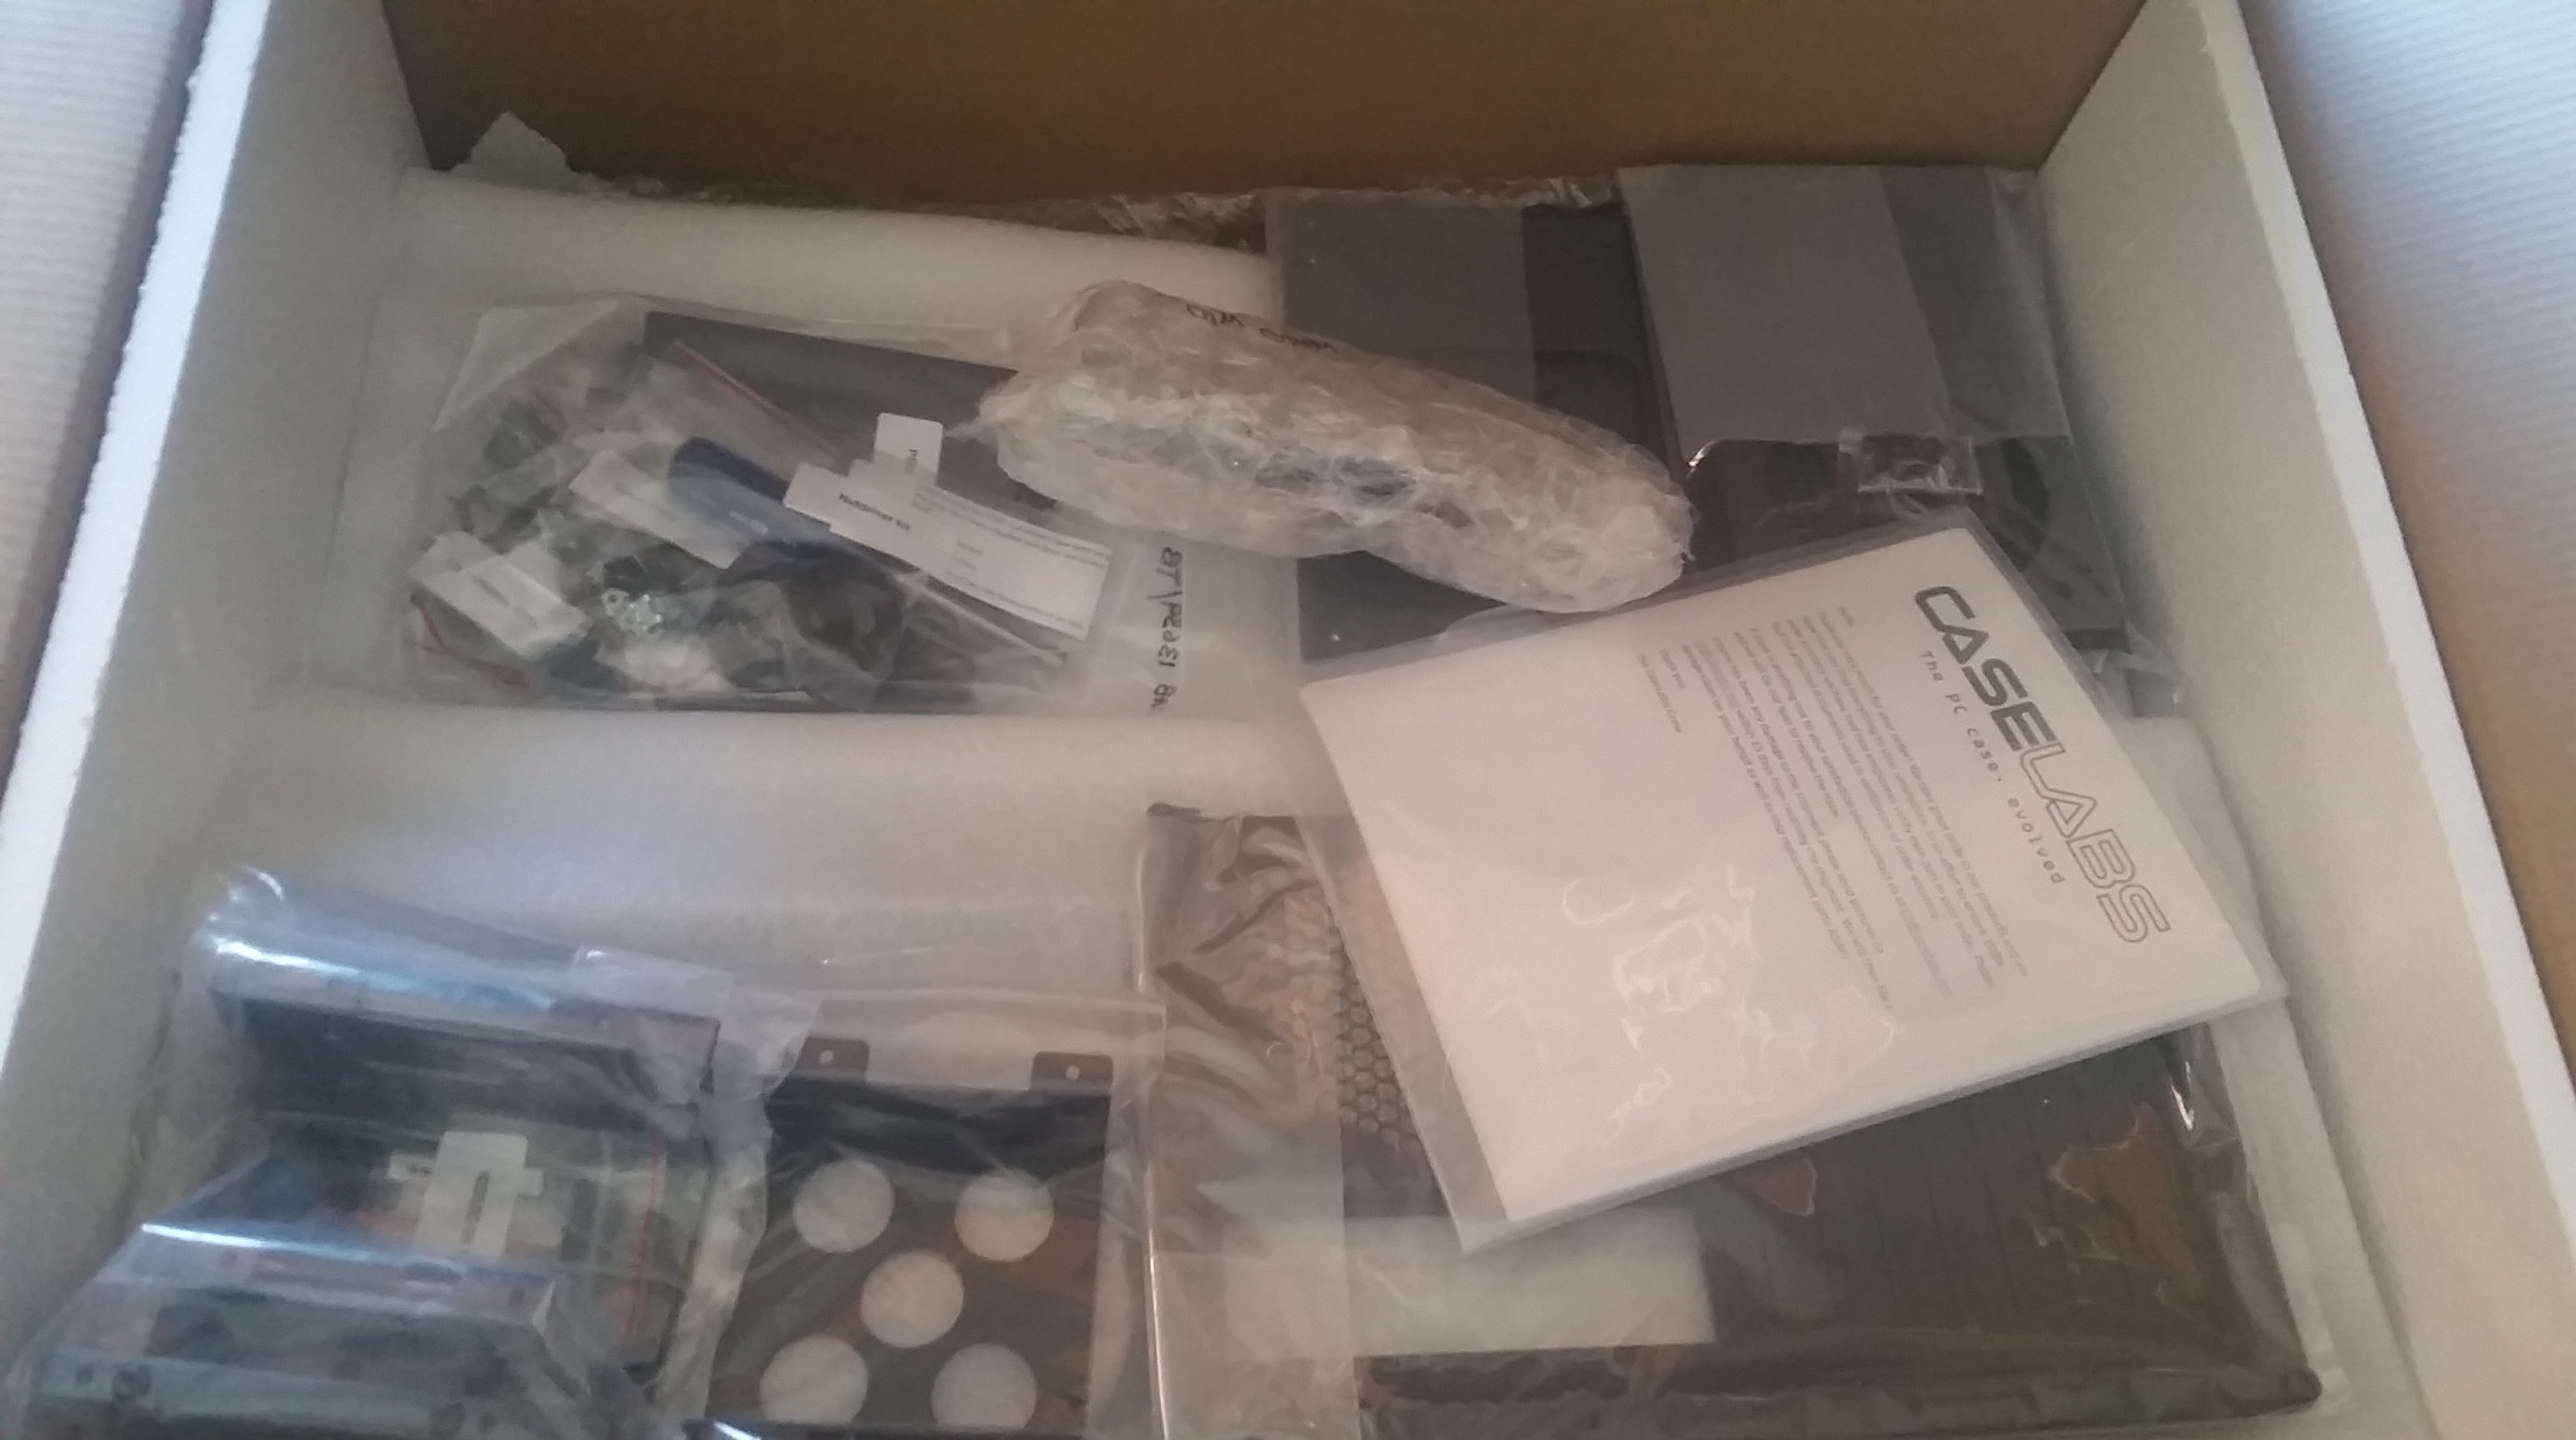
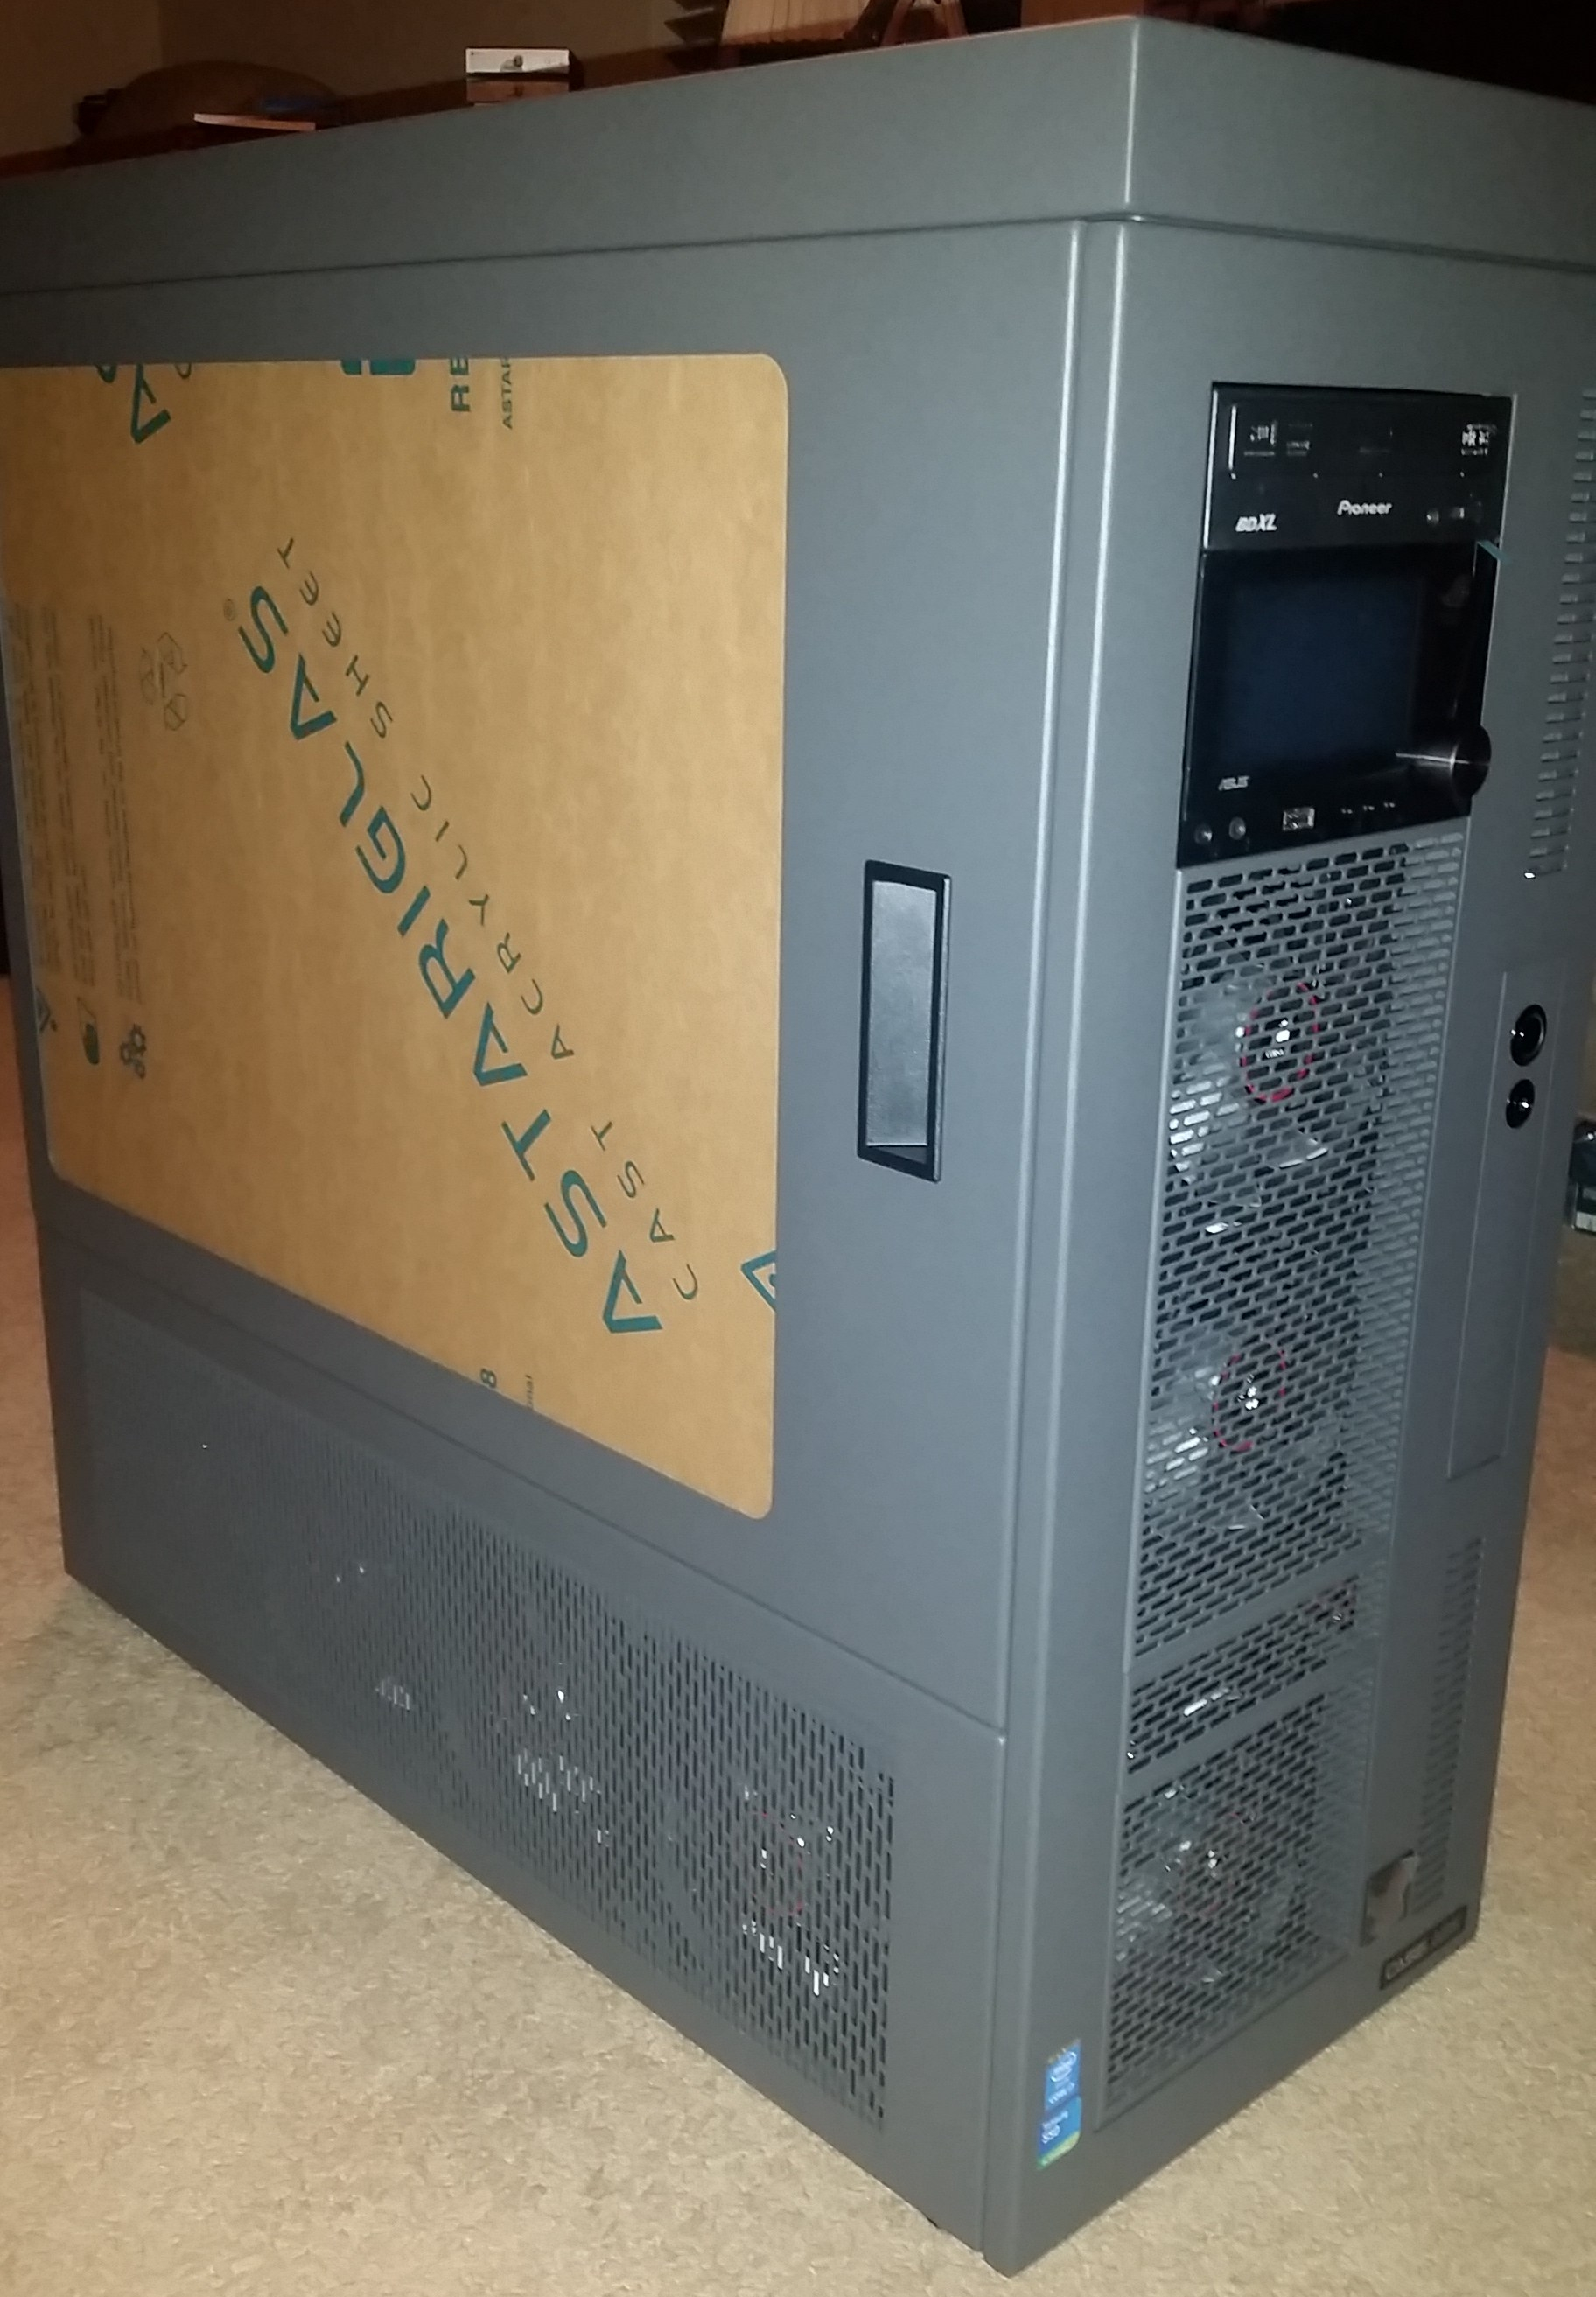
Originally my plan was to just buy a standard ATX tower to house my build, however my coworker at the time kept raving about CaseLabs cases (RIP). I fell in love with how creative the designs were and decided to pull the trigger.
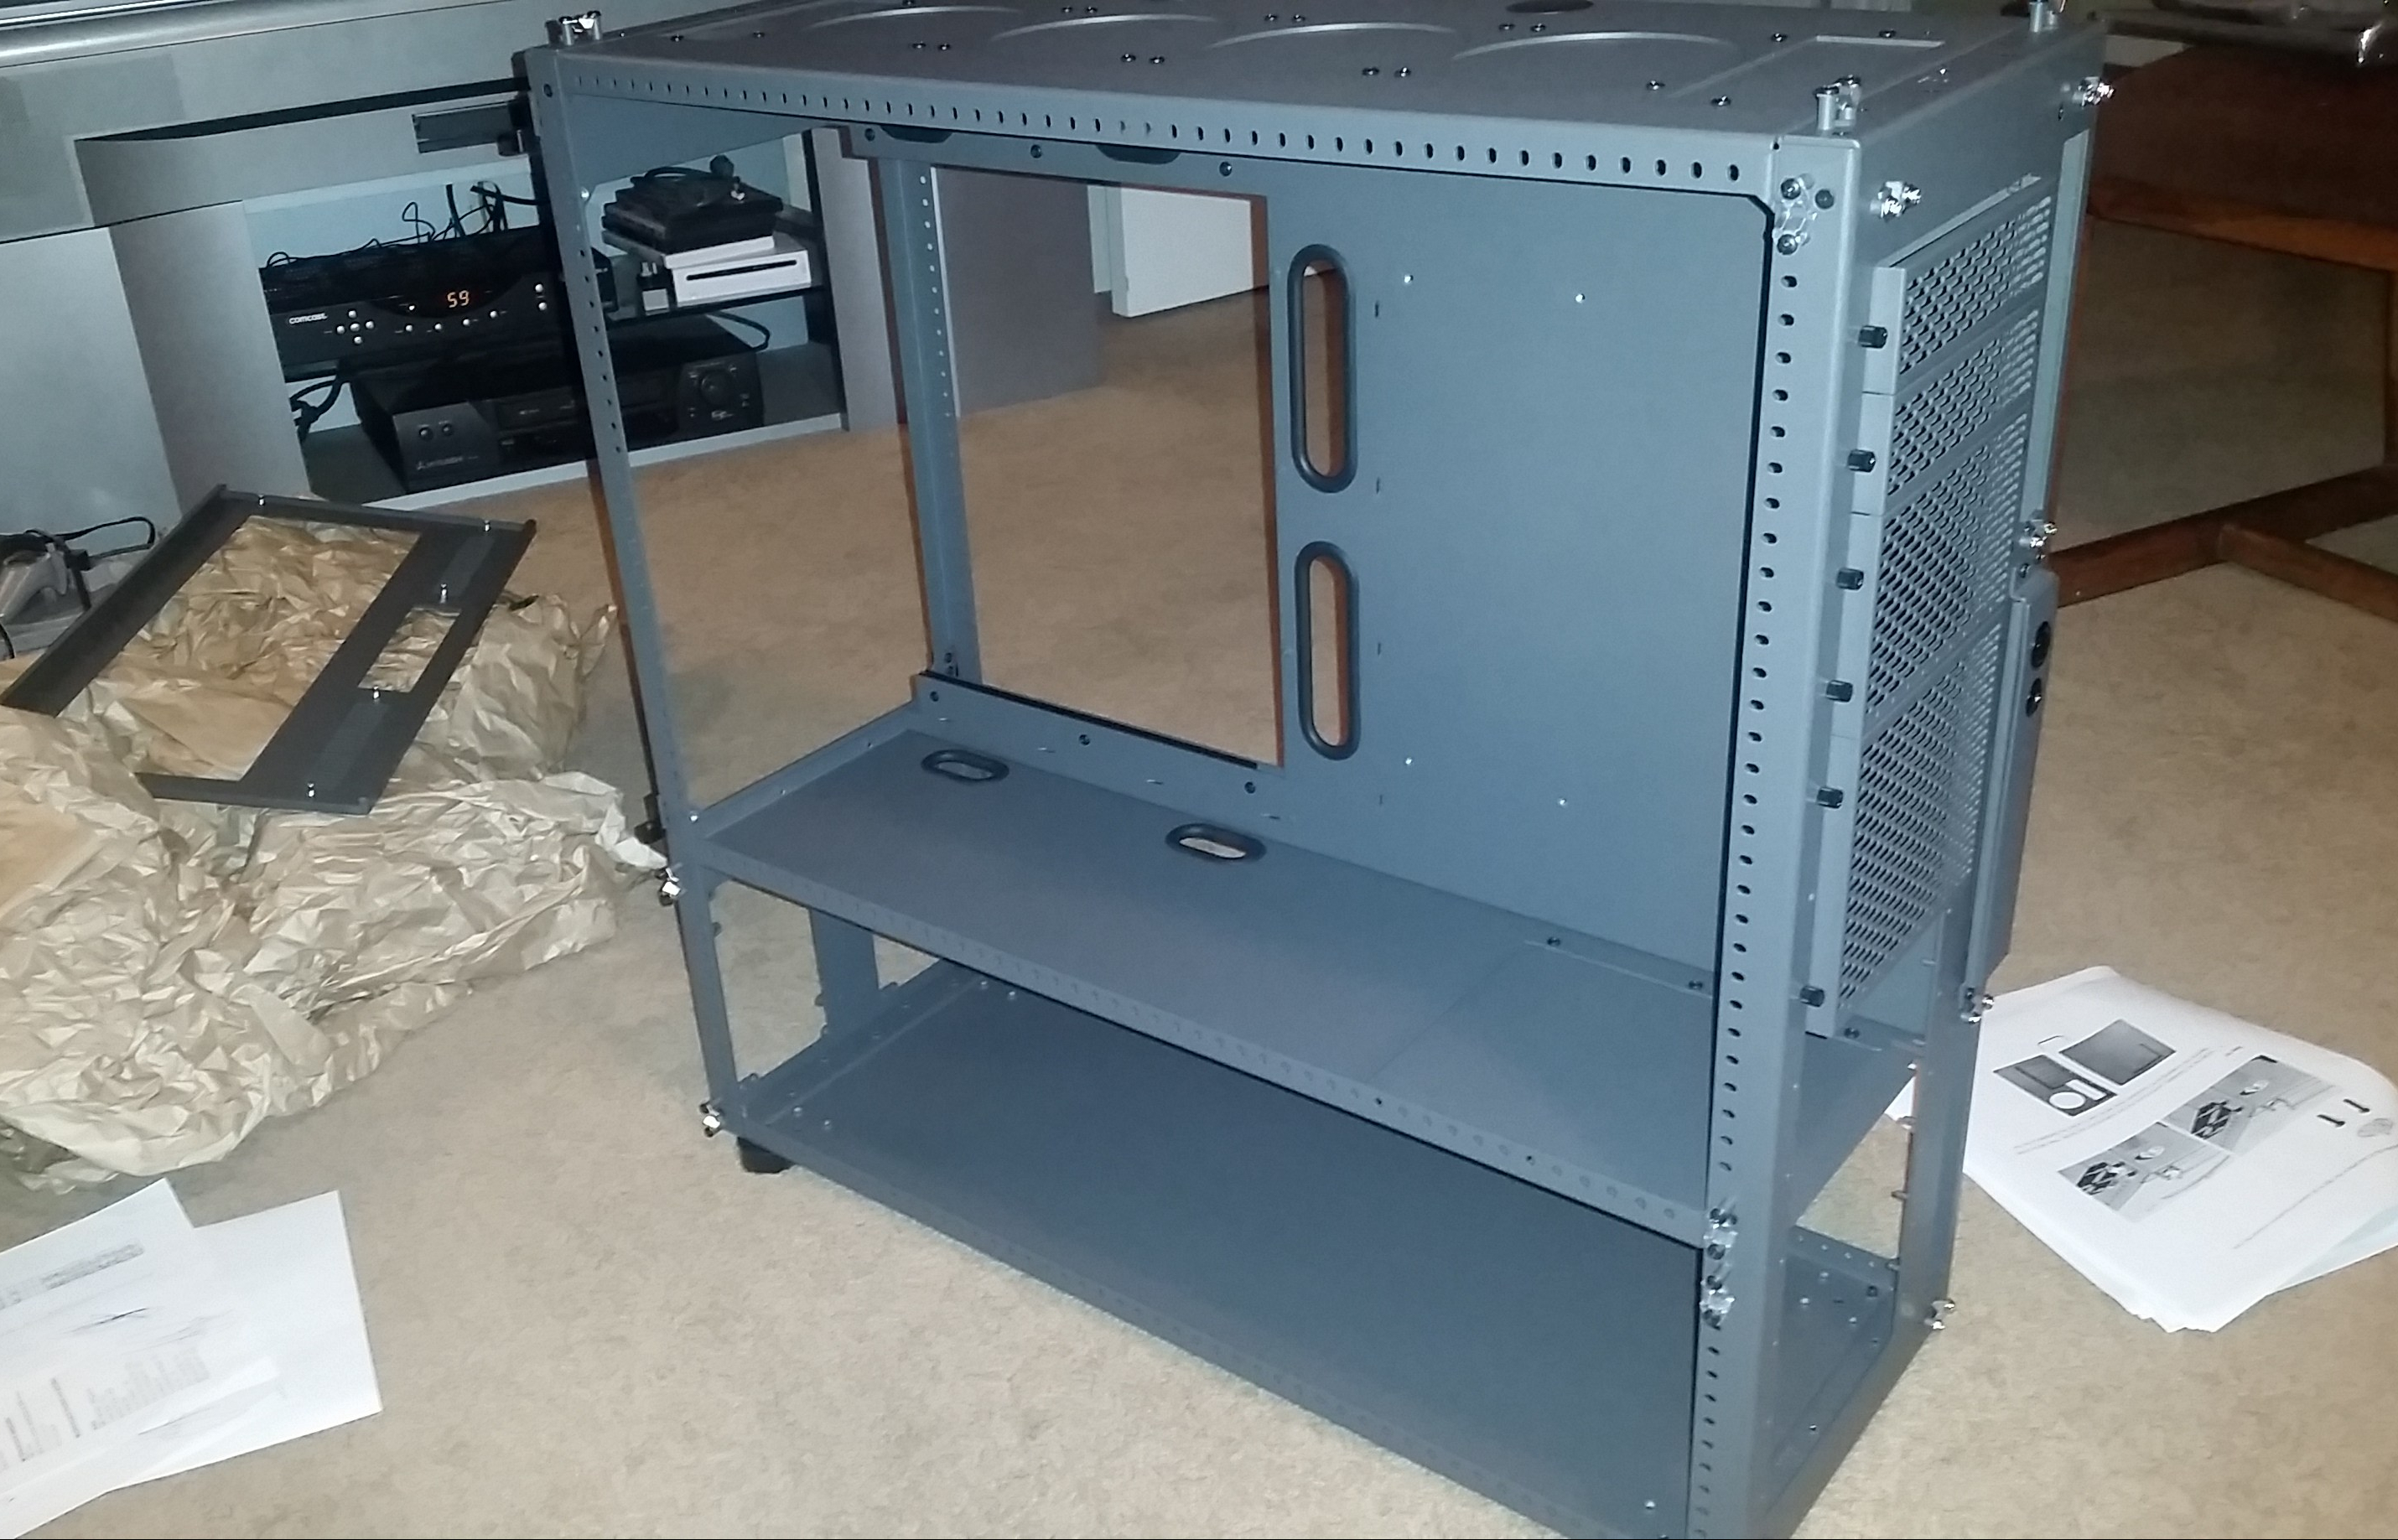
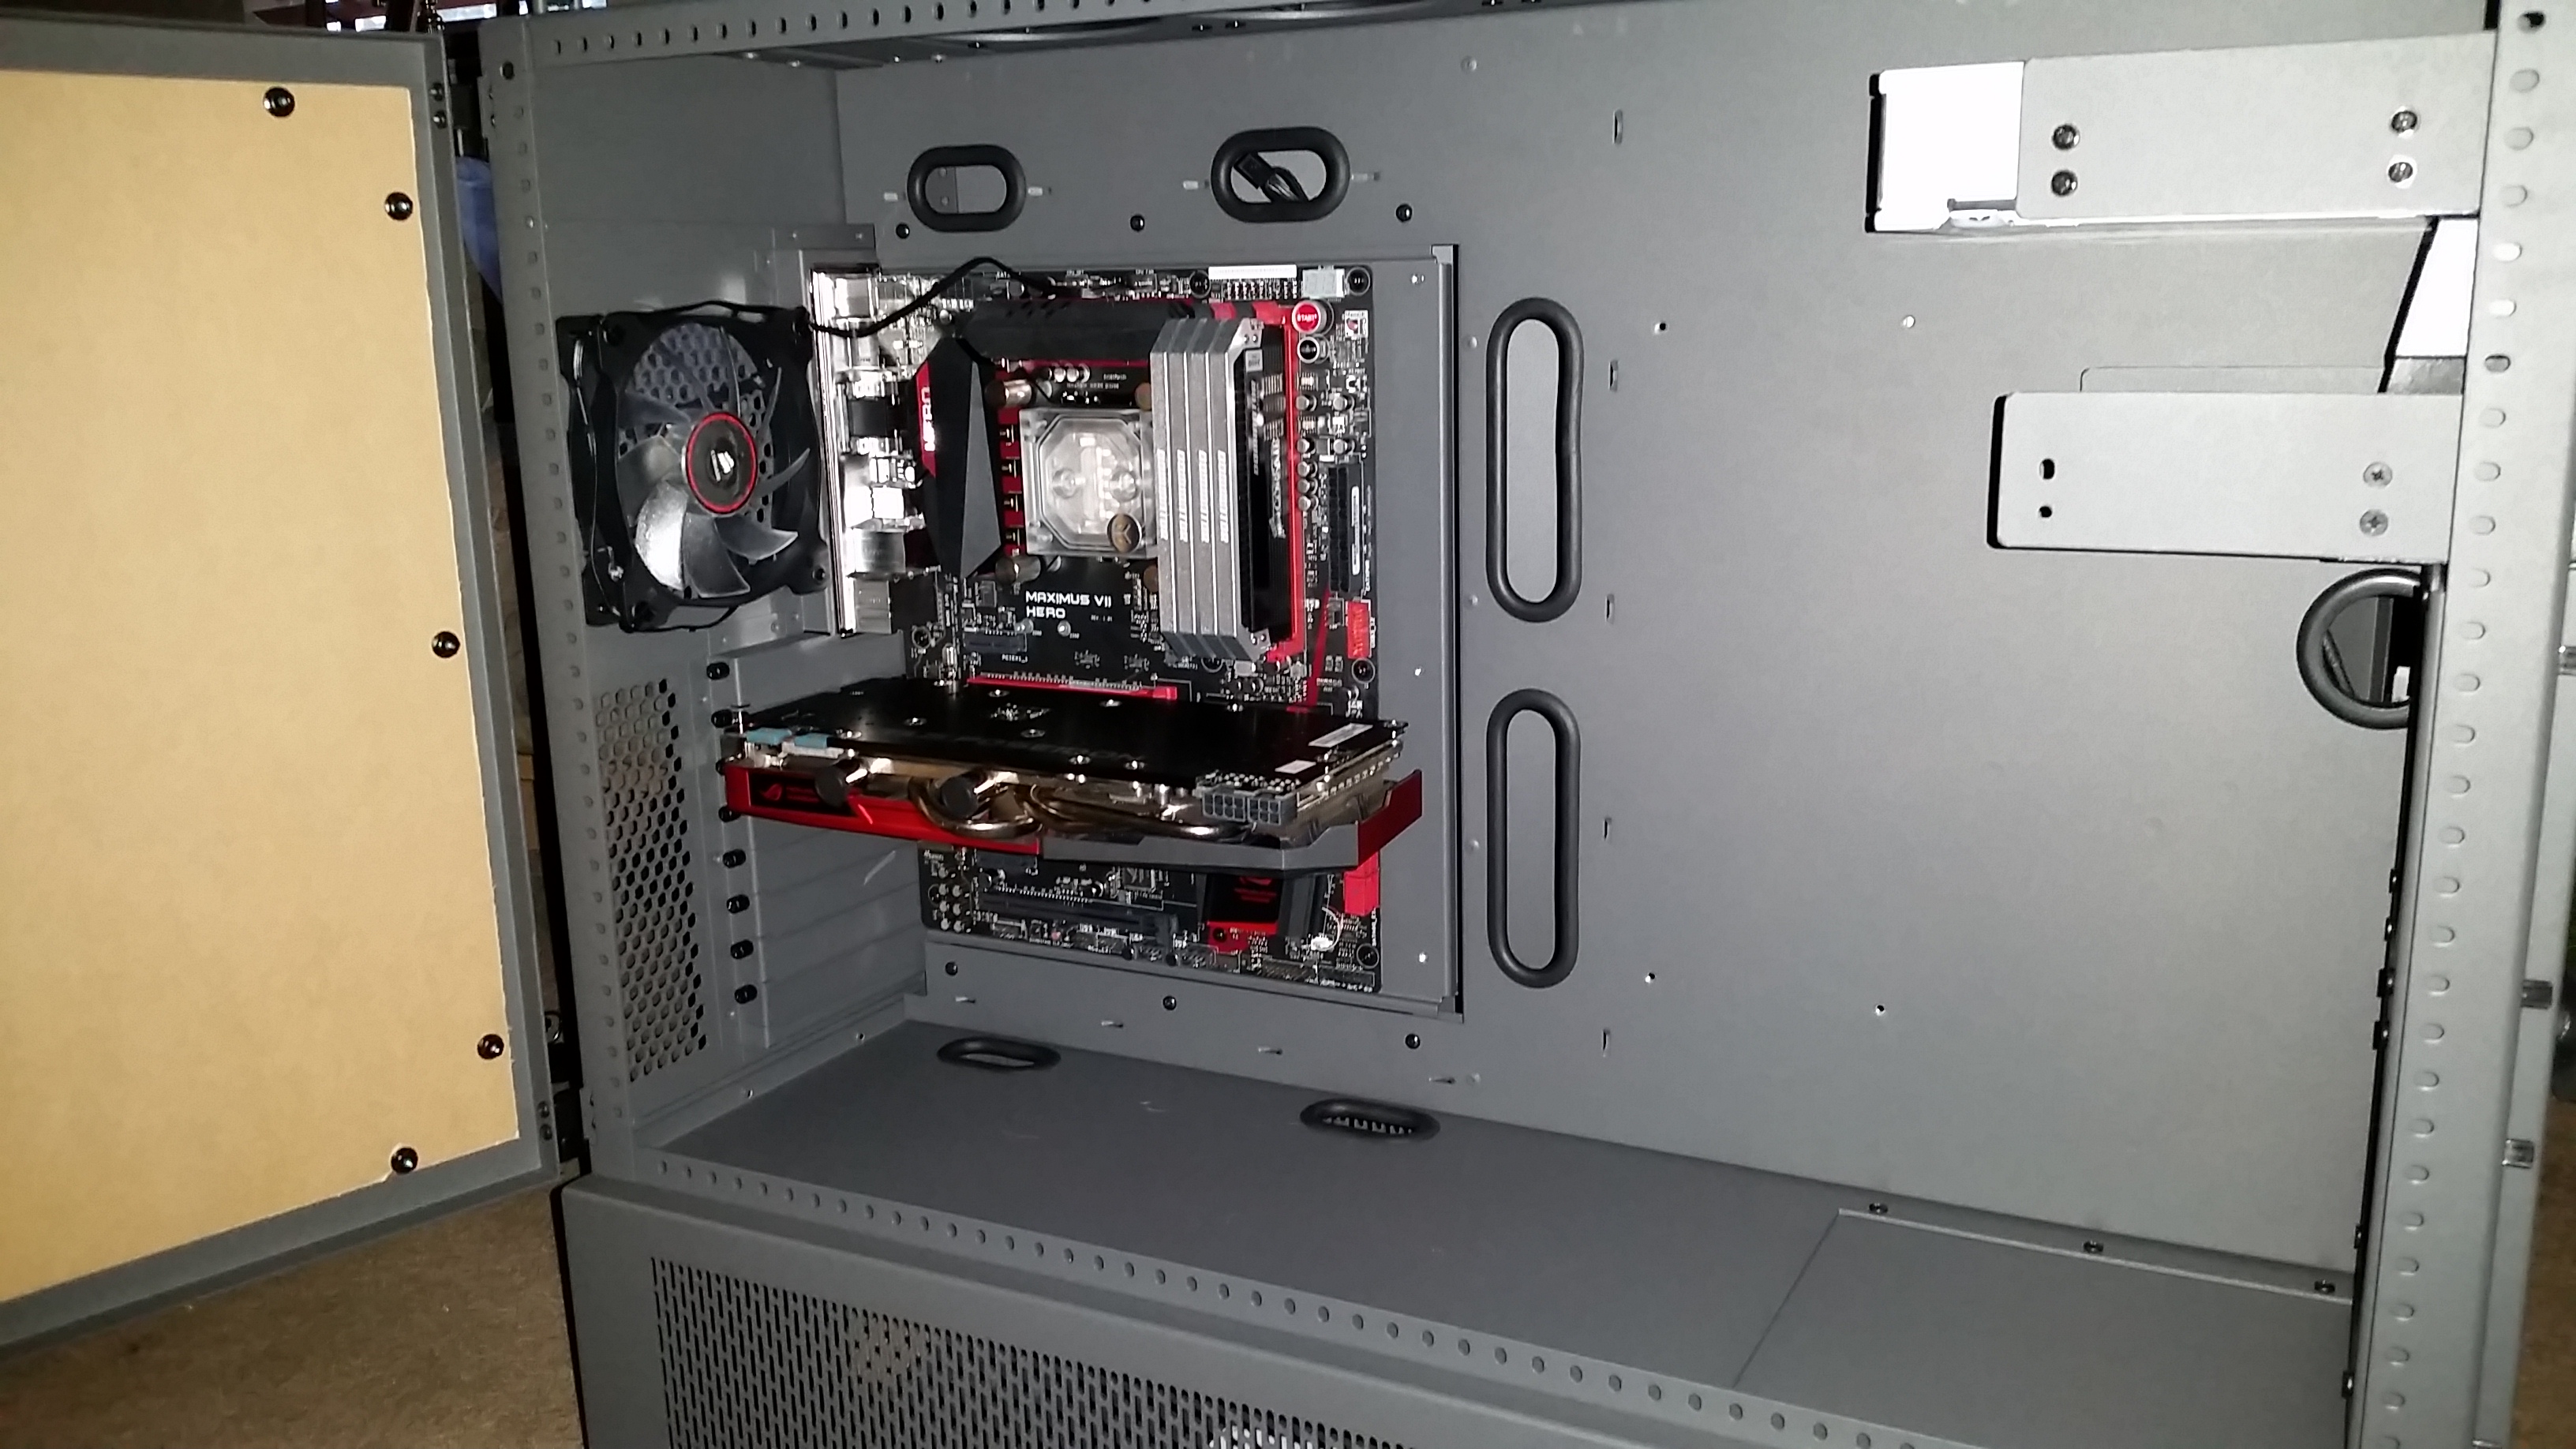
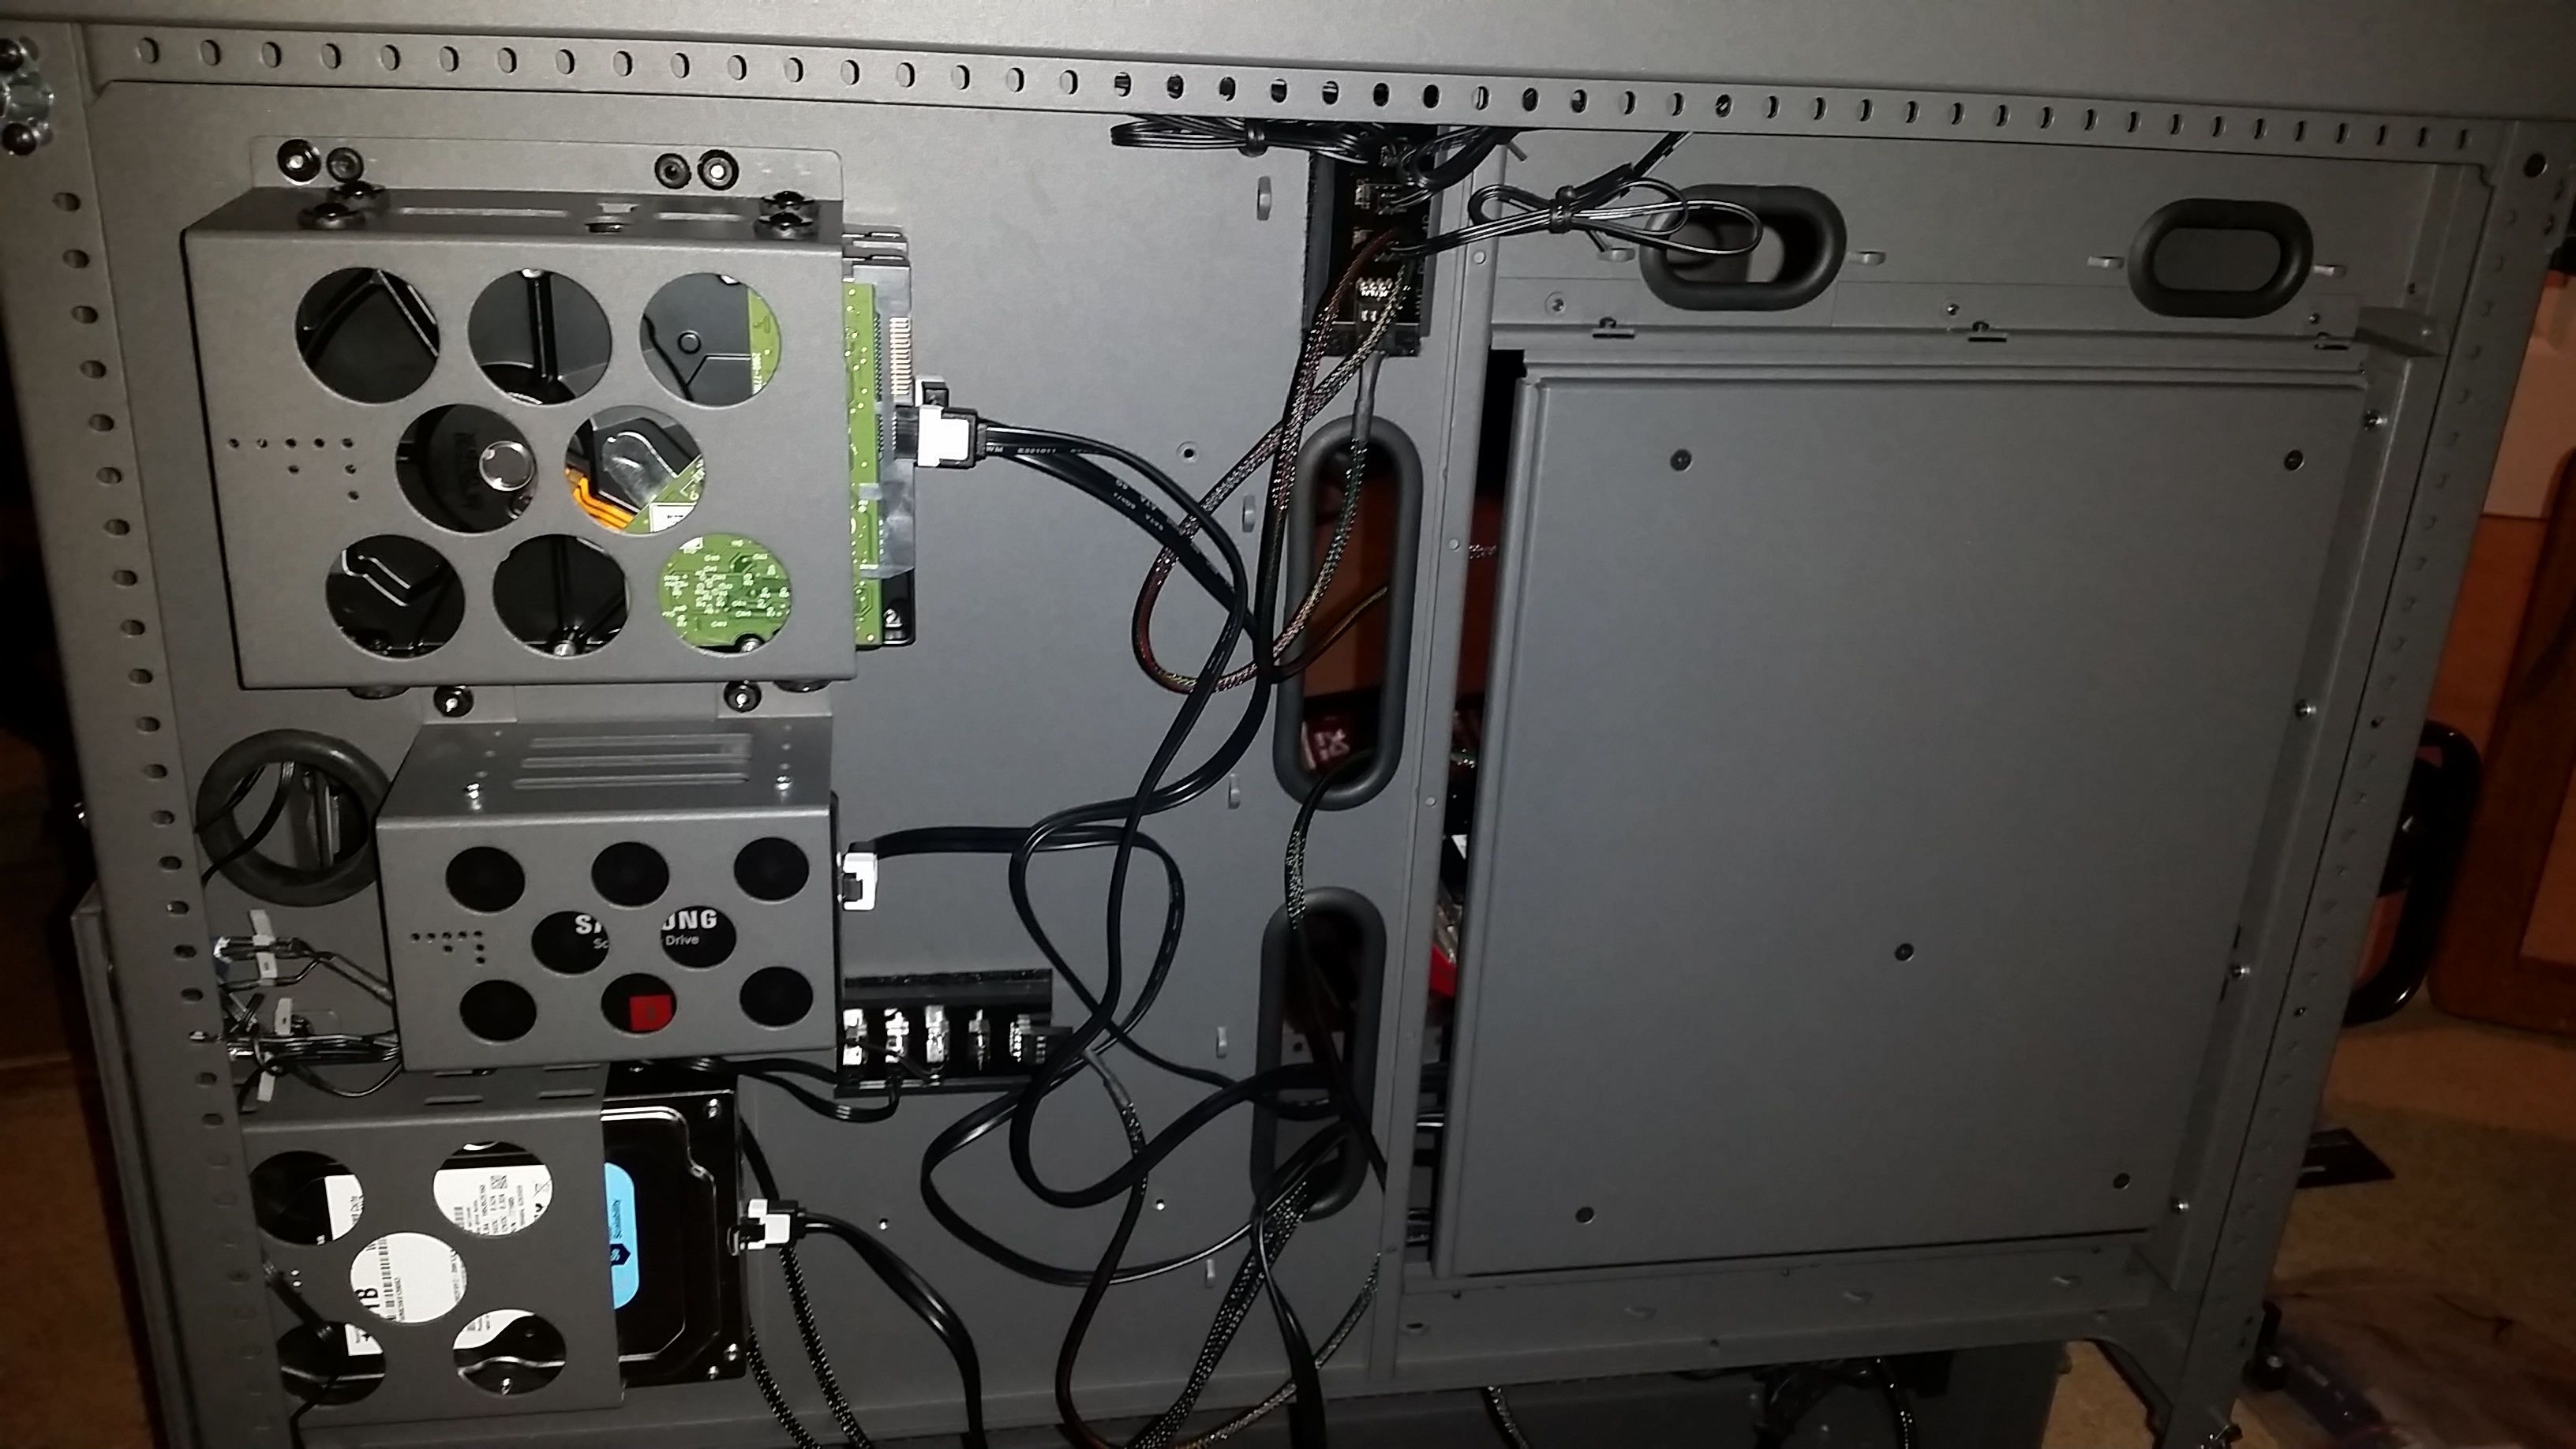
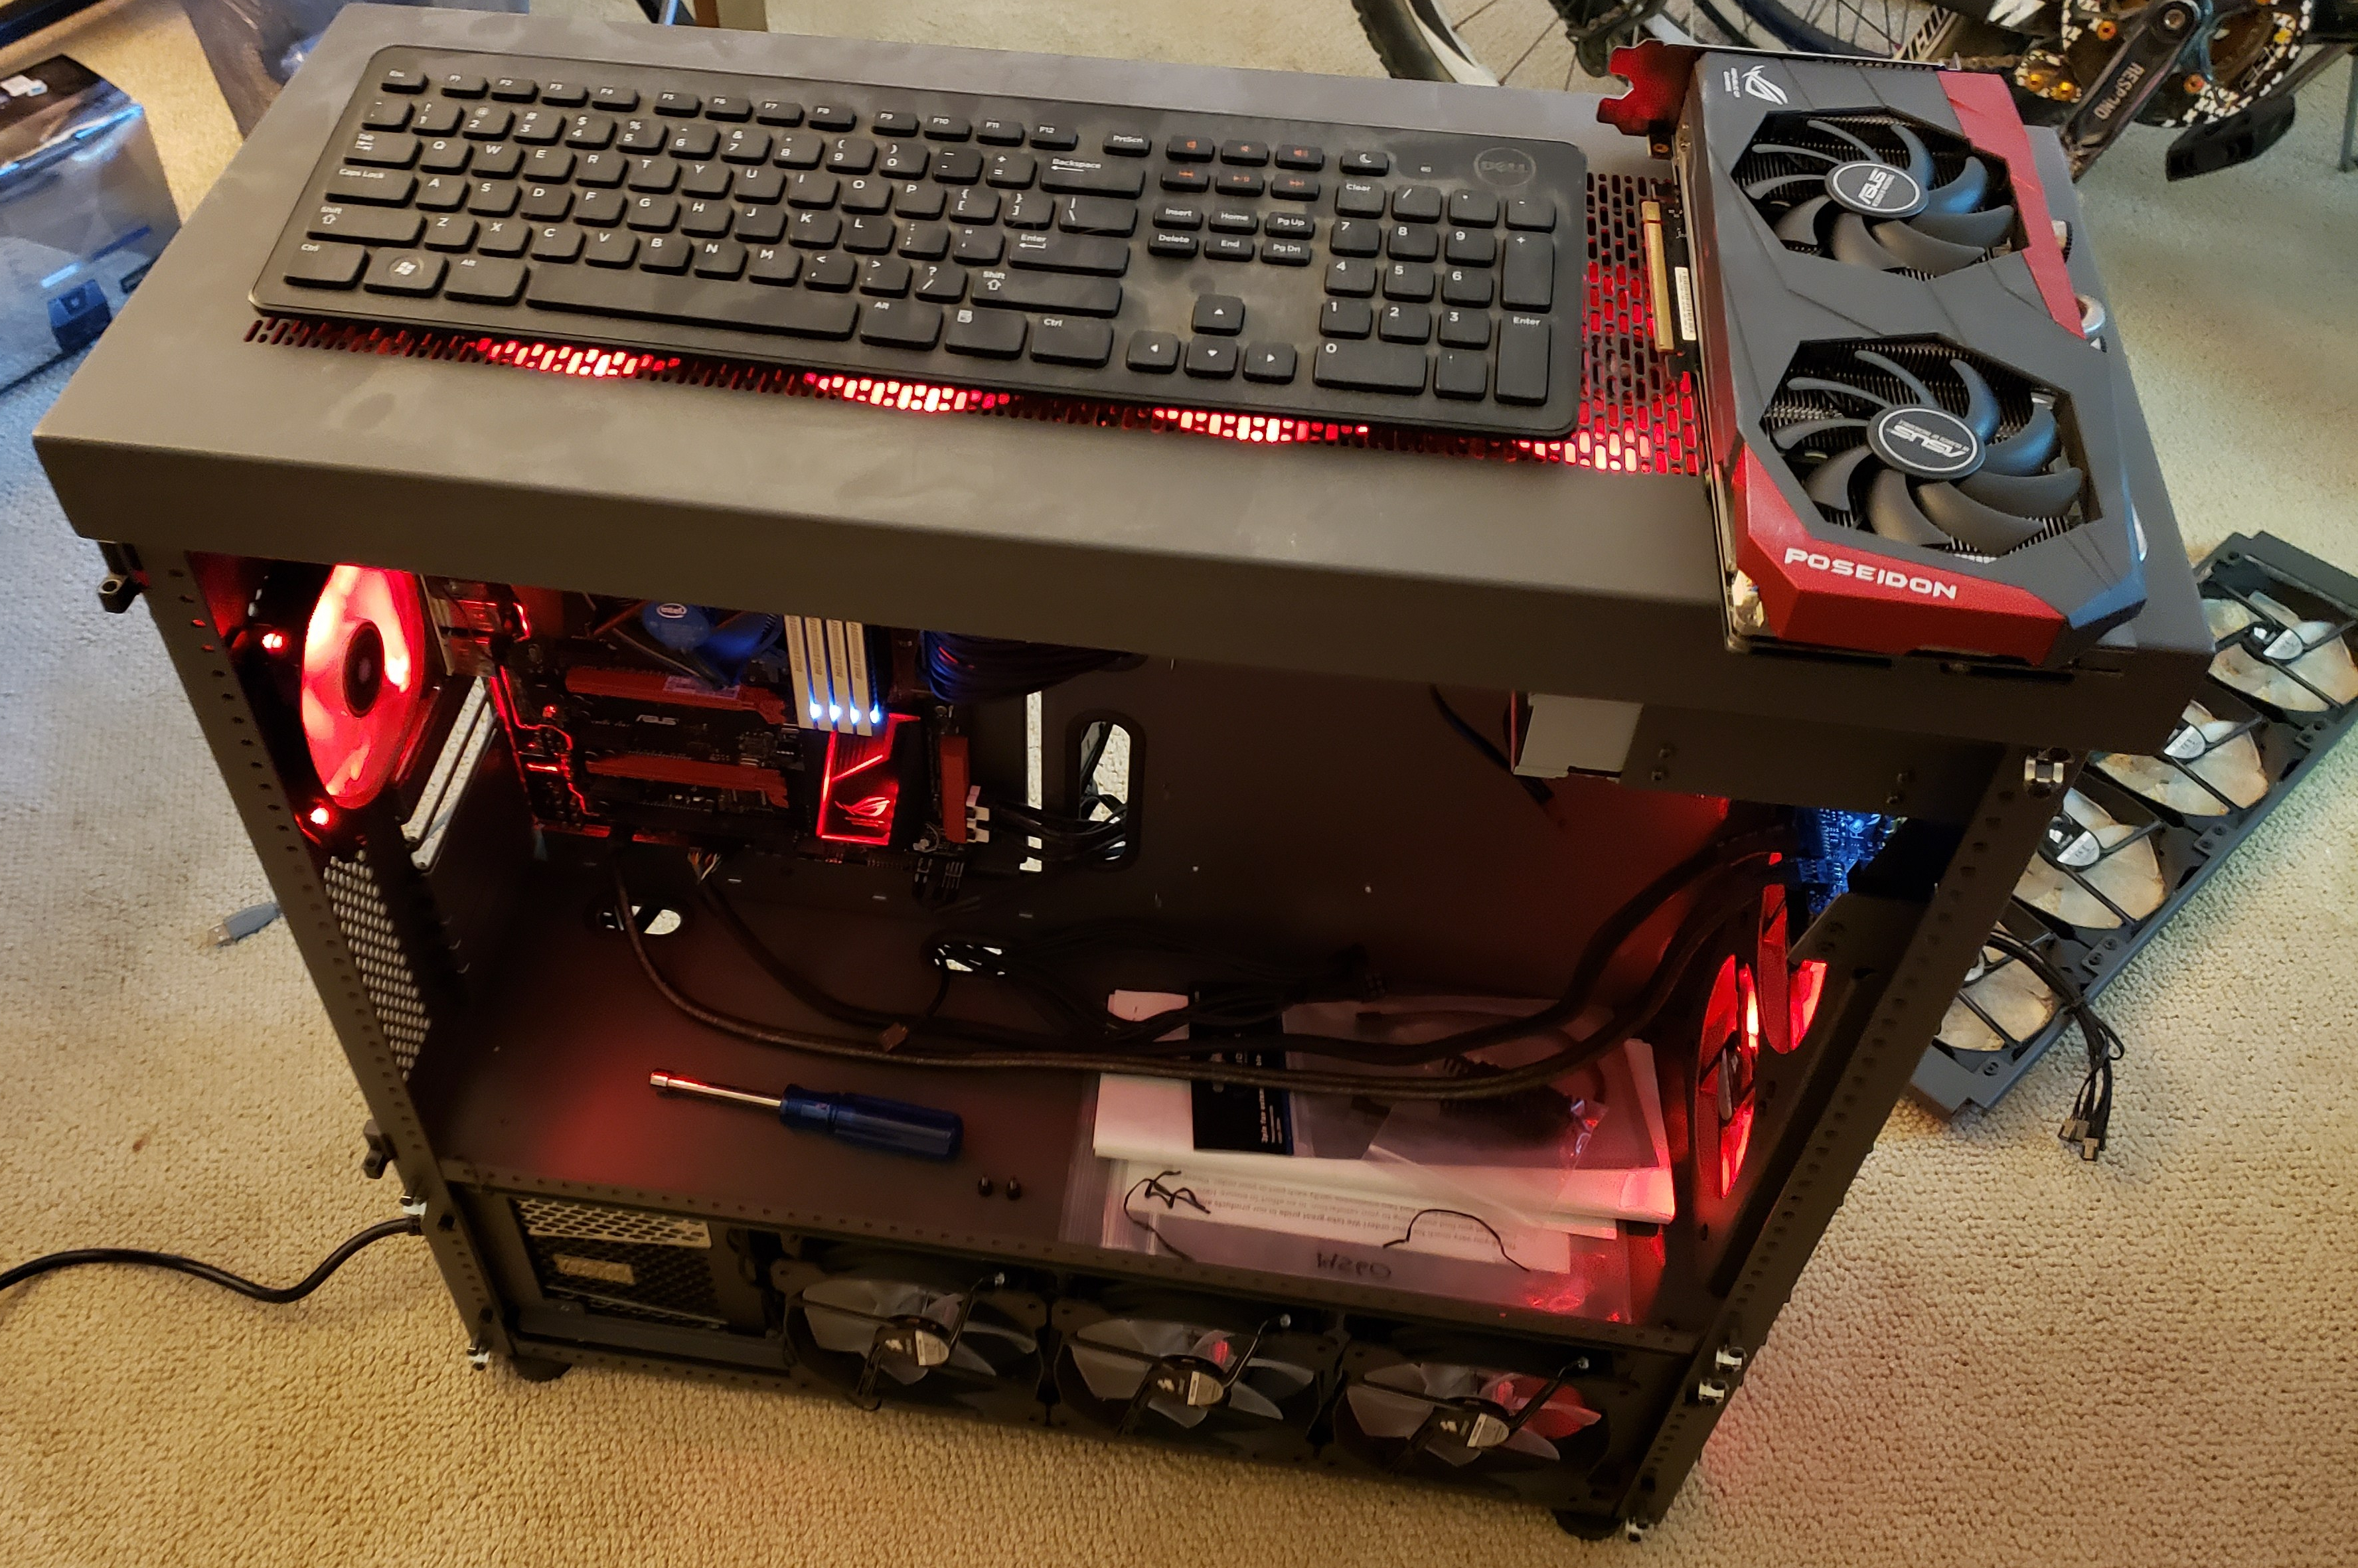
When the case was delivered at first I was excited, and then the horror of just how big this case is came over me. To say this is a huge case is an understatement. To give you perspective, the entire ATX motherboard fits in that square hole you see in the pictures.
I have sense realized what i had done, and am very pleased with the case. It has so much room that I do not need to worry about any of the water cooling components fitting.


Motherboard Install
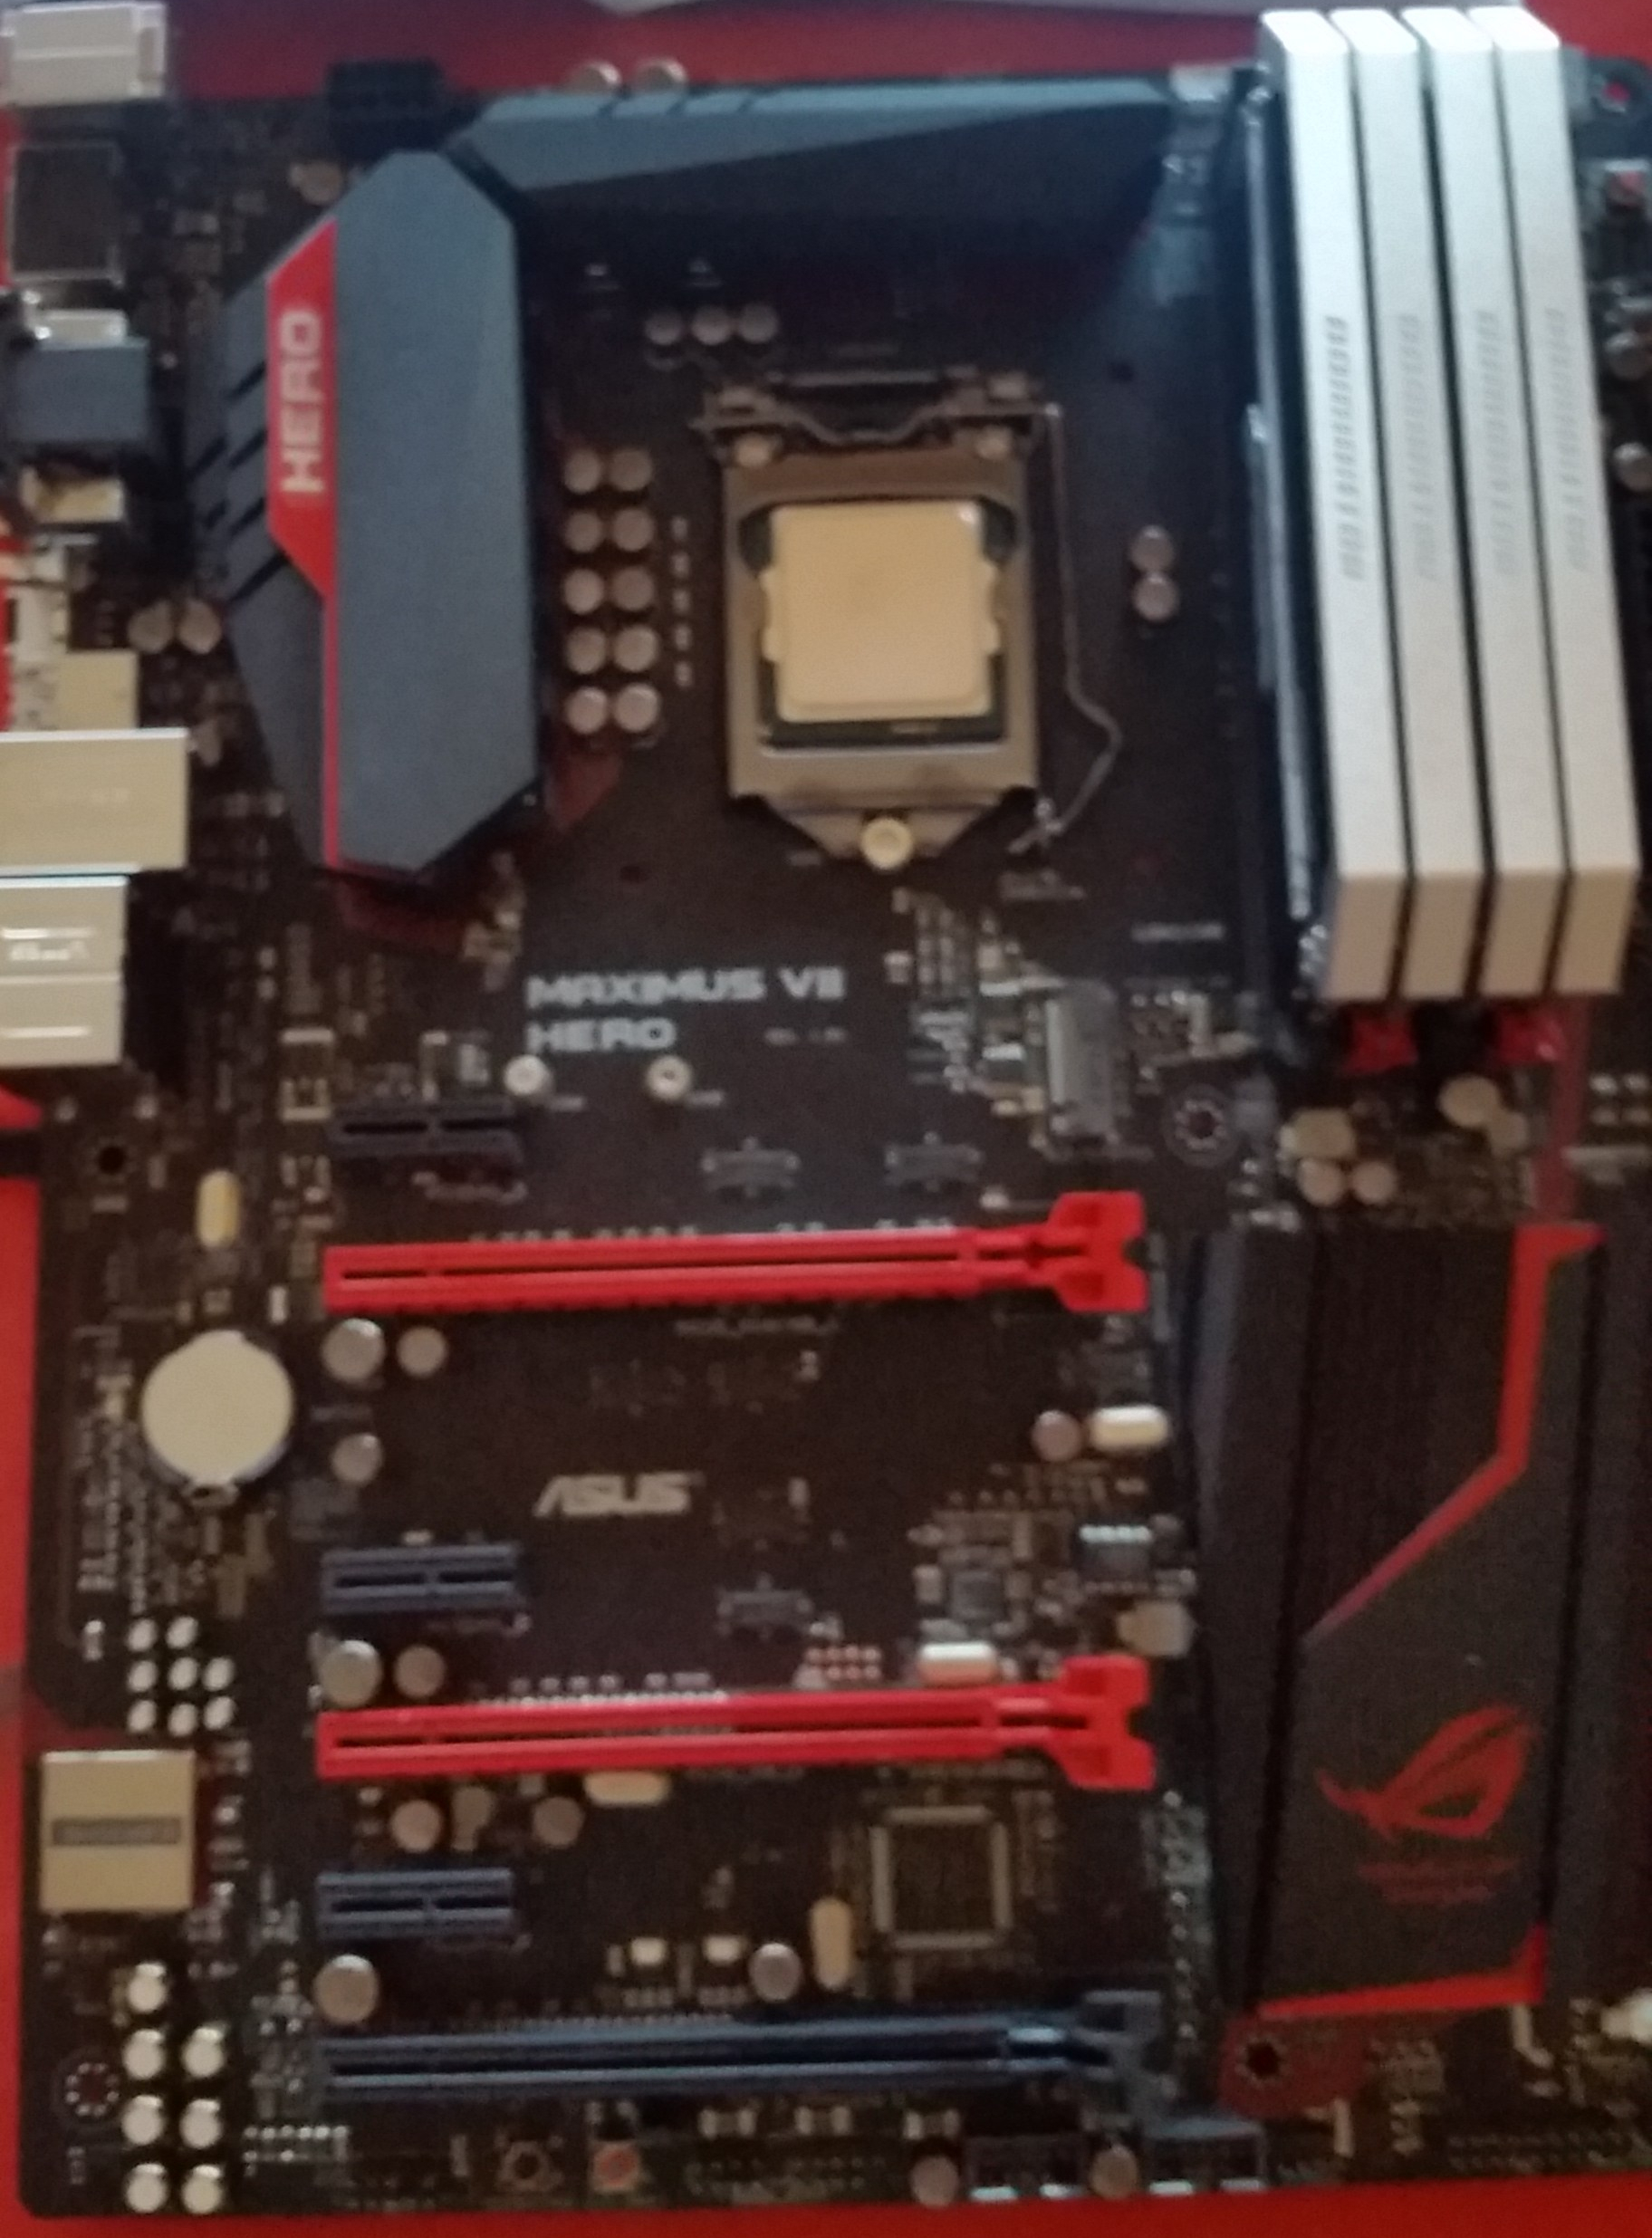
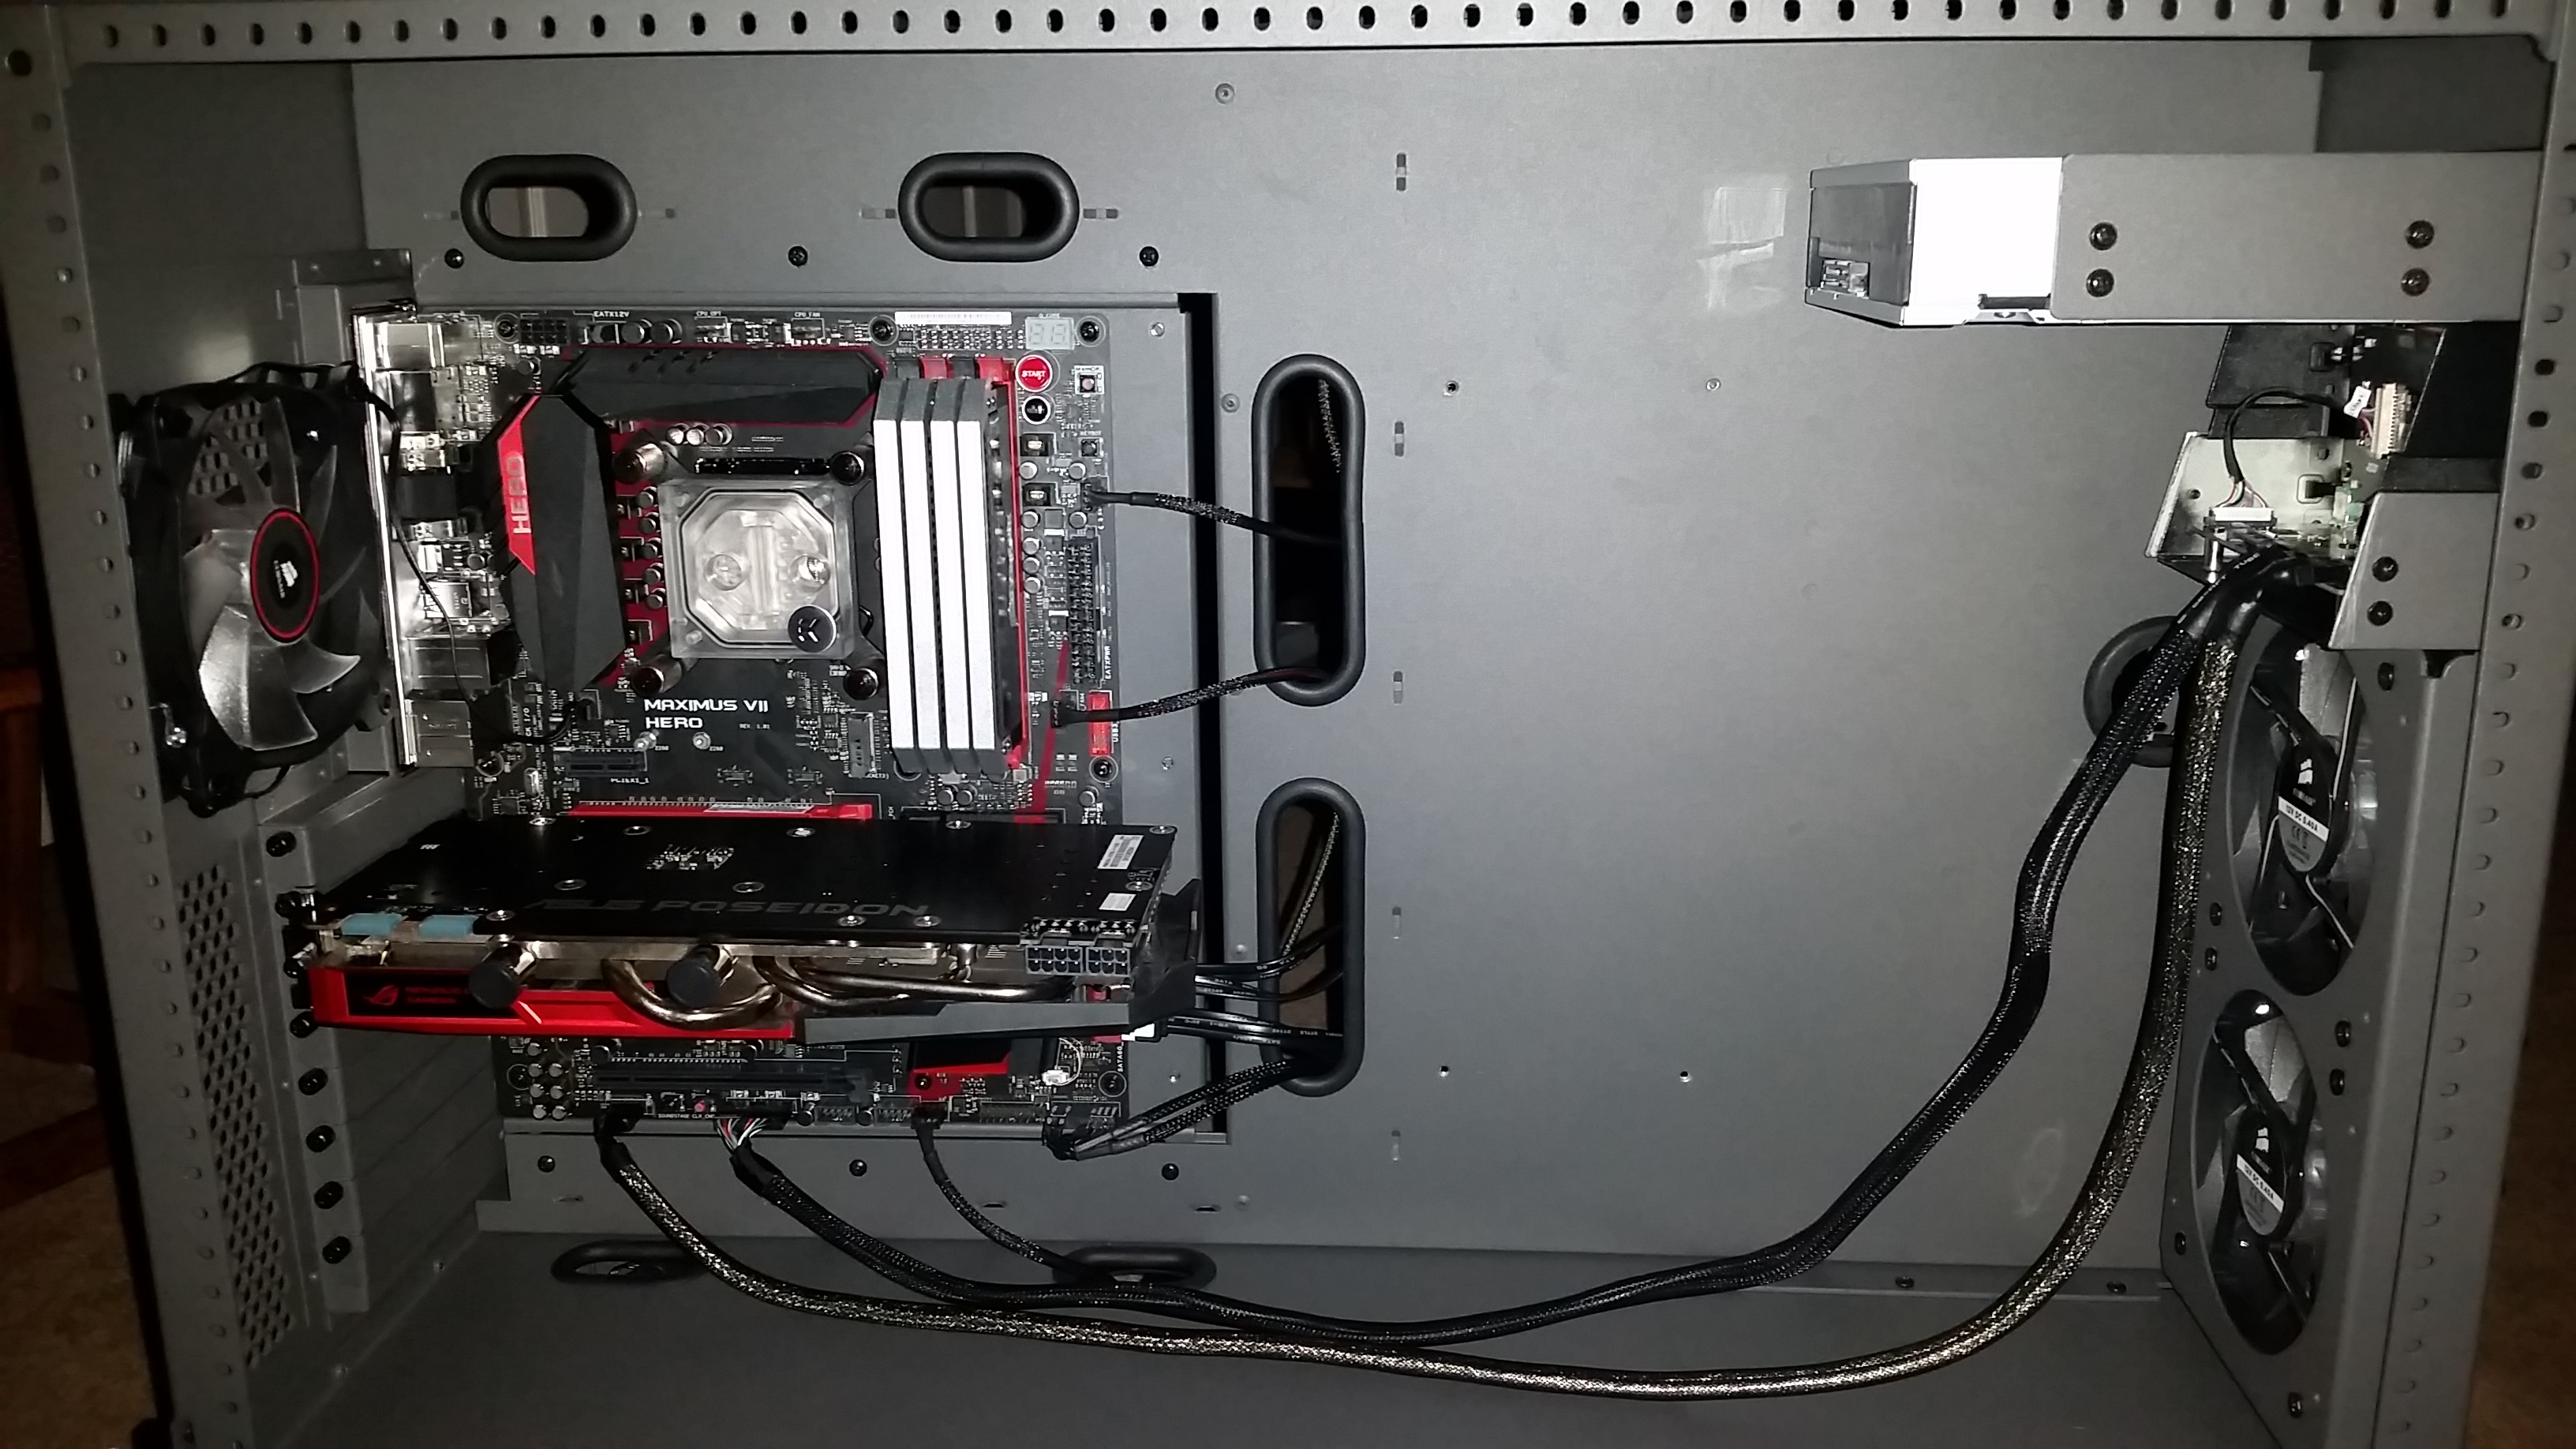
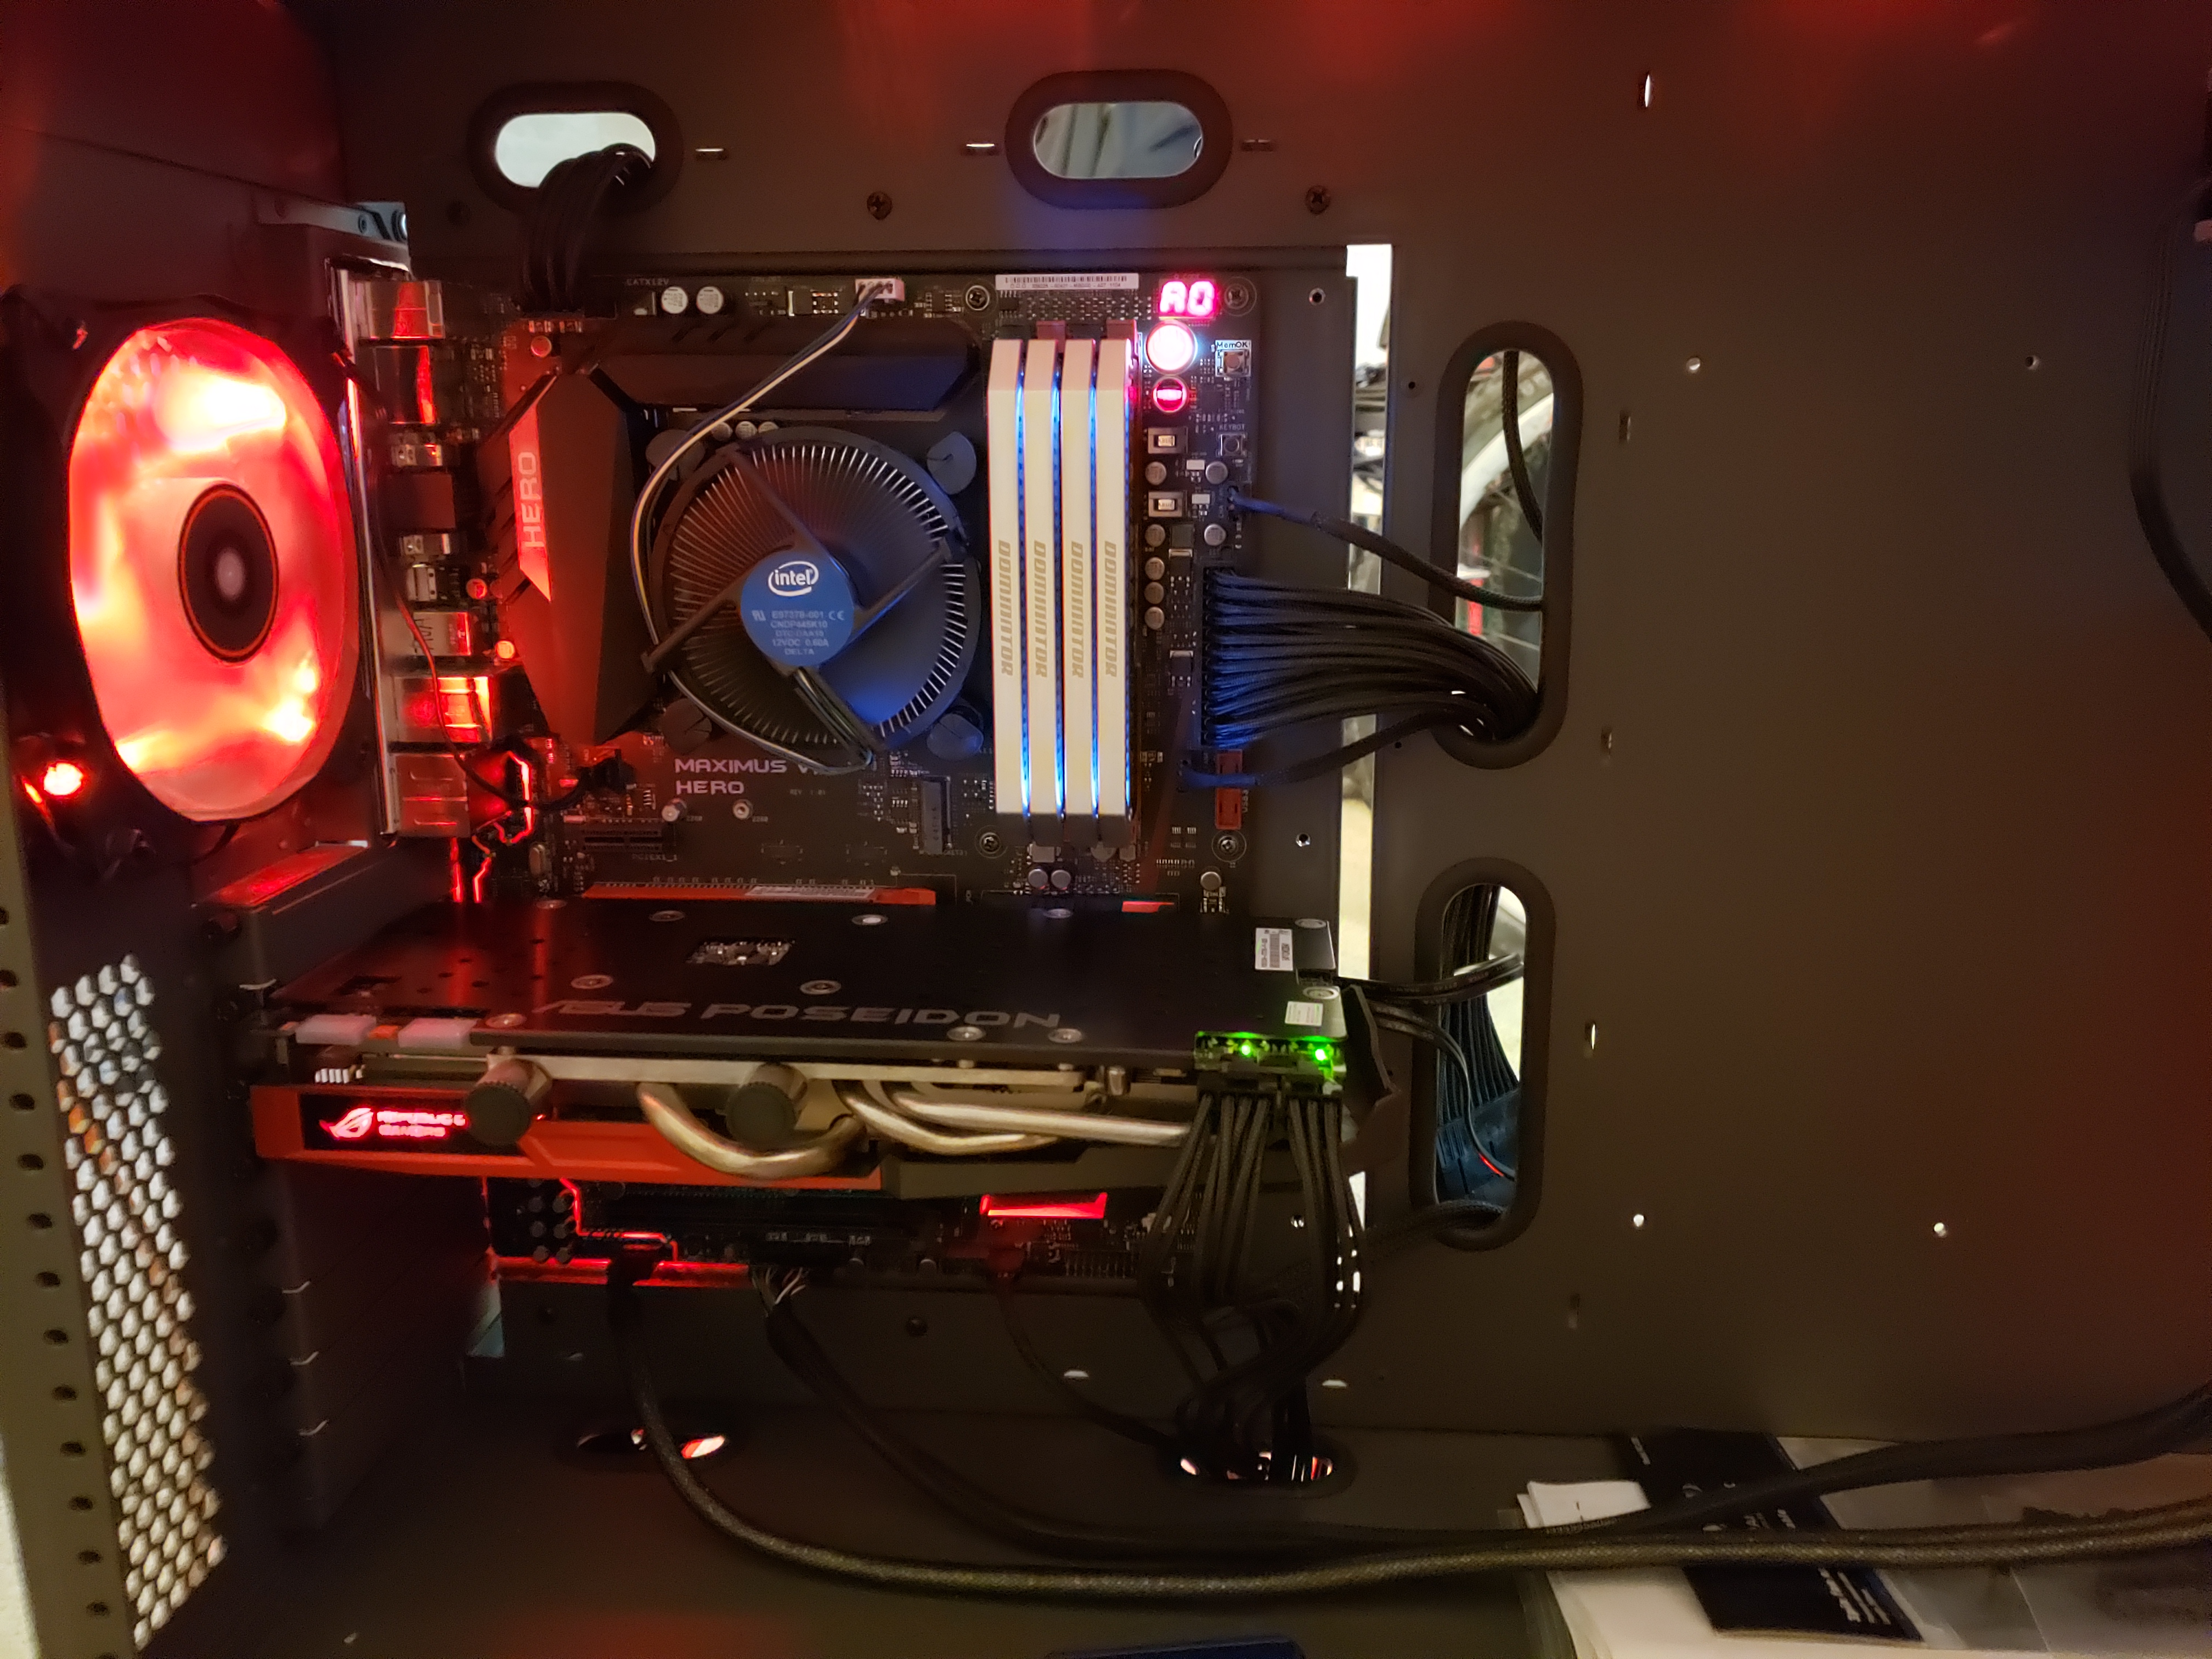
I knew when I started thinking about this build that I wanted an Intel I7 processor. At the time I7’s were more popular and I believe that the I9 hadn’t come out yet. The Intel I7 6th generation hadn’t come out yet and so I bought the Azus Maximus VII Hero motherboard with an LGA 1150 socket. Little did I know that Intel would abandon the LGA 1150 socket forcing me to stick with the 5th gen I7.
As you can tell from the photos I went with 32 GB of RAM, and the Azus Poseidon Platinum Graphics Card. An interesting thing about this particular graphics card is that is comes setup for both air and water cooling. At the time I was buy these components I didn’t know if I wanted to take on water cooling, and this card gave me the option to do both so I just at the opportunity.
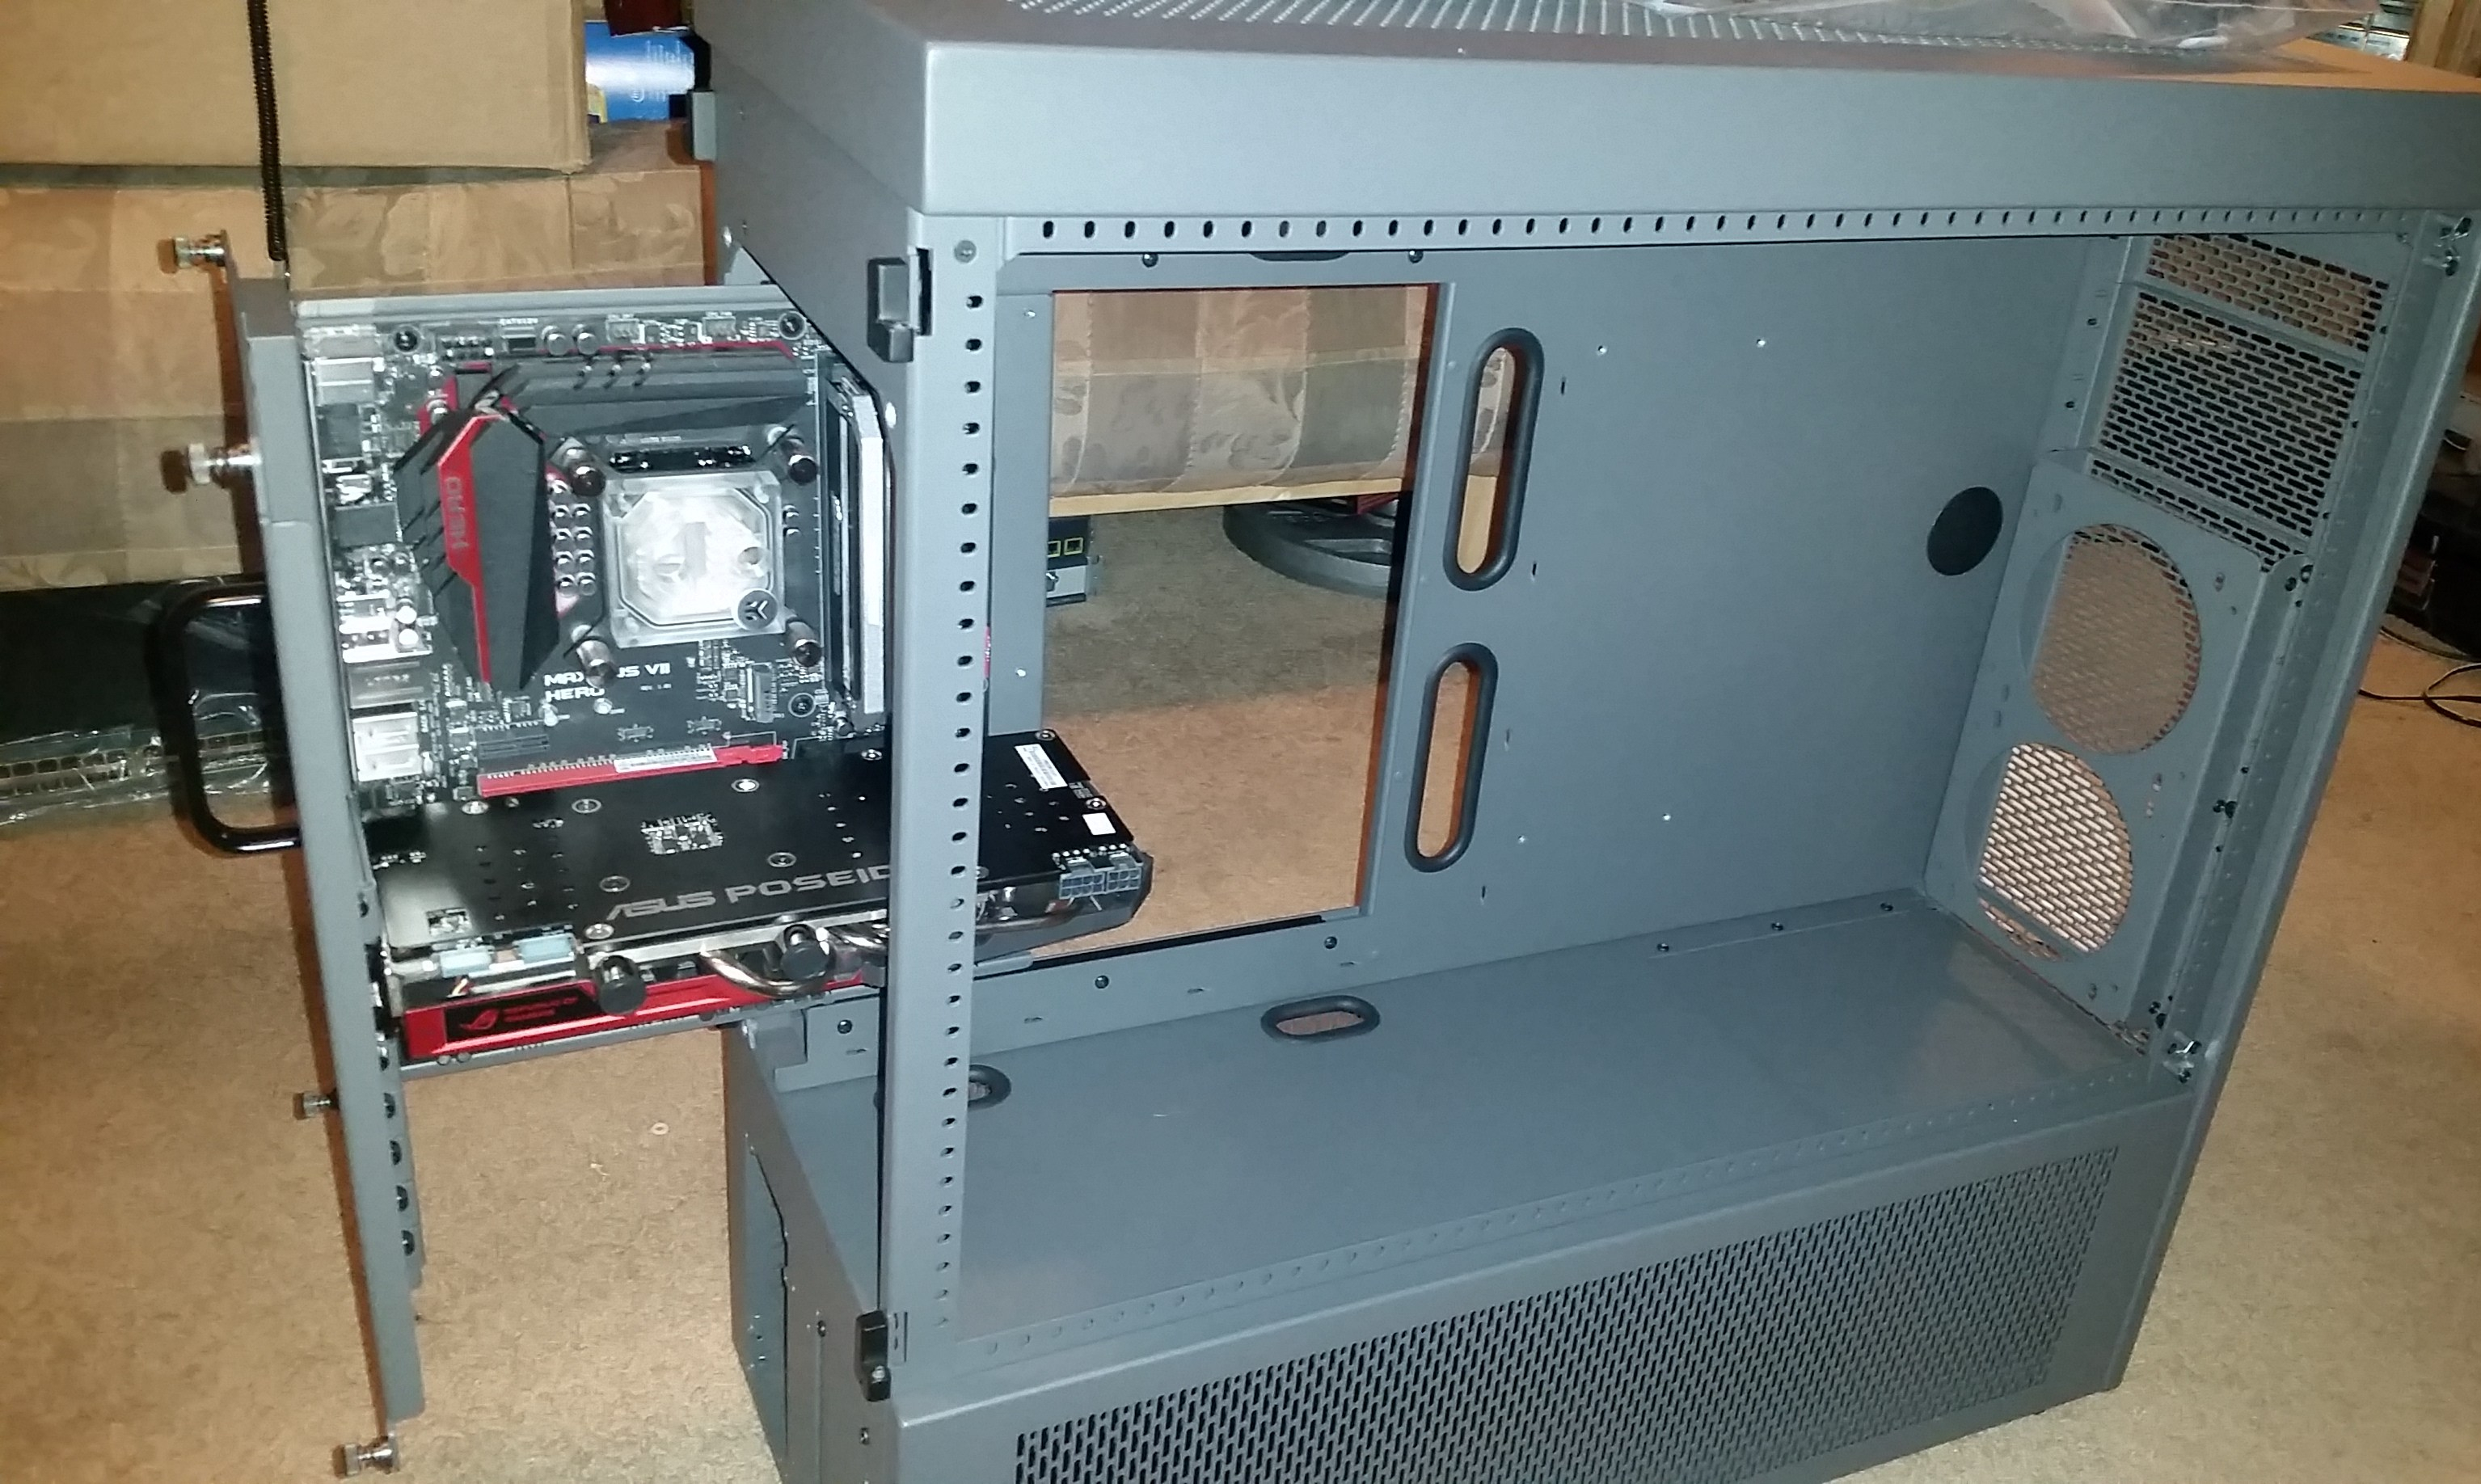
As you can see I decided to water cool hence the EK water block on the CPU. After installing the motherboard in the case it because blatantly apparent how much space I would have for water cooling, so the choice was a no brainer.


The Case Fan Debacle
I know… I know… I have a fan problem. The issue with the the CaseLabs case is one, its huge, and two, its split into two separate sections, each that have different ventilation needs.
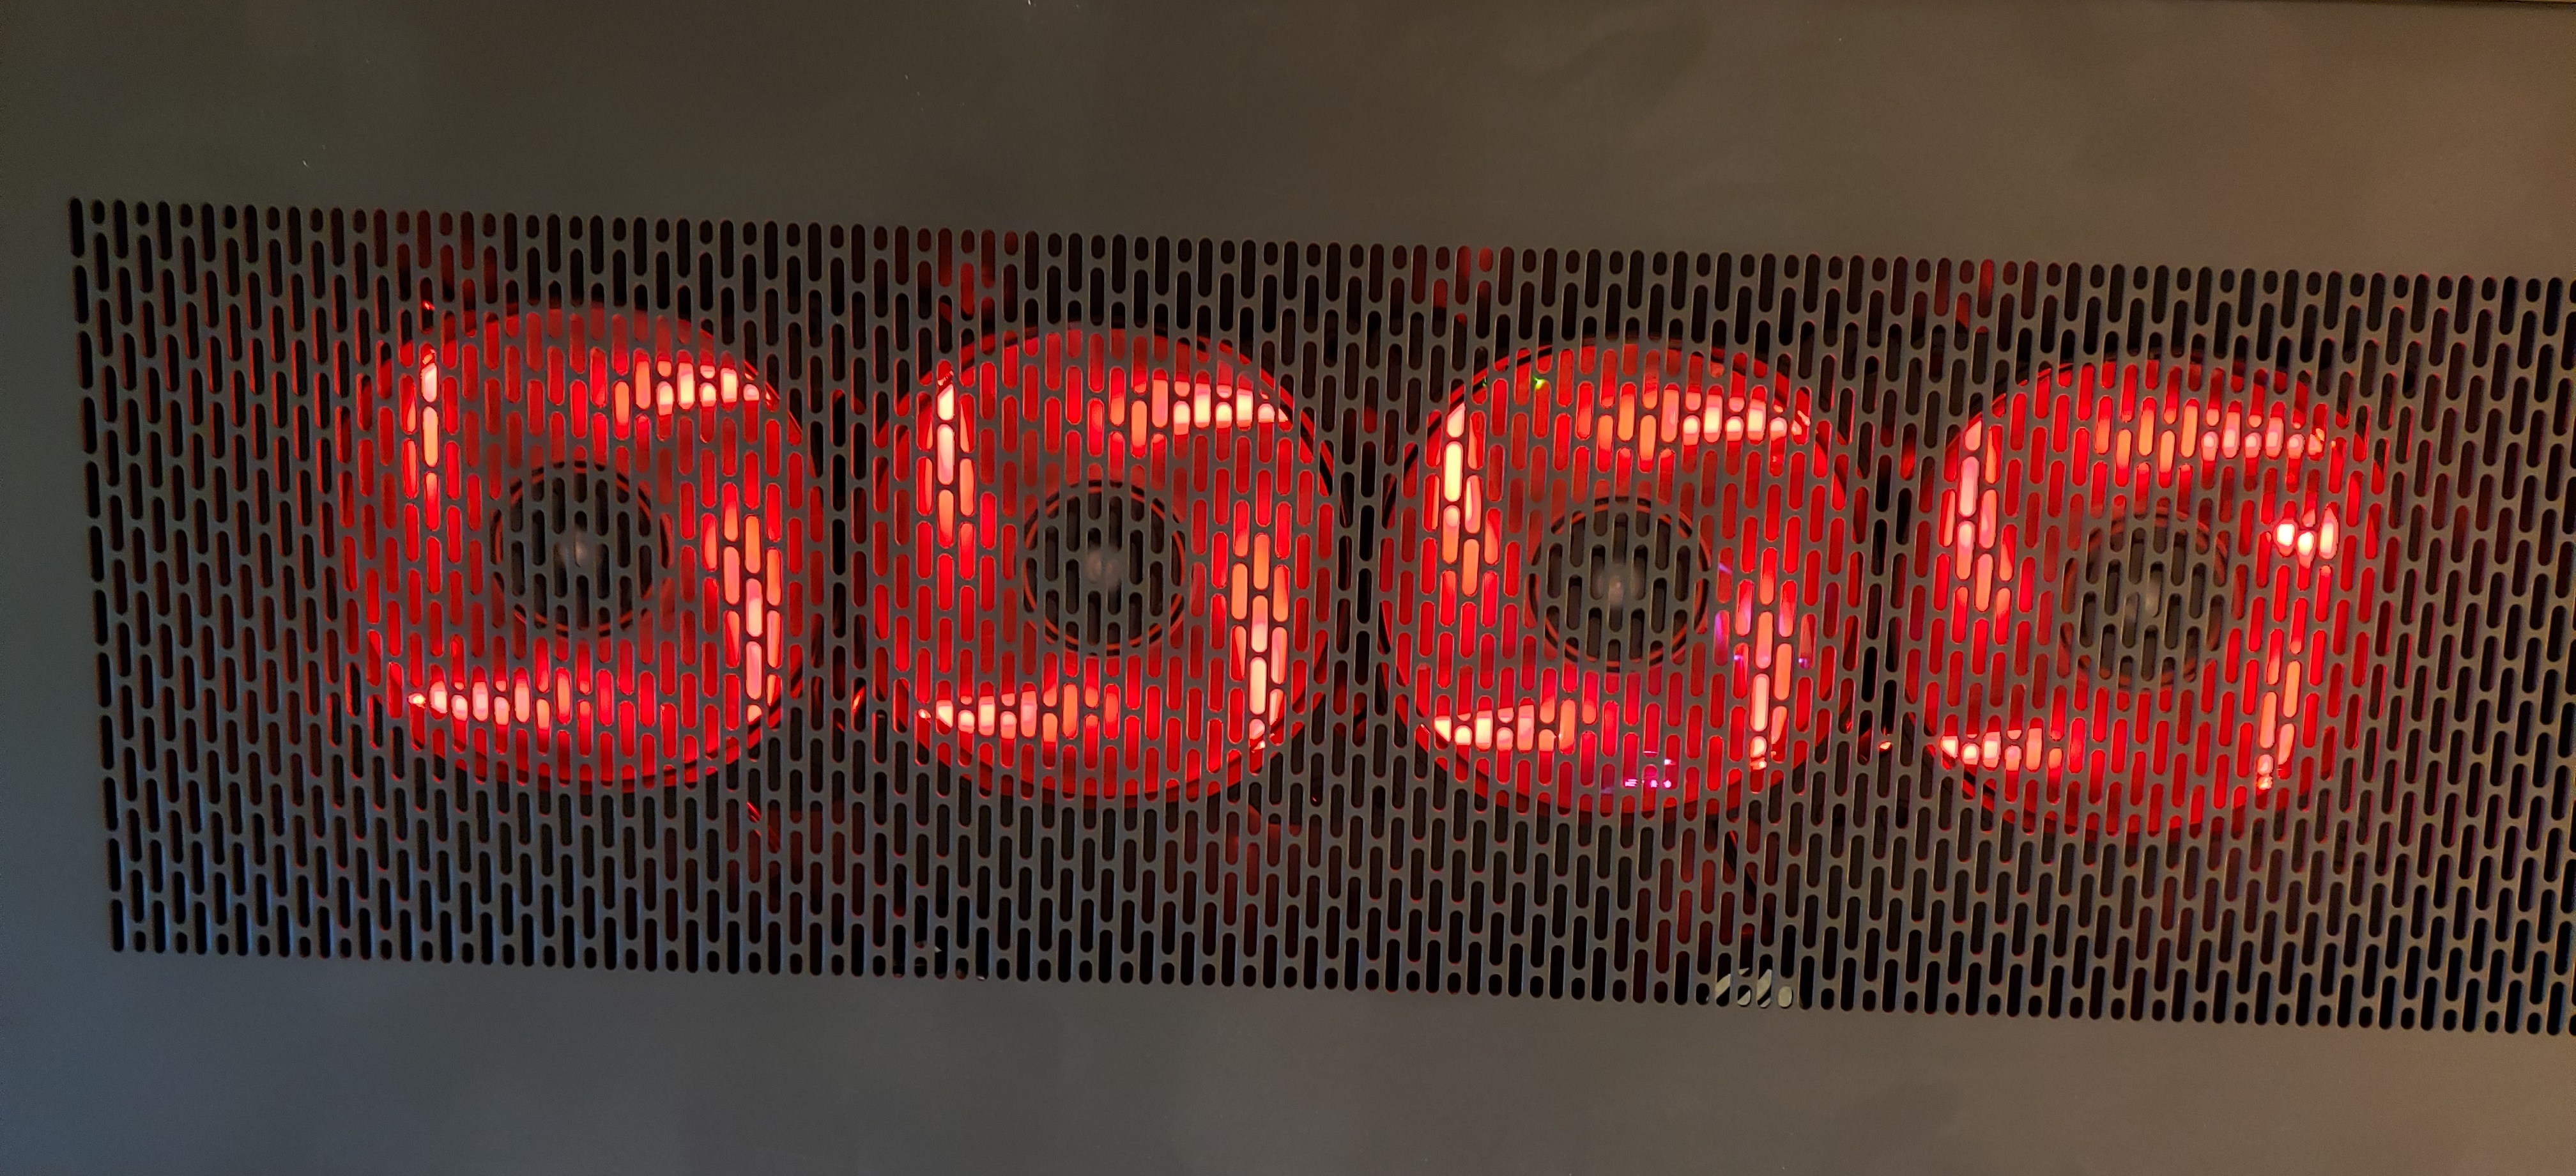
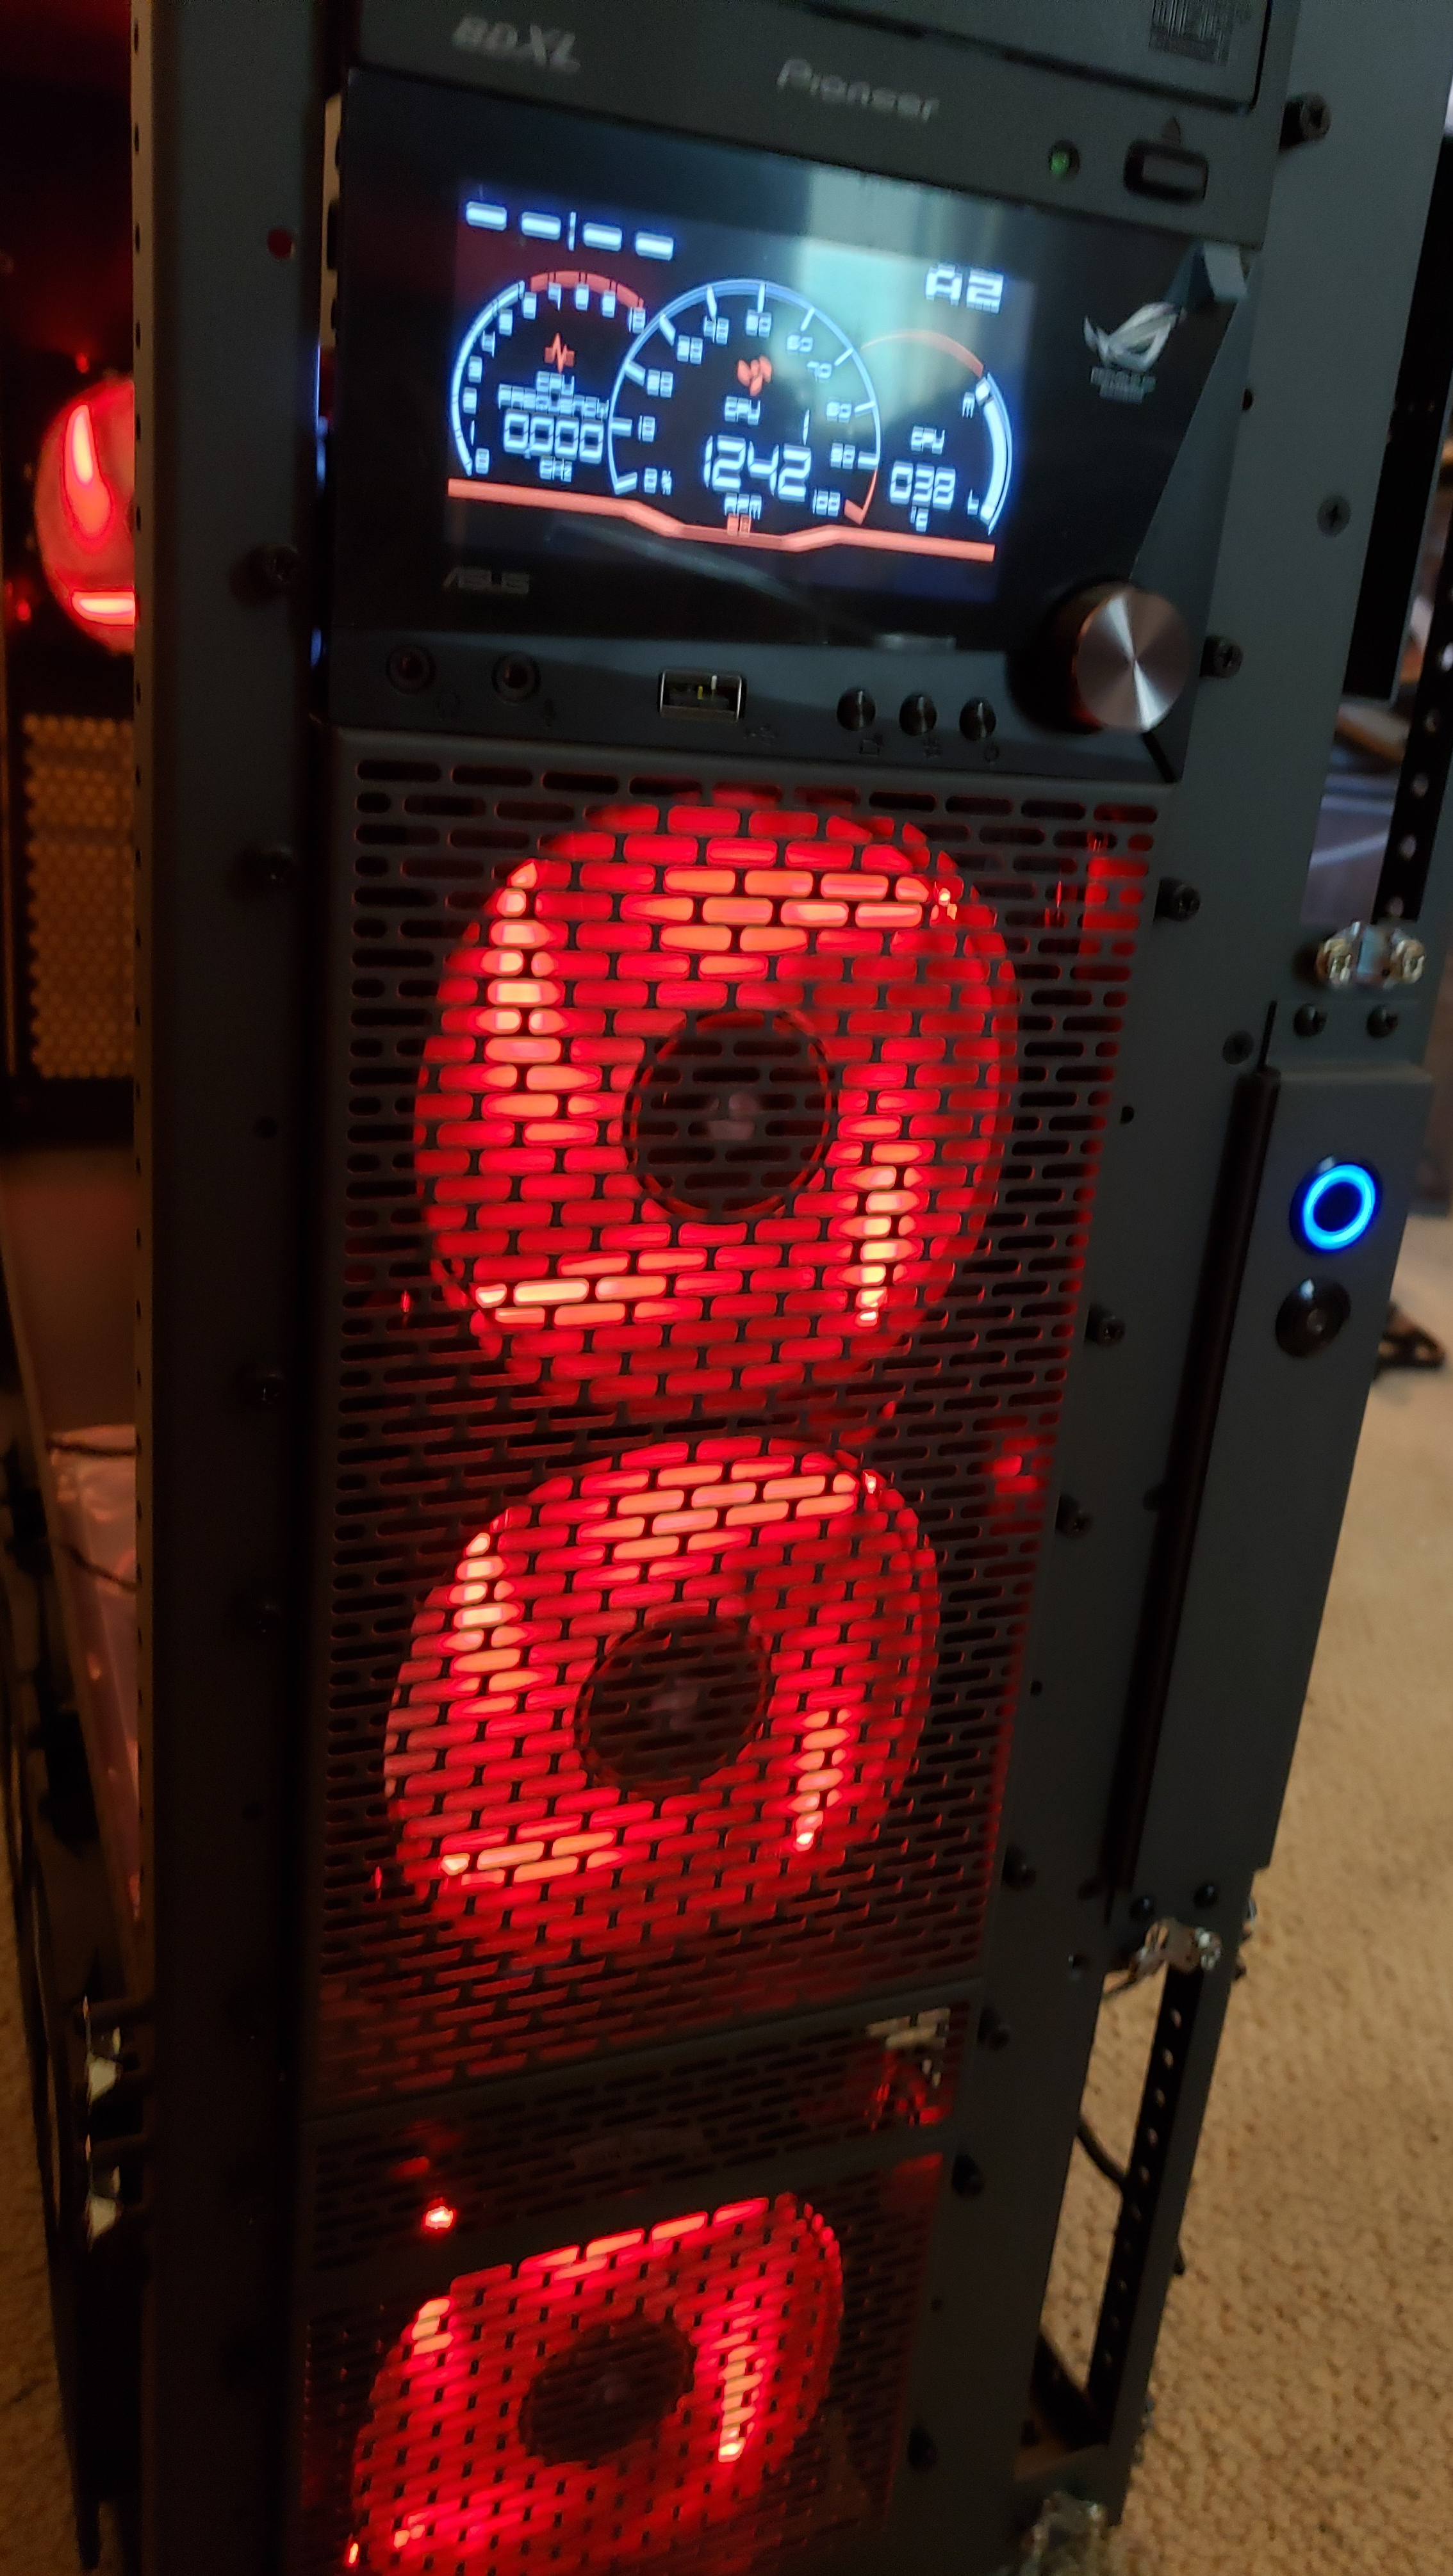
In the main compartment where the motherboard lives I have 8x 120mm fans. One out the back, three in the front, and four out the top. These fans are the quiet edition in an attempt to keep my computer from sounding like a helicopter taking off.
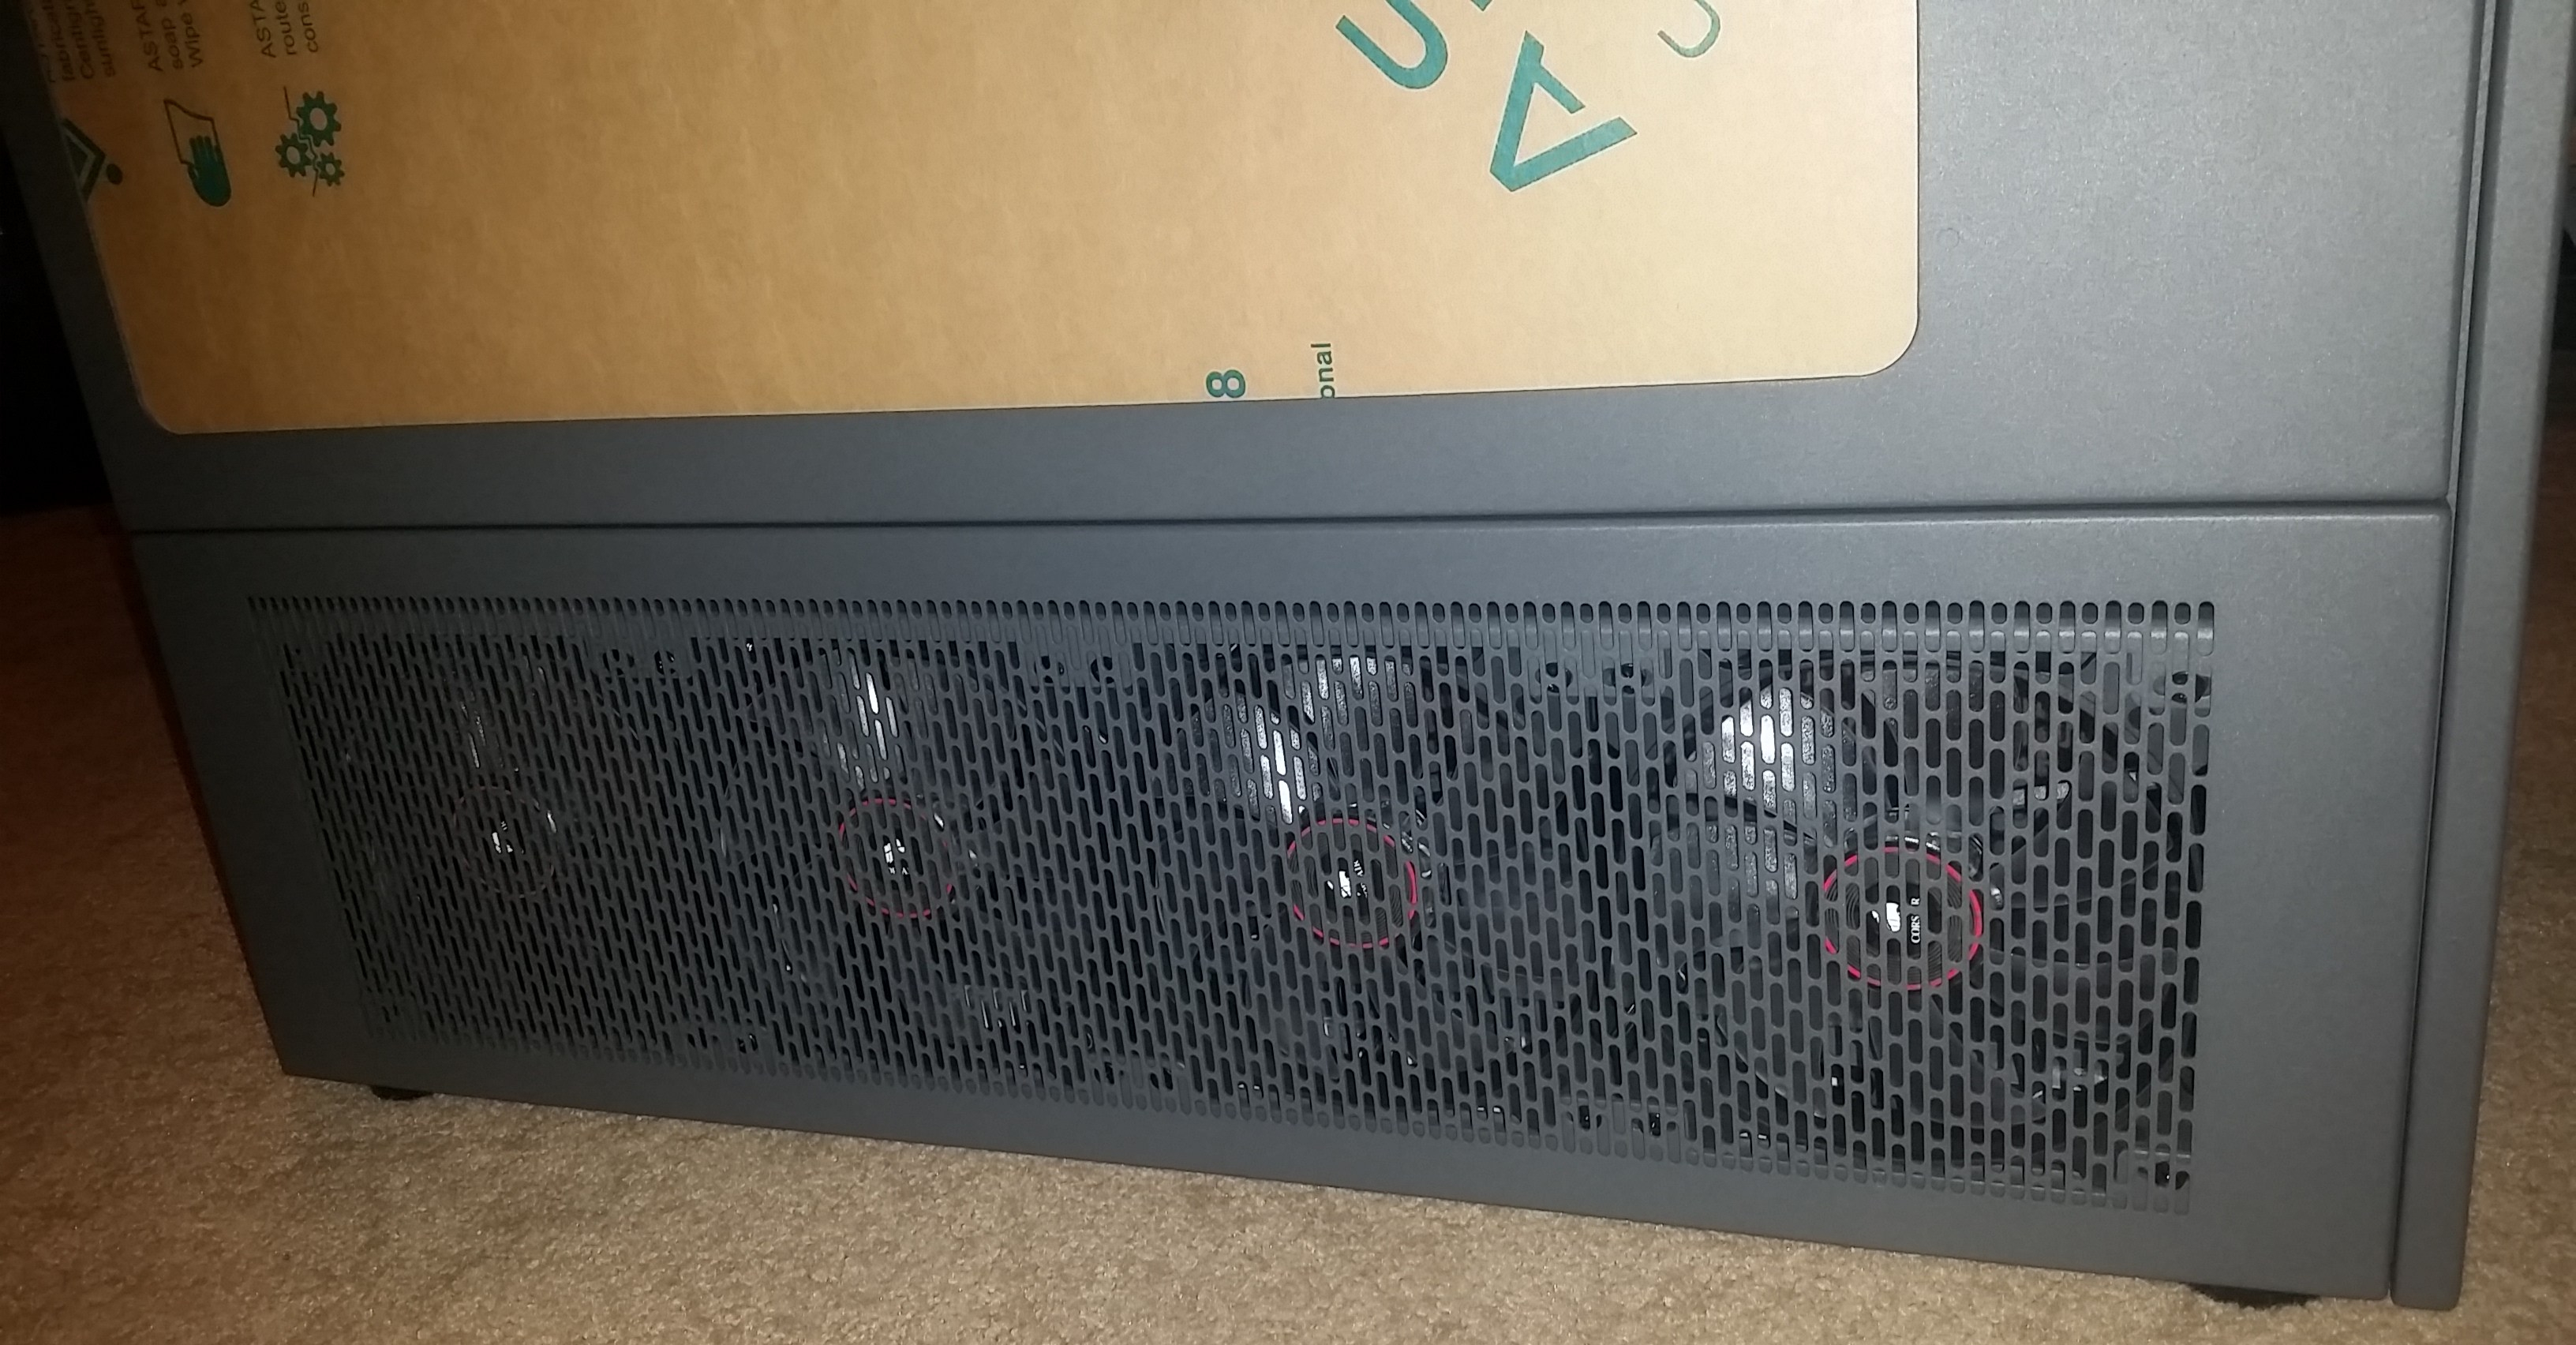
In the lower compartment I have 8x 140mm fans (three of the fans were back-ordered when I took the picture). In this compartment is where I will place the radiators for the water cooling loop. The idea is to push as much air across the case and through the radiators.


Connecting Accessories
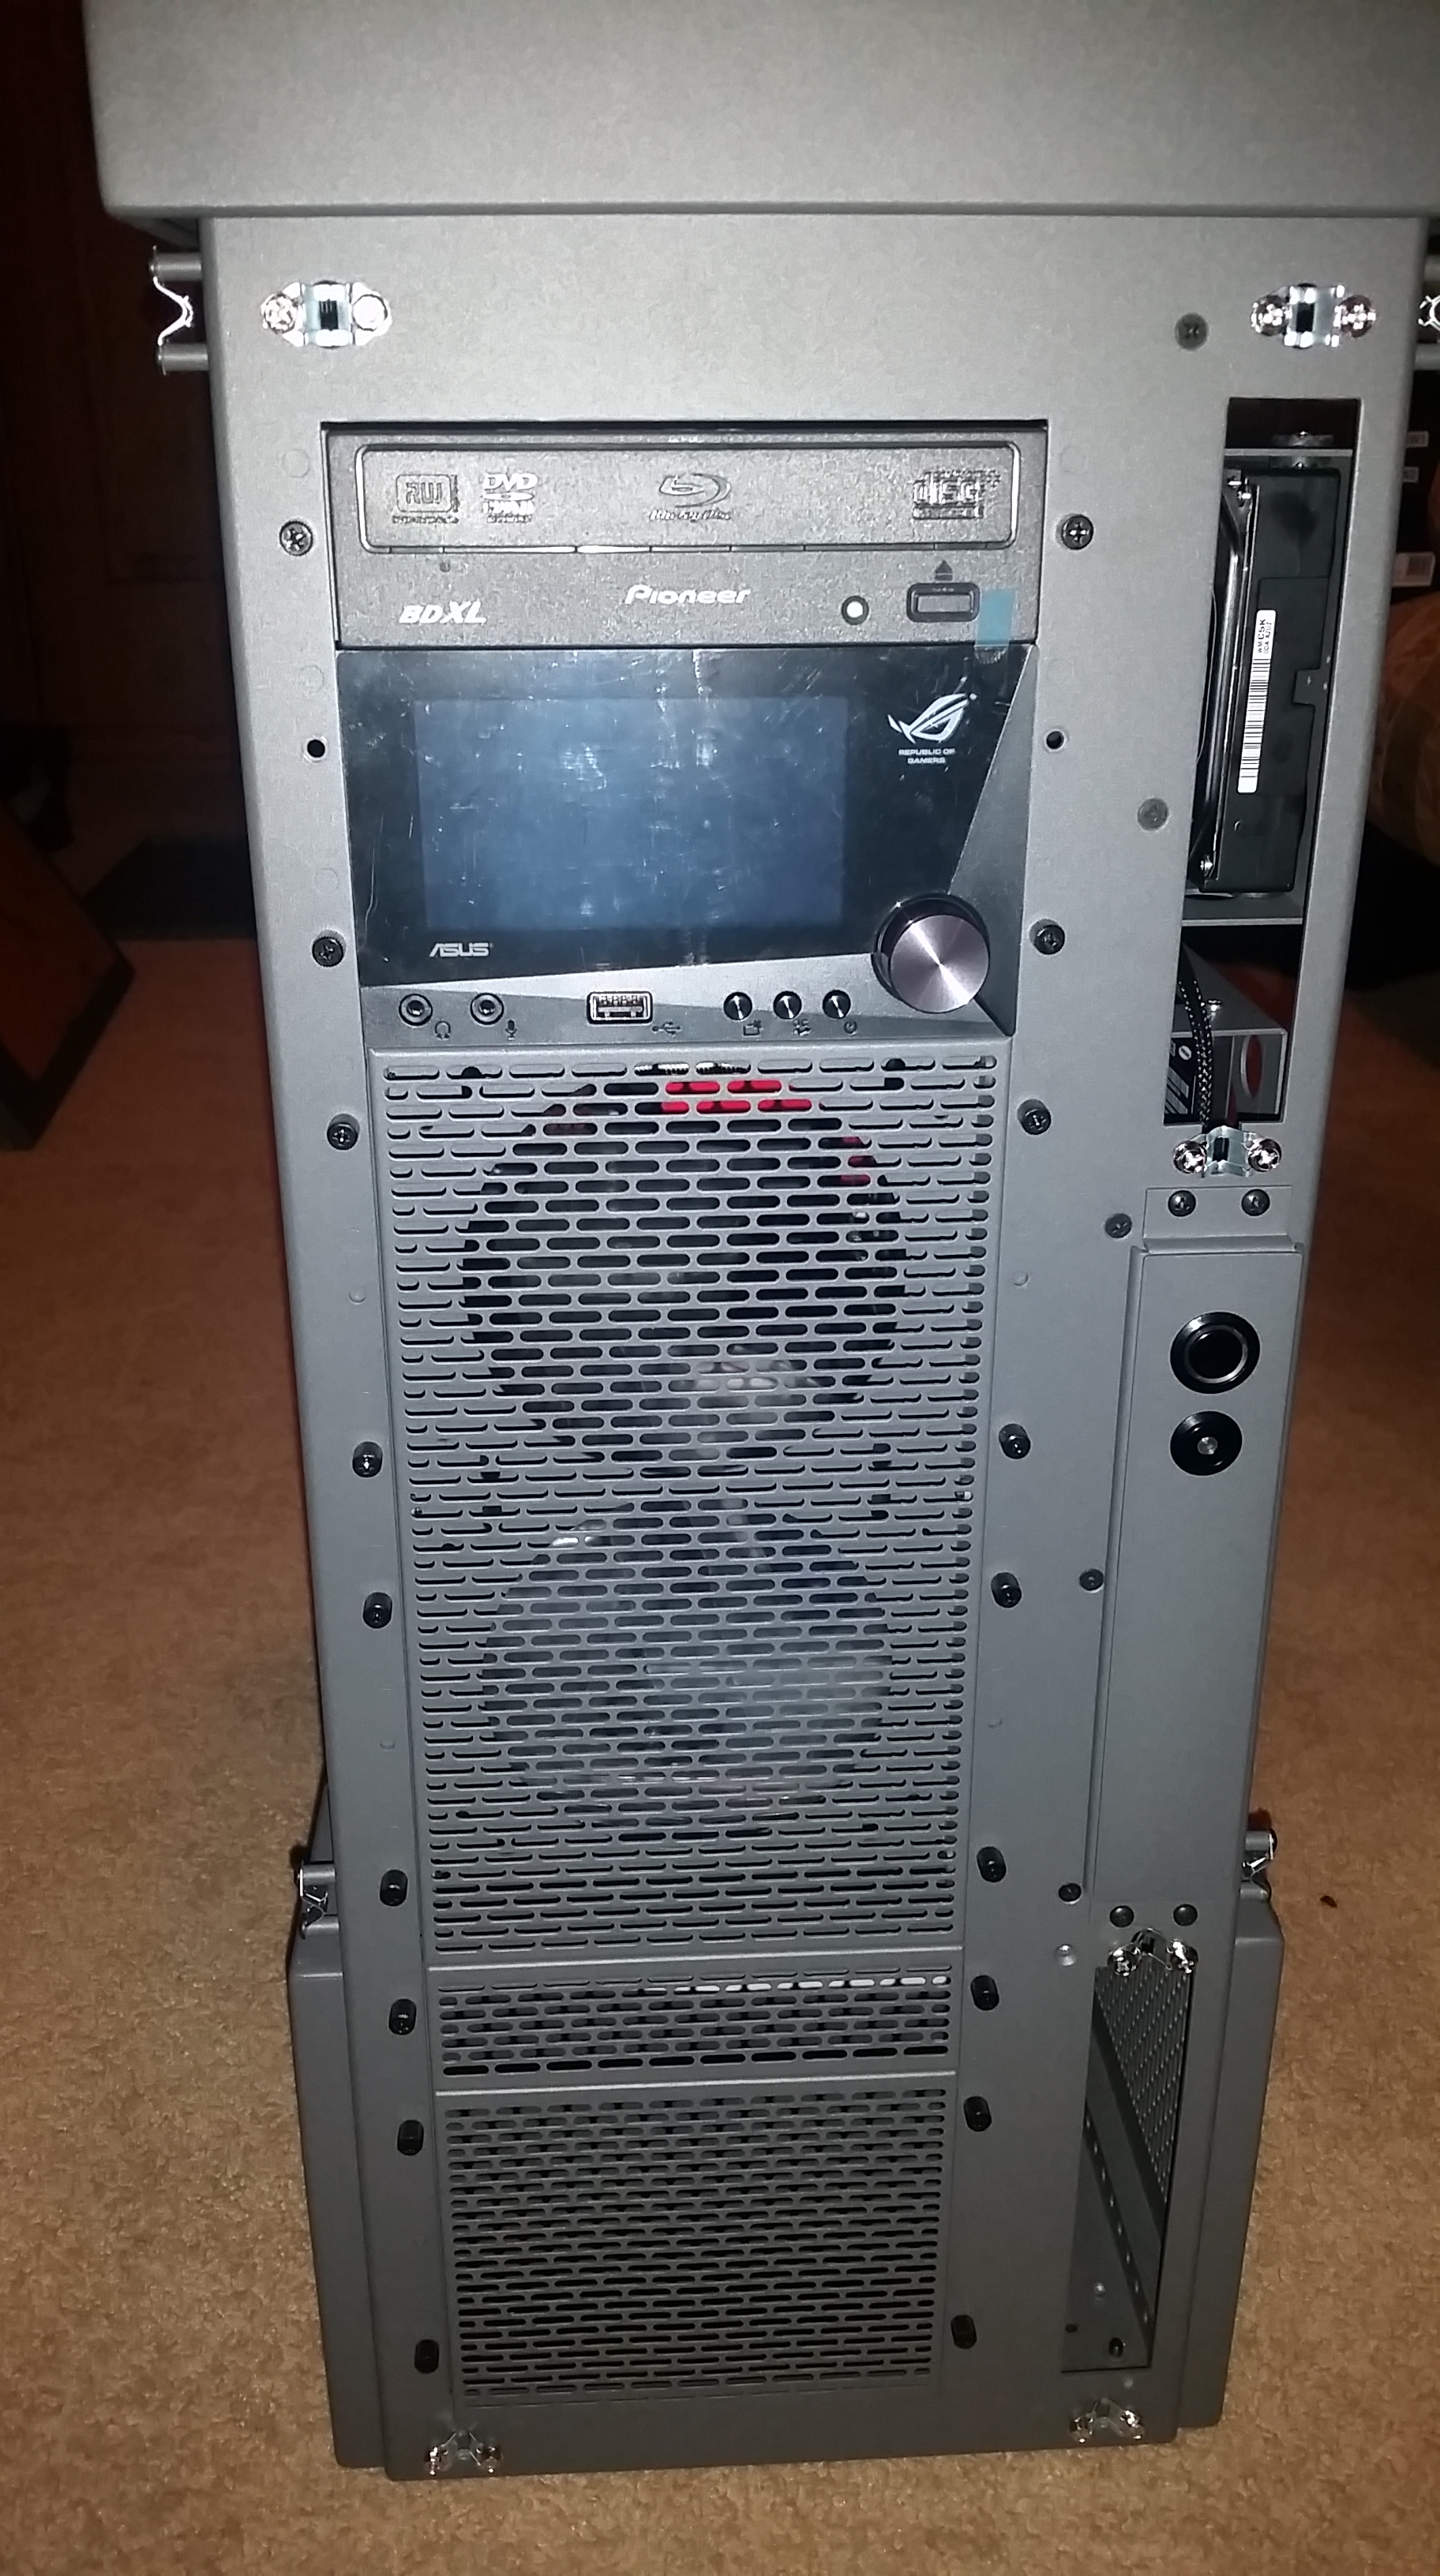
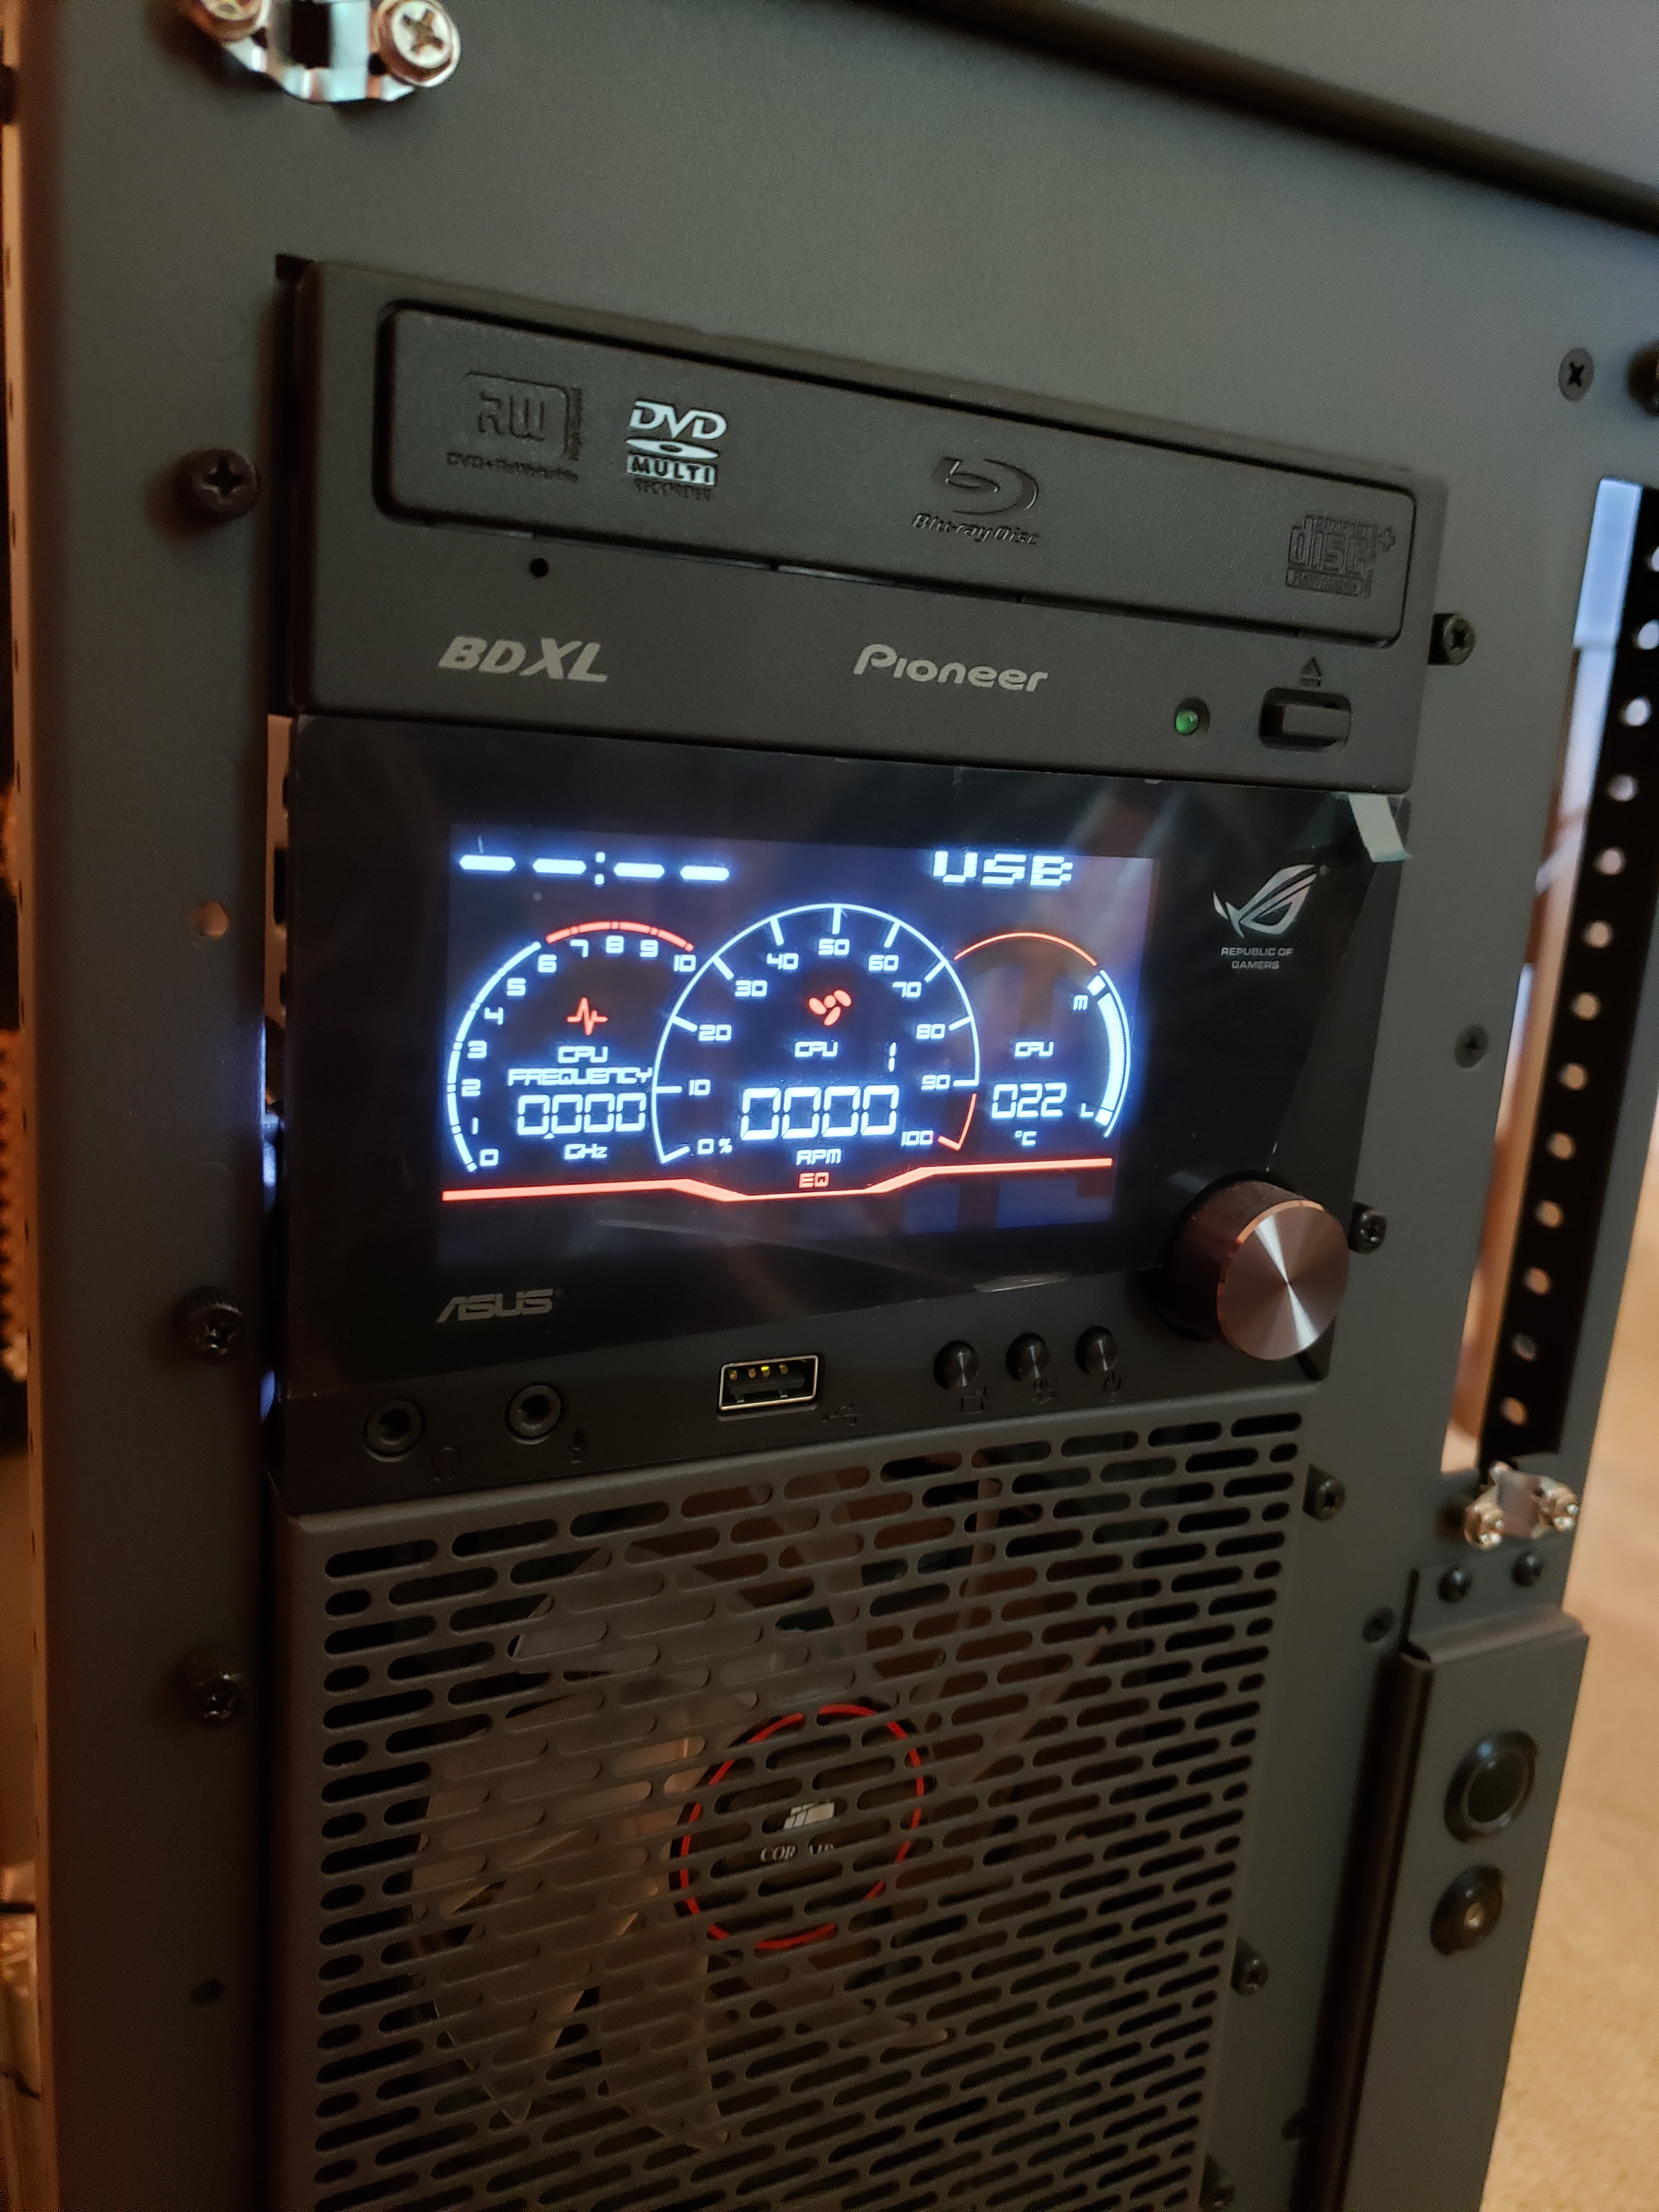
Now that I built the case, installed the motherboard and the case fans, it was time to install all of the accessories and connect everything together. For the front of the case I bought an optical drive (because CDs are still a thing I guess), and the ROG Front Base which monitors fan speed, temperatures, and has the ability to overclock the CPU.
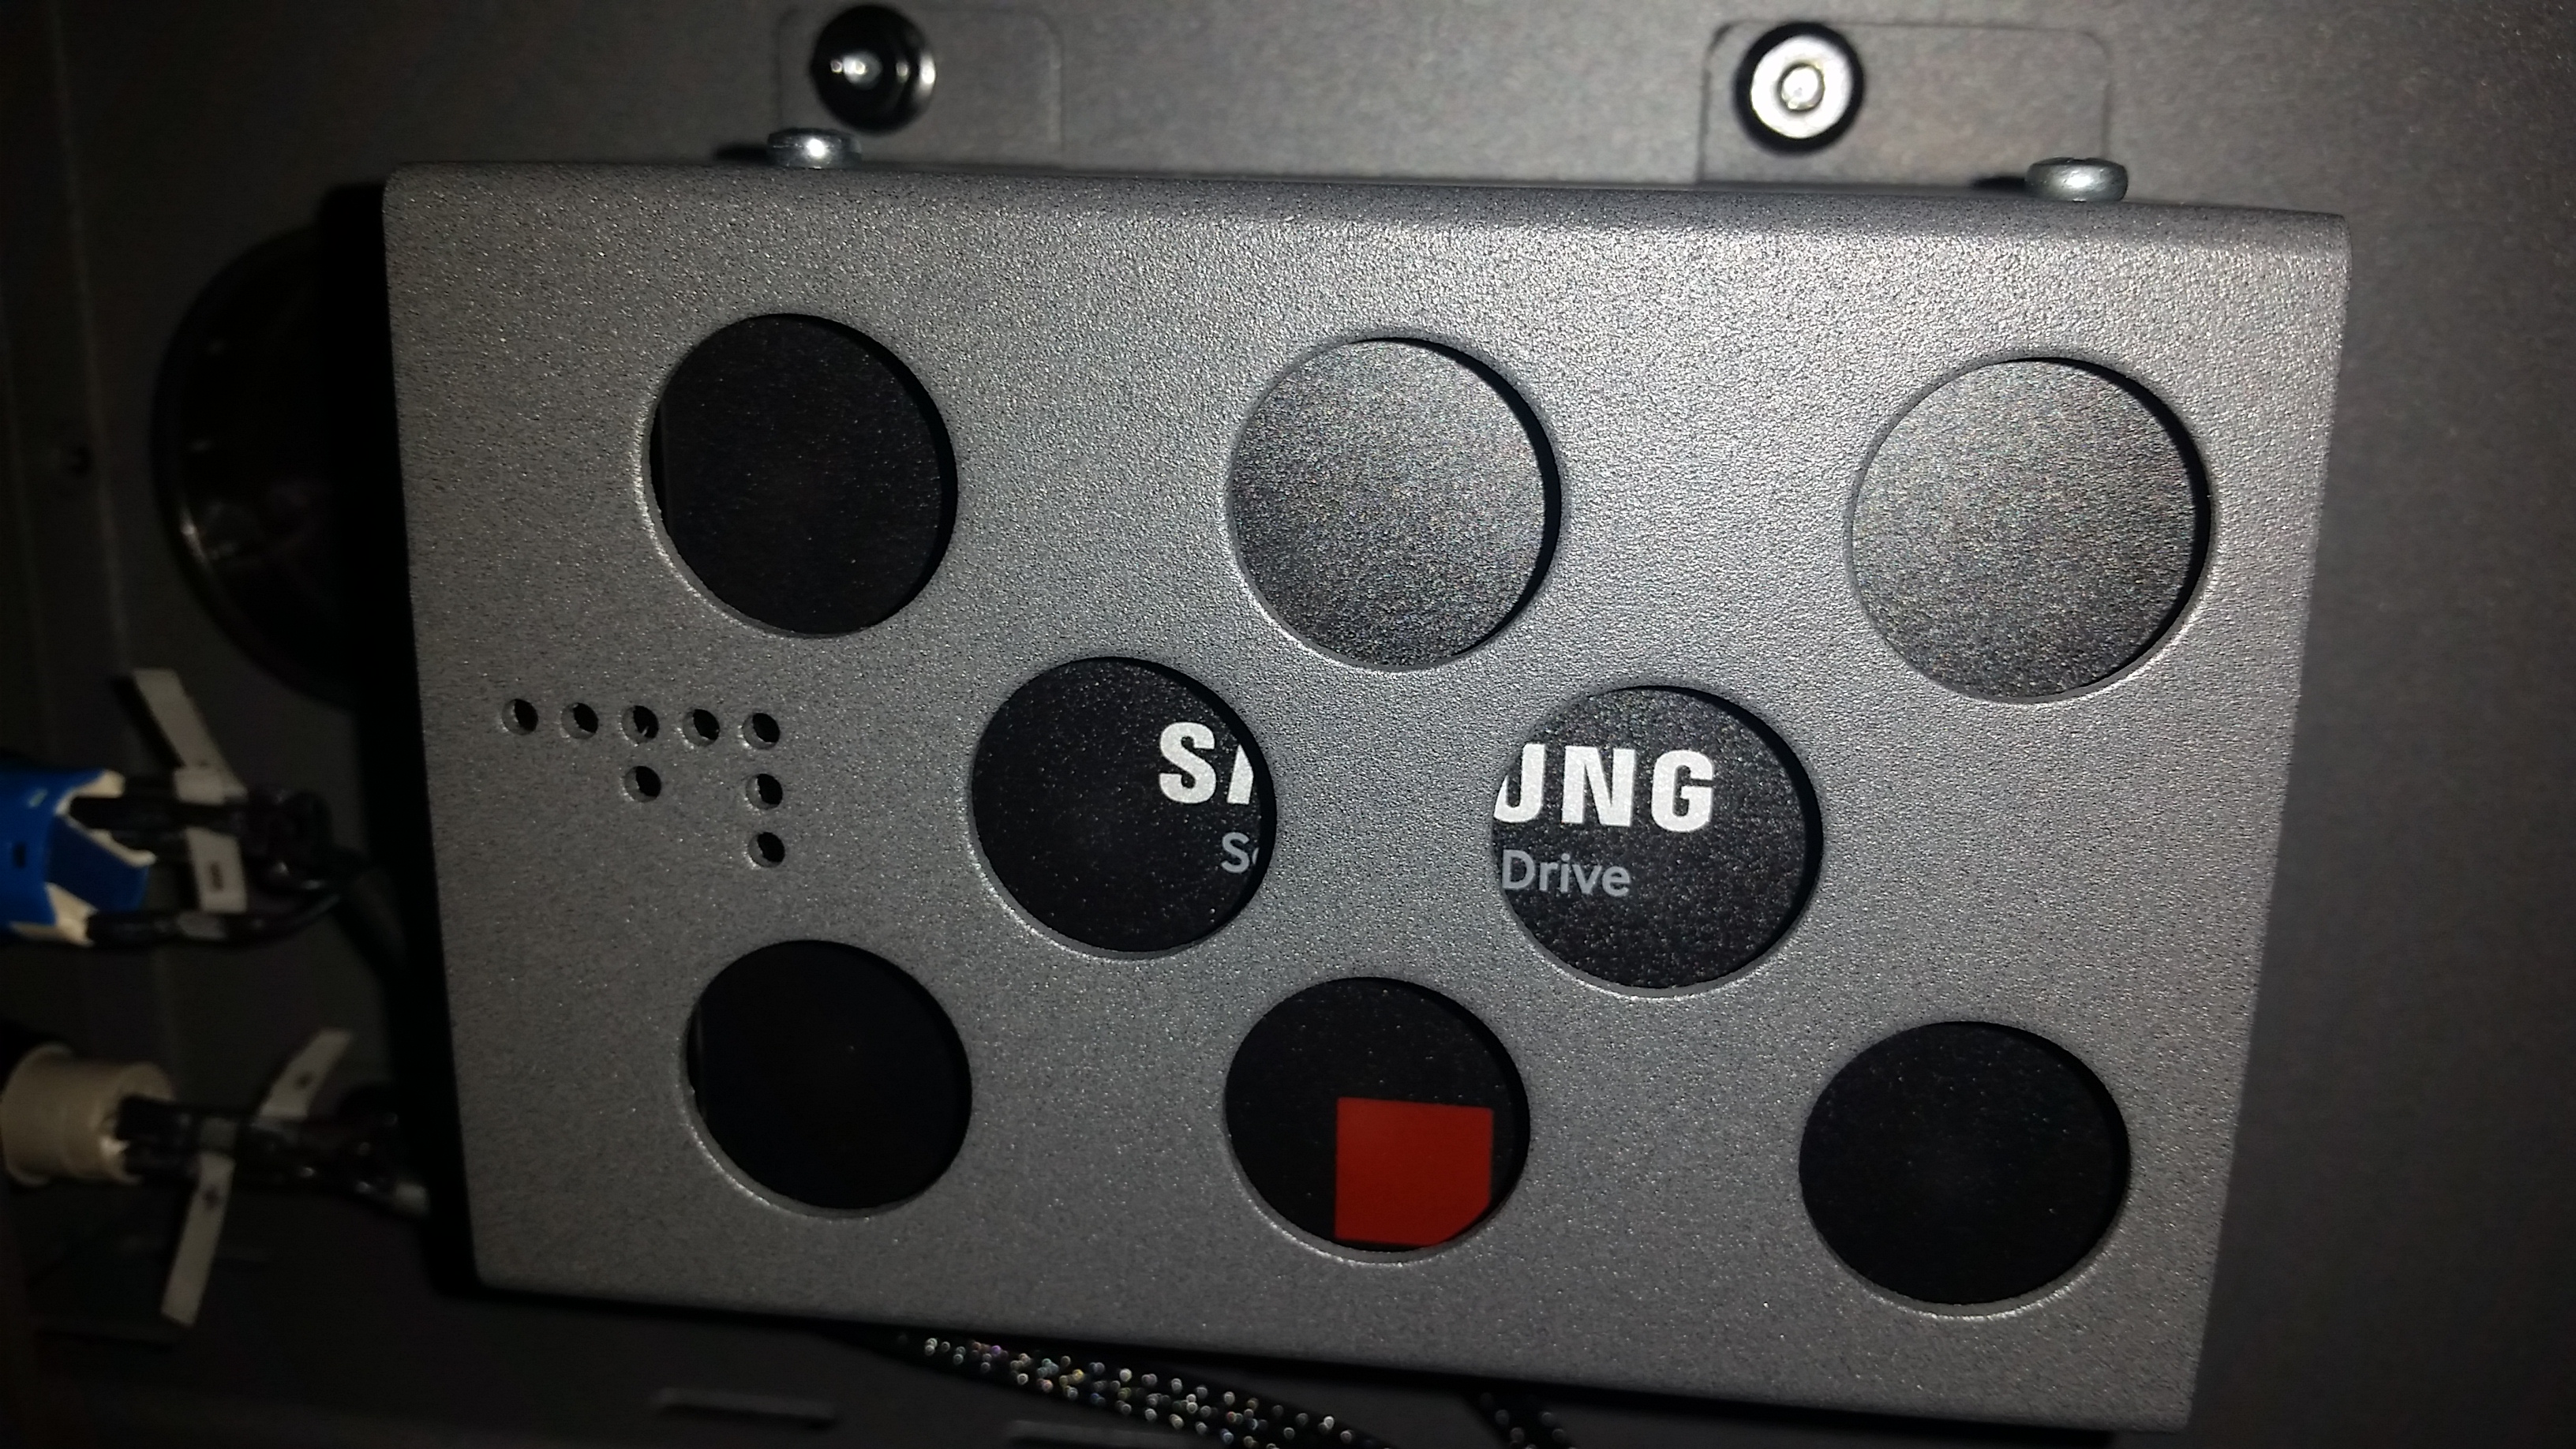
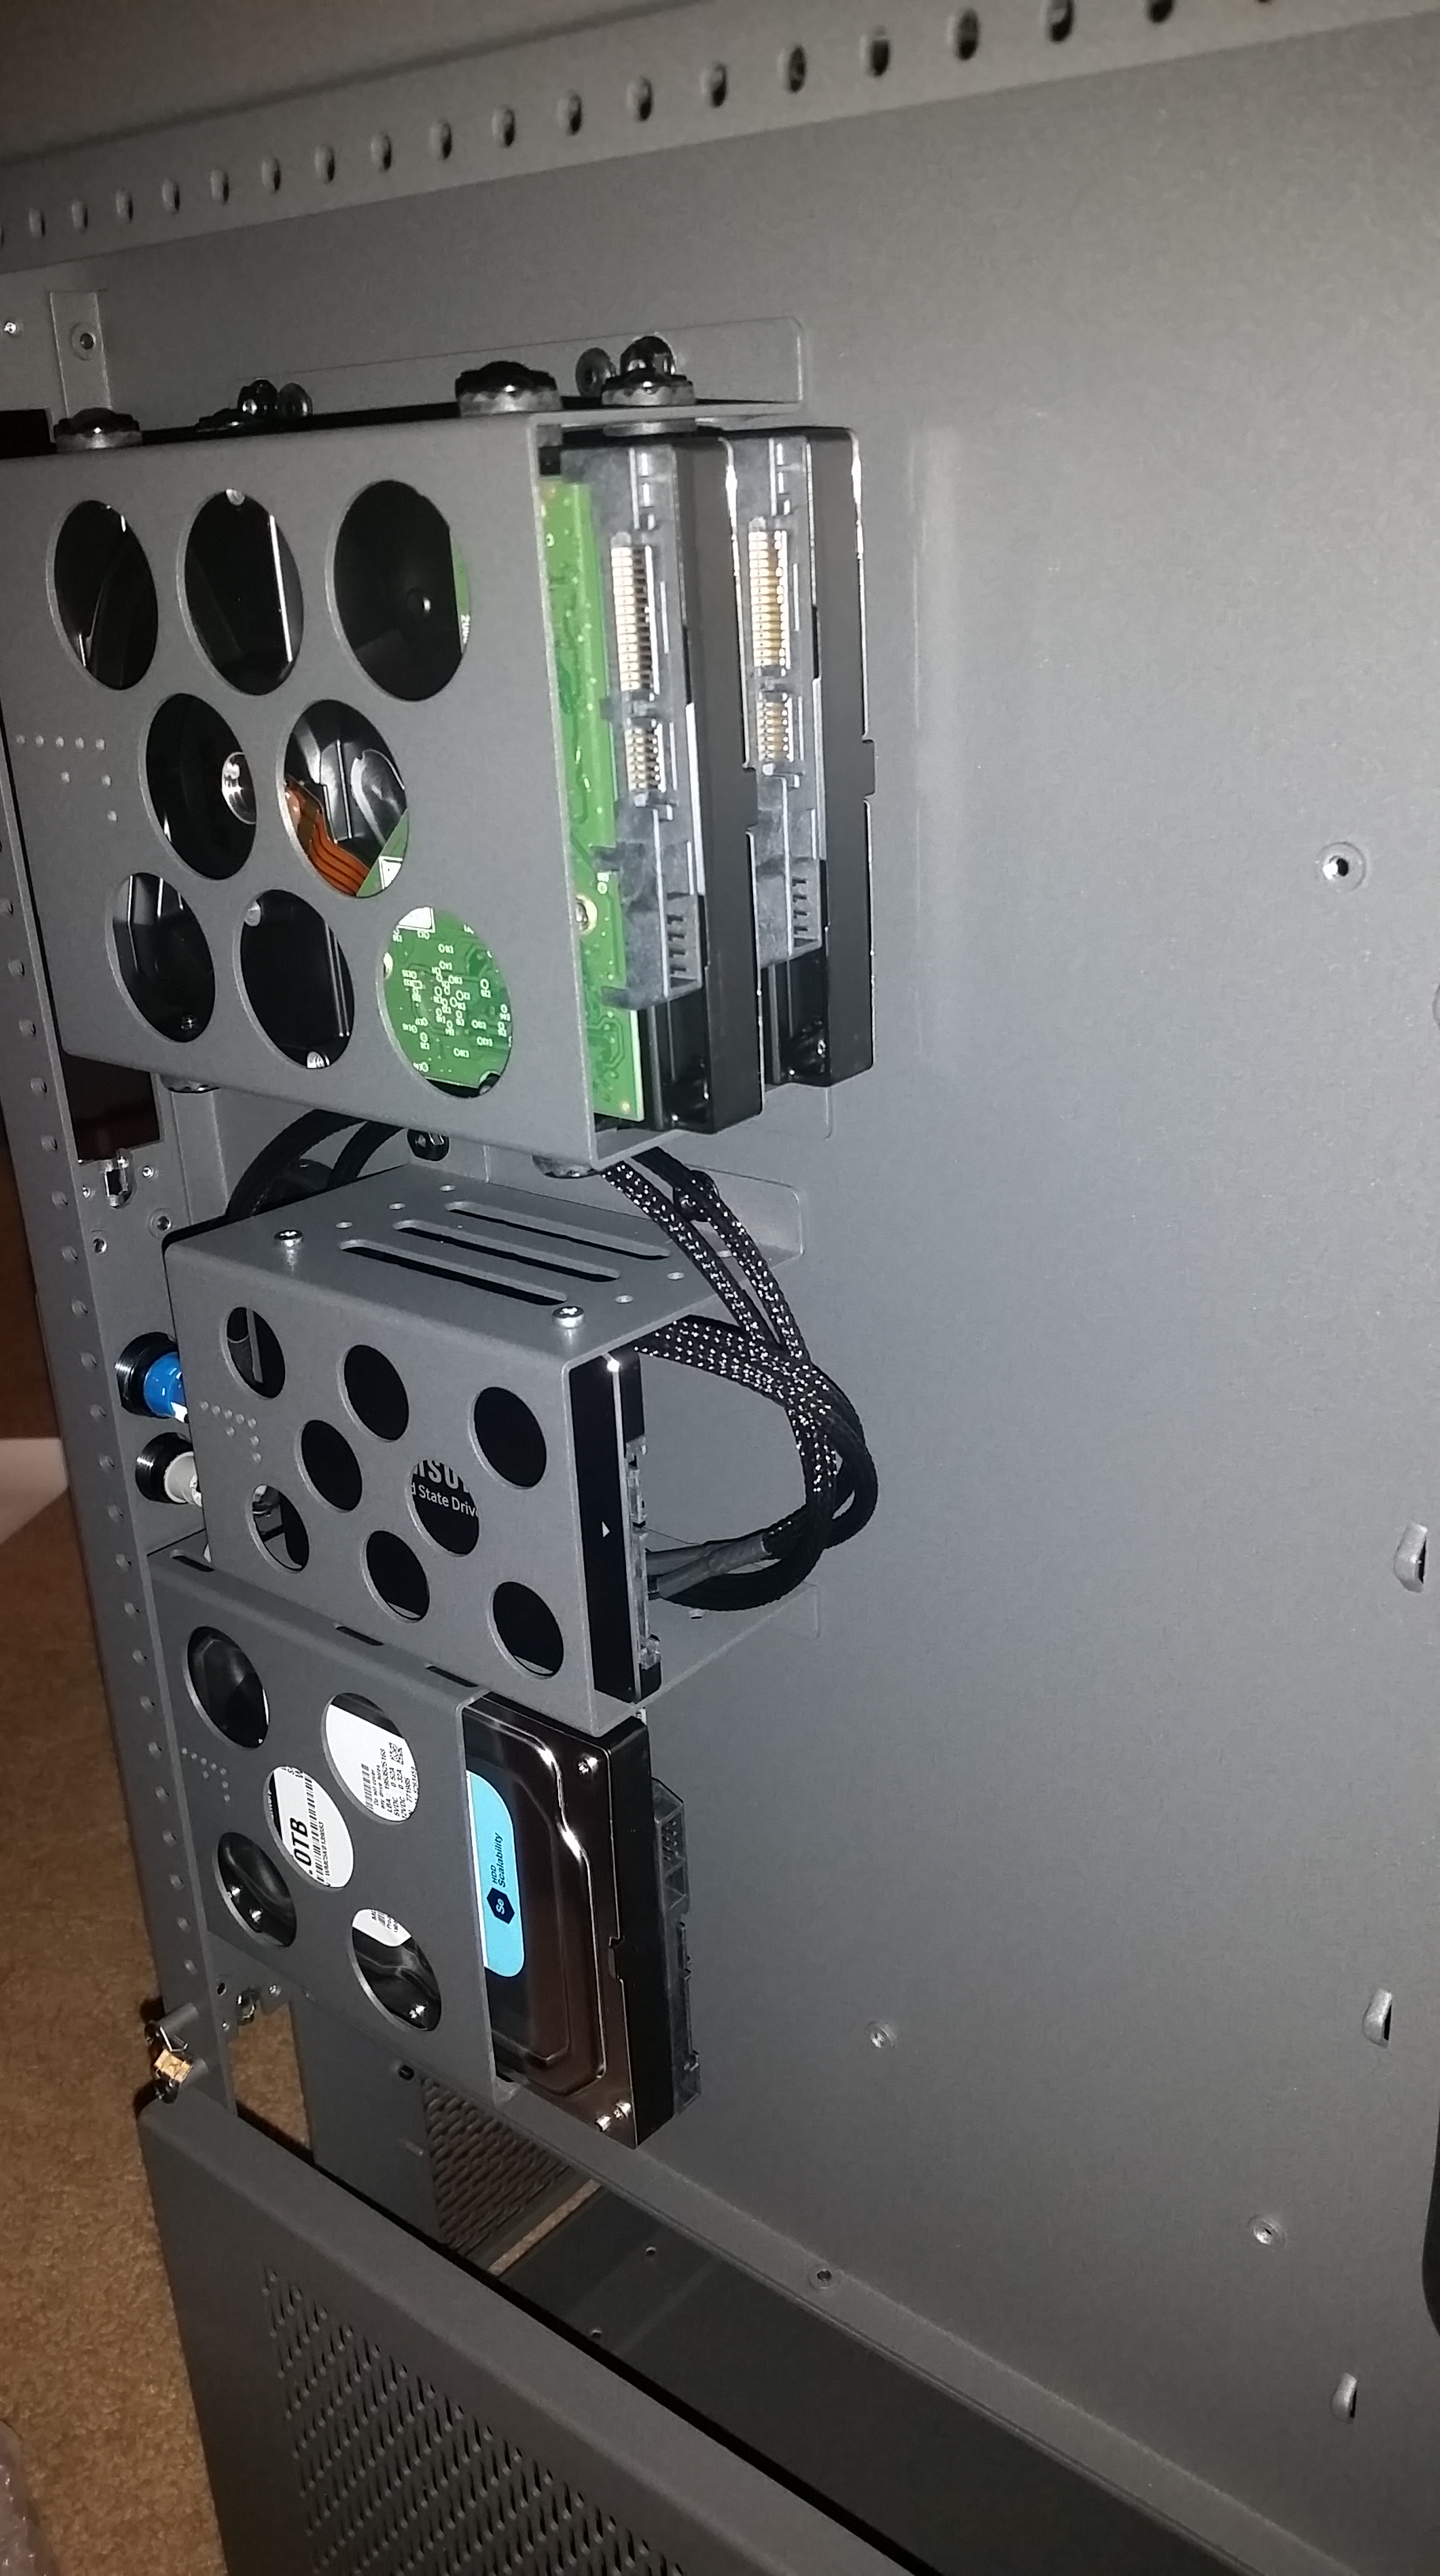
For hard drives I chose a Samsung SSD for the operating system and 3x Western Digital 1TB HDD. Originally my plan was to create a RAID 5 array with the three HDD drives and hold any data on that array.
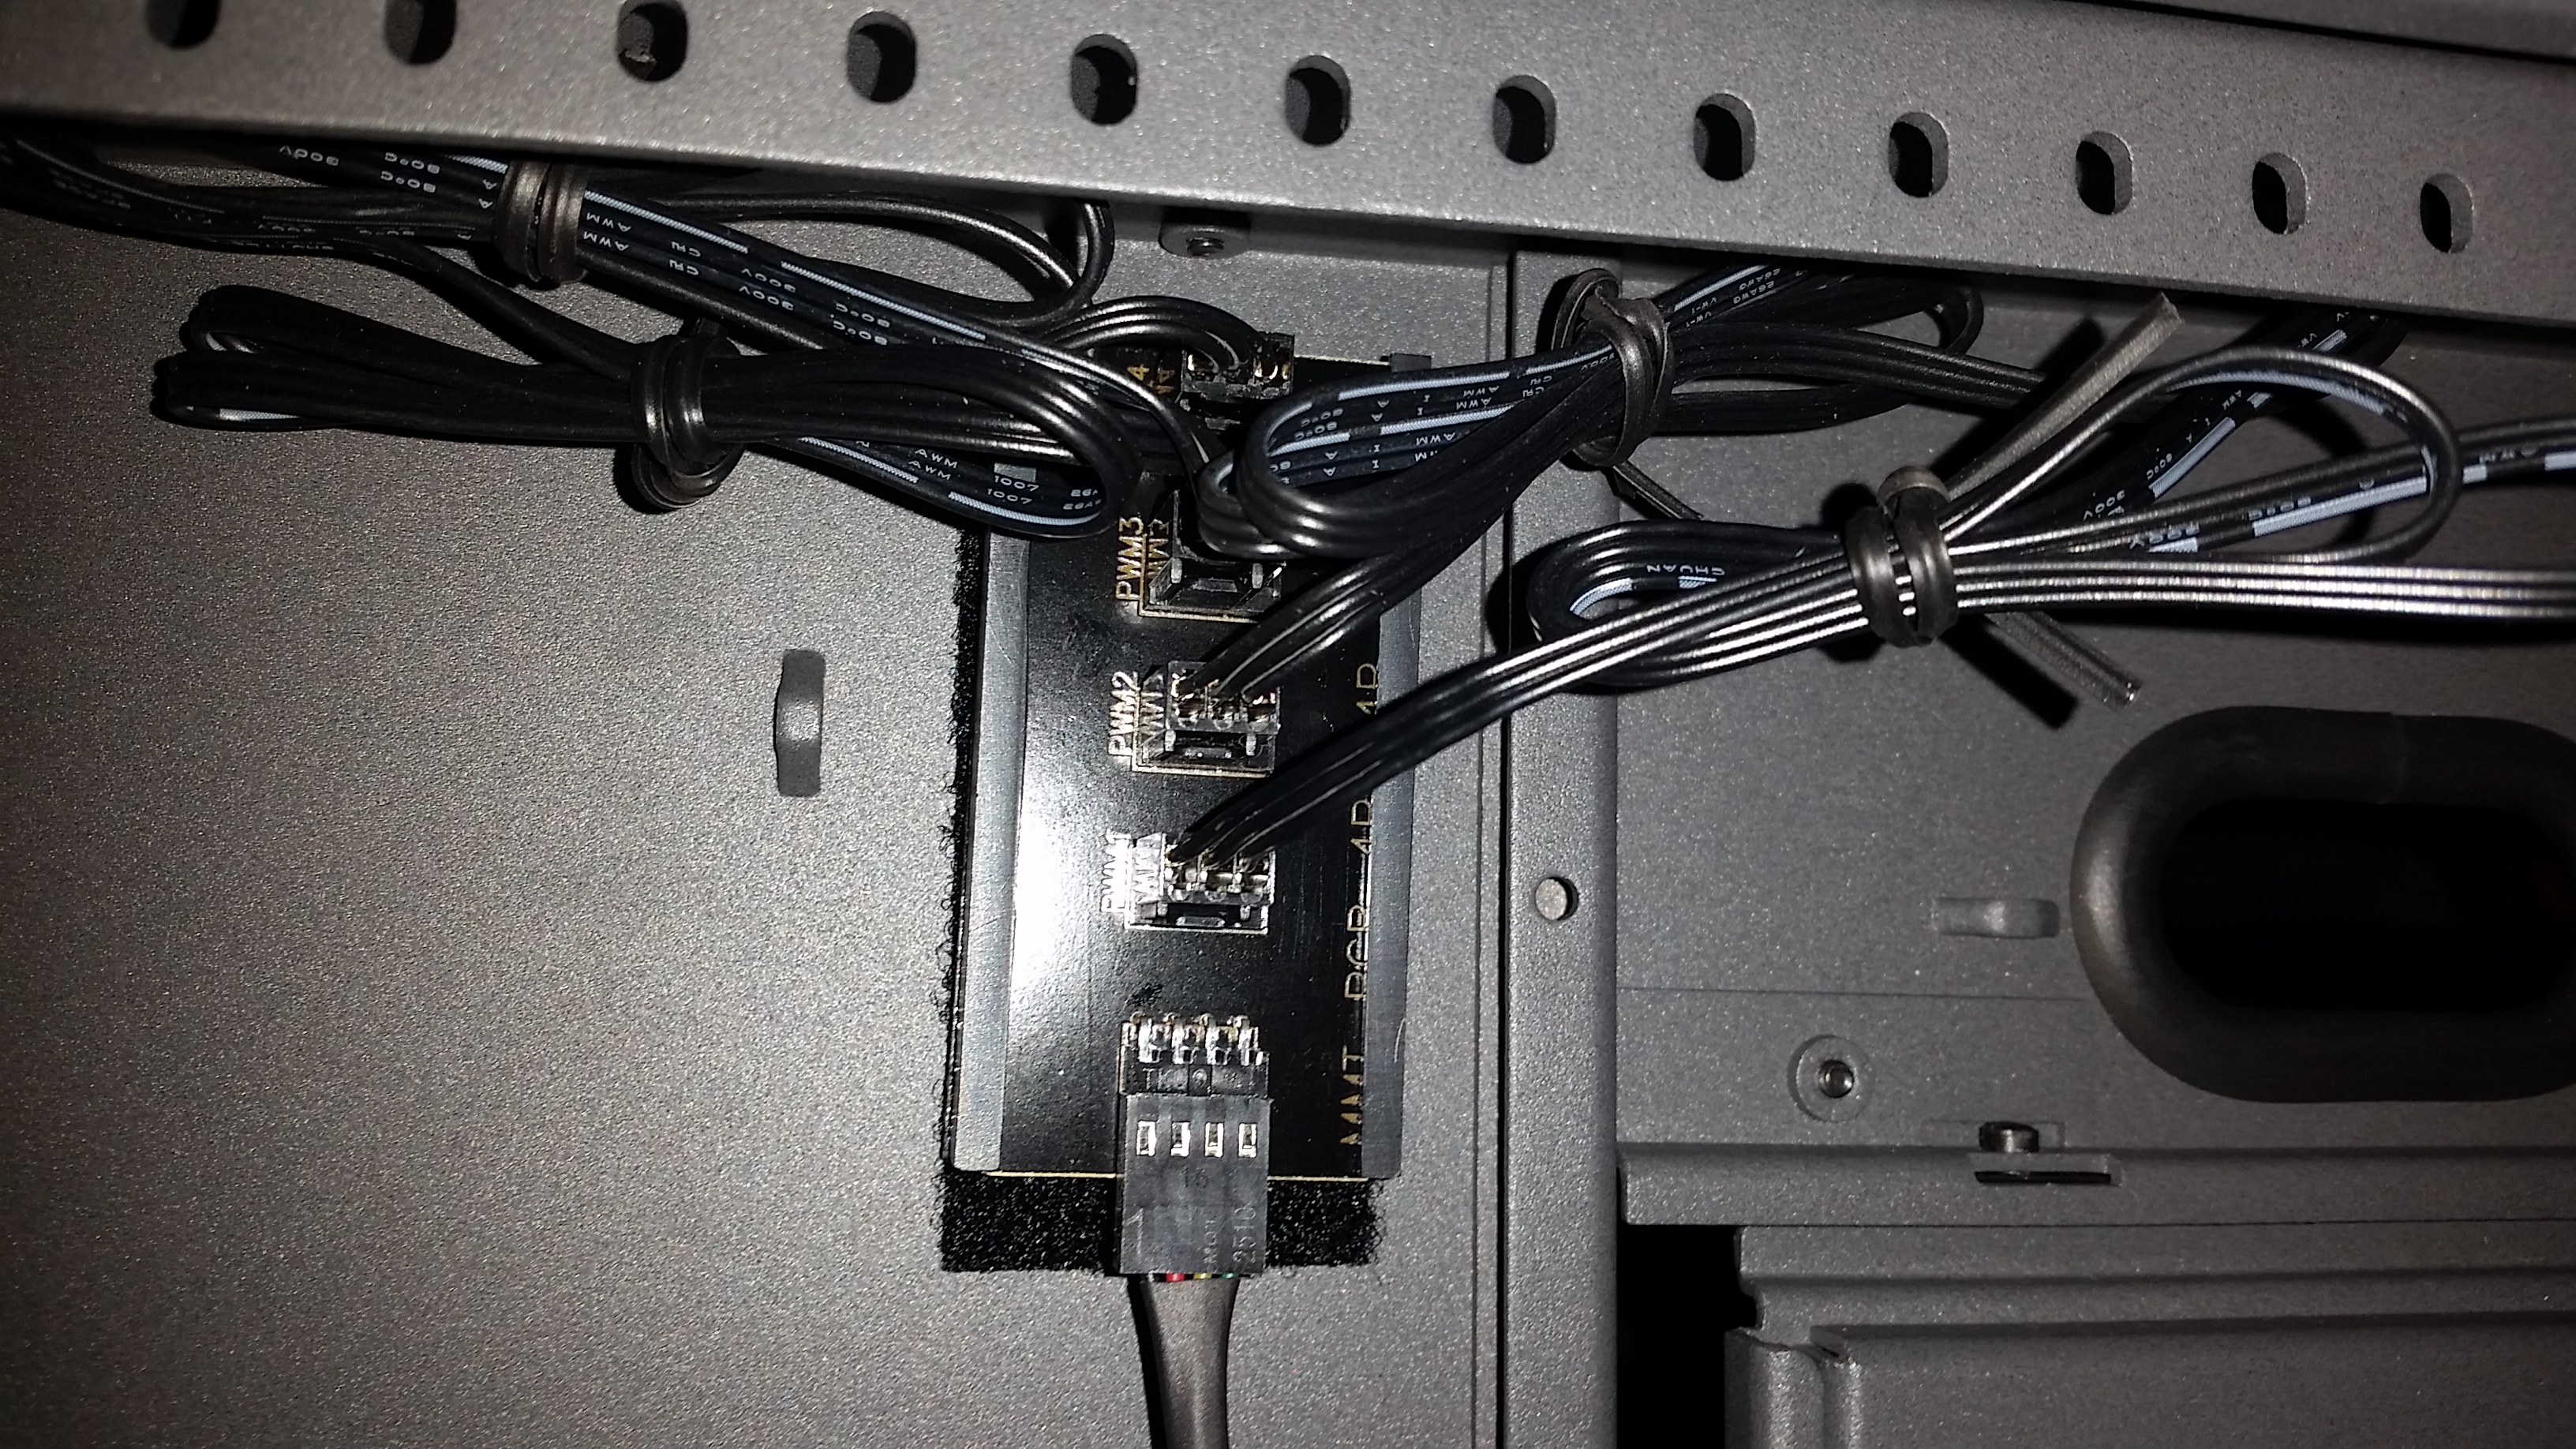
Thanks to my obsession with case fans I had to buy some fan power distribution PCBs. I found these compact power distribution PCBs that allow me to group the front fans, the top fans, and the radiator fans.
I was able to route most of the cables behind the back panel of the case, however because the case is so large the two Front Base cables are too short. I looked for an extension cable, but I couldn’t find one. I think I’m going to have to create my own cables to route the cables though the back panel.


Mo Powa Baby!!
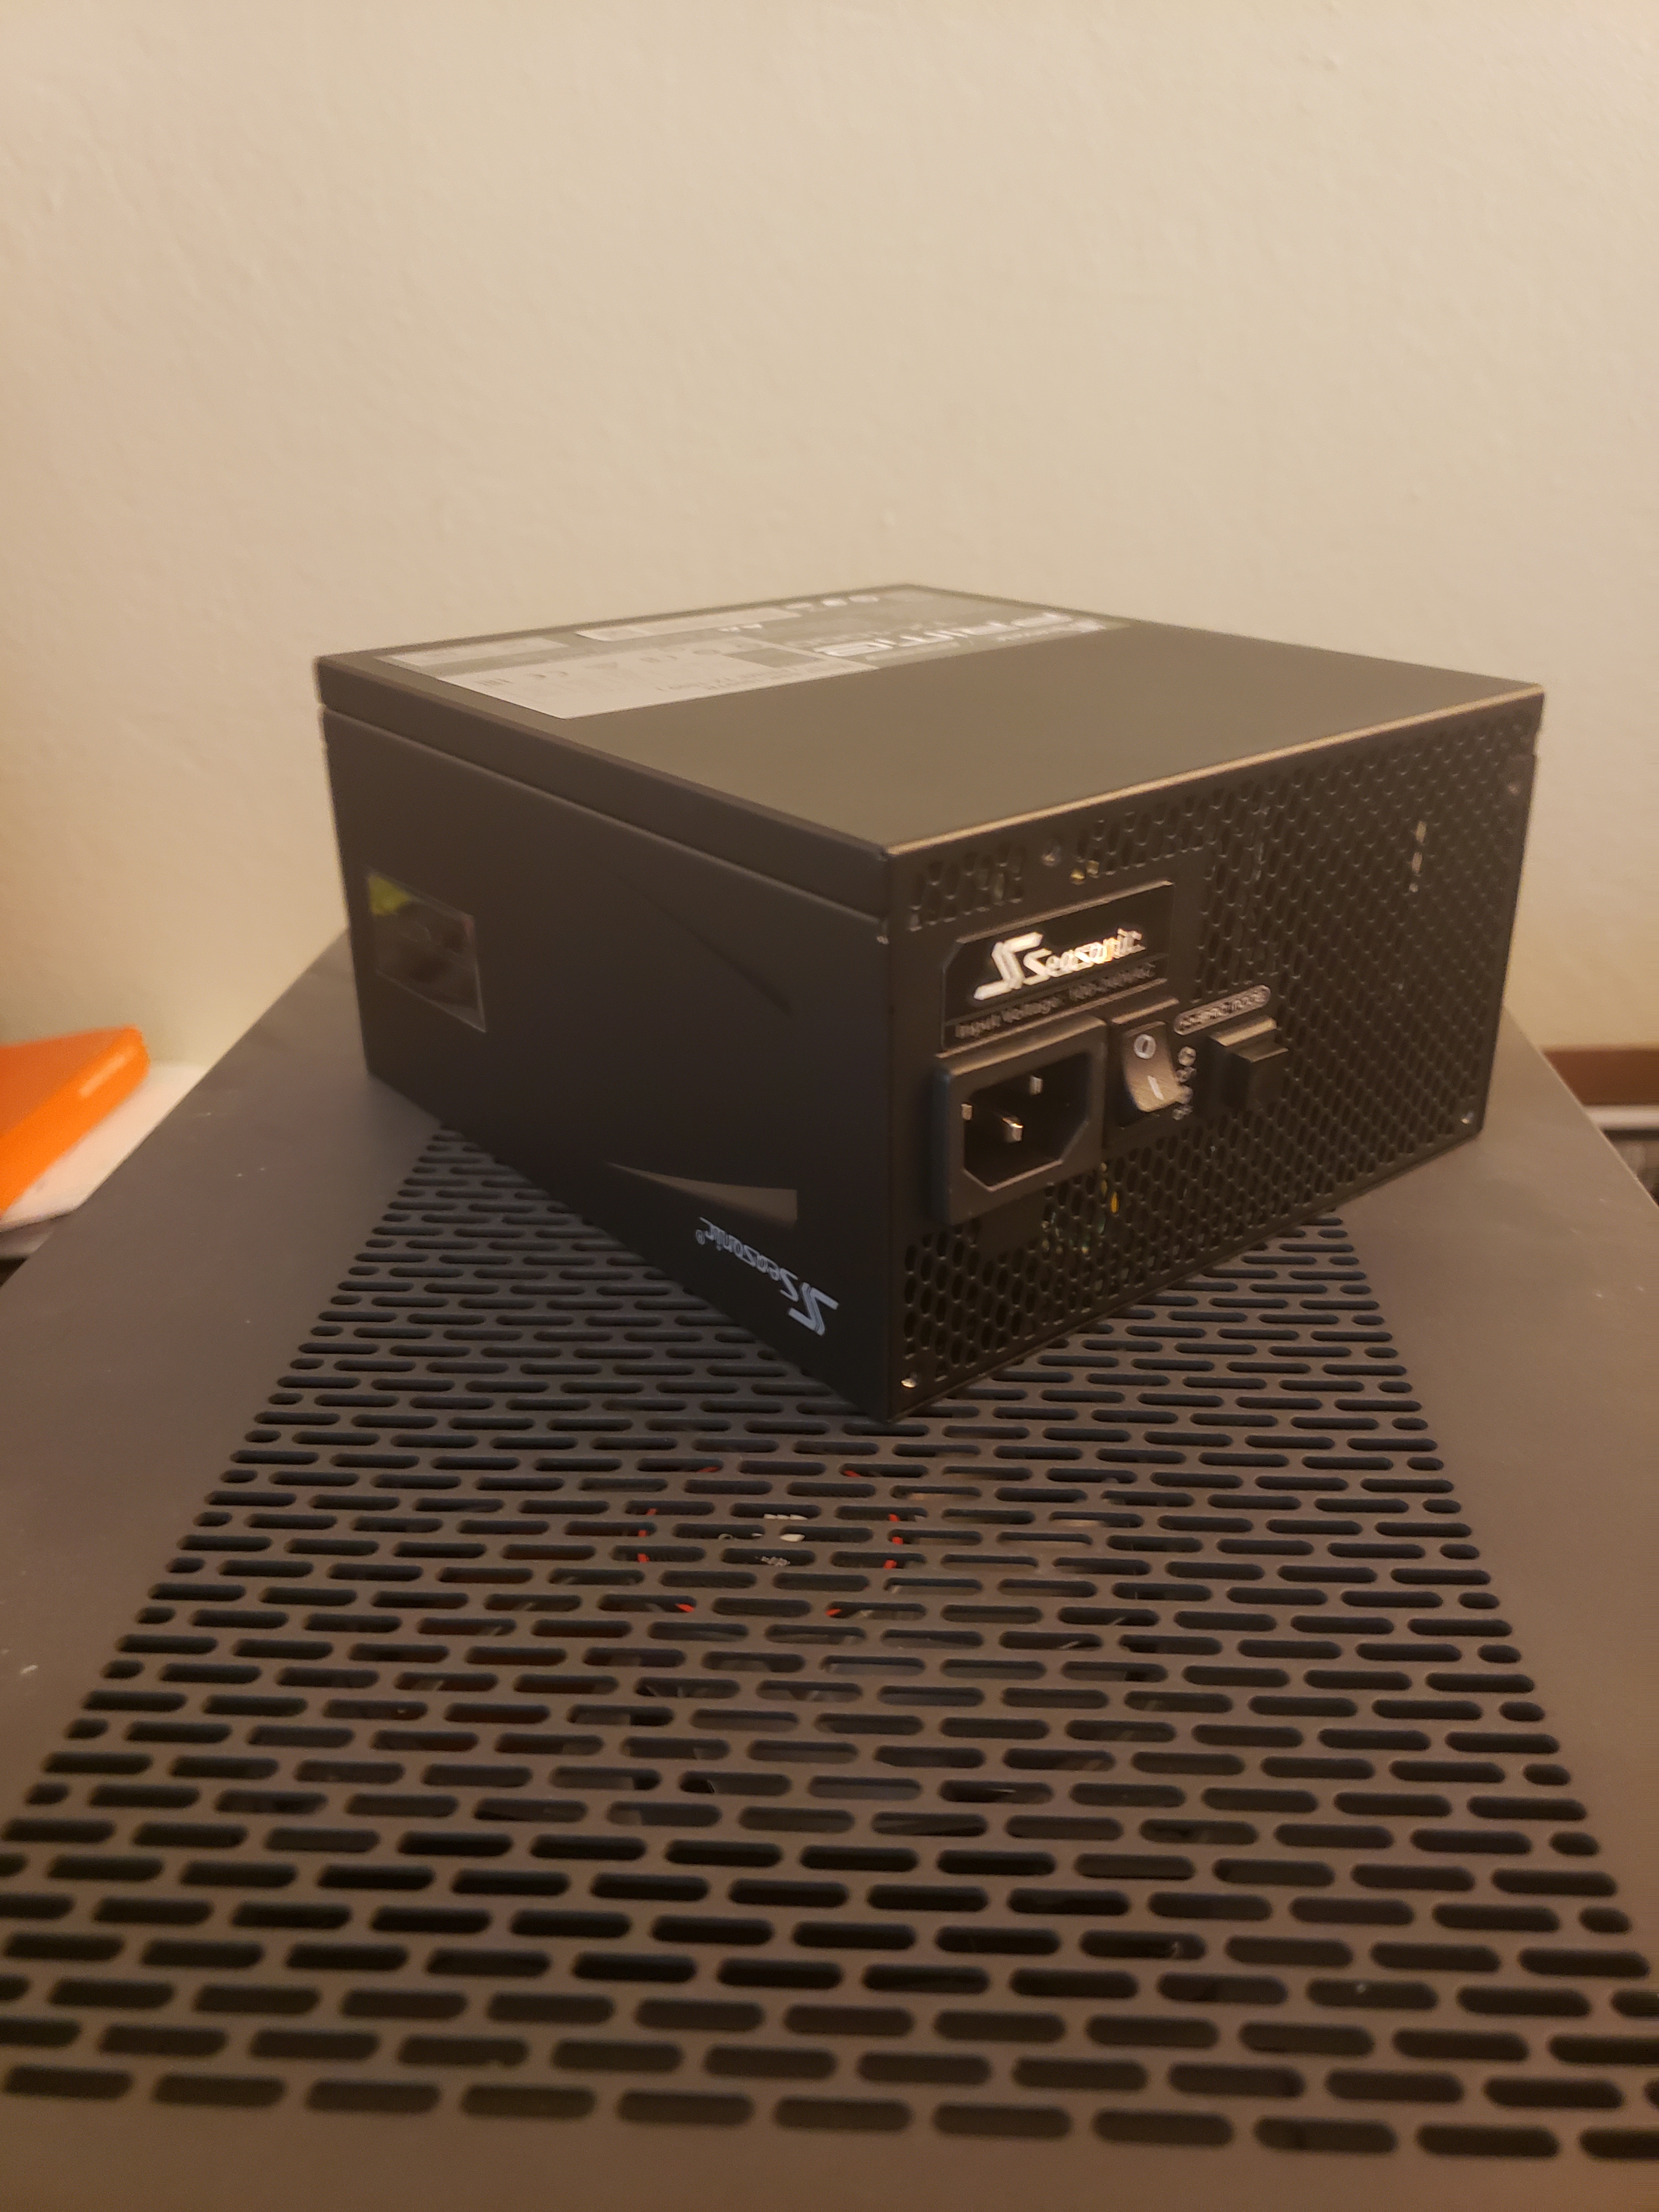
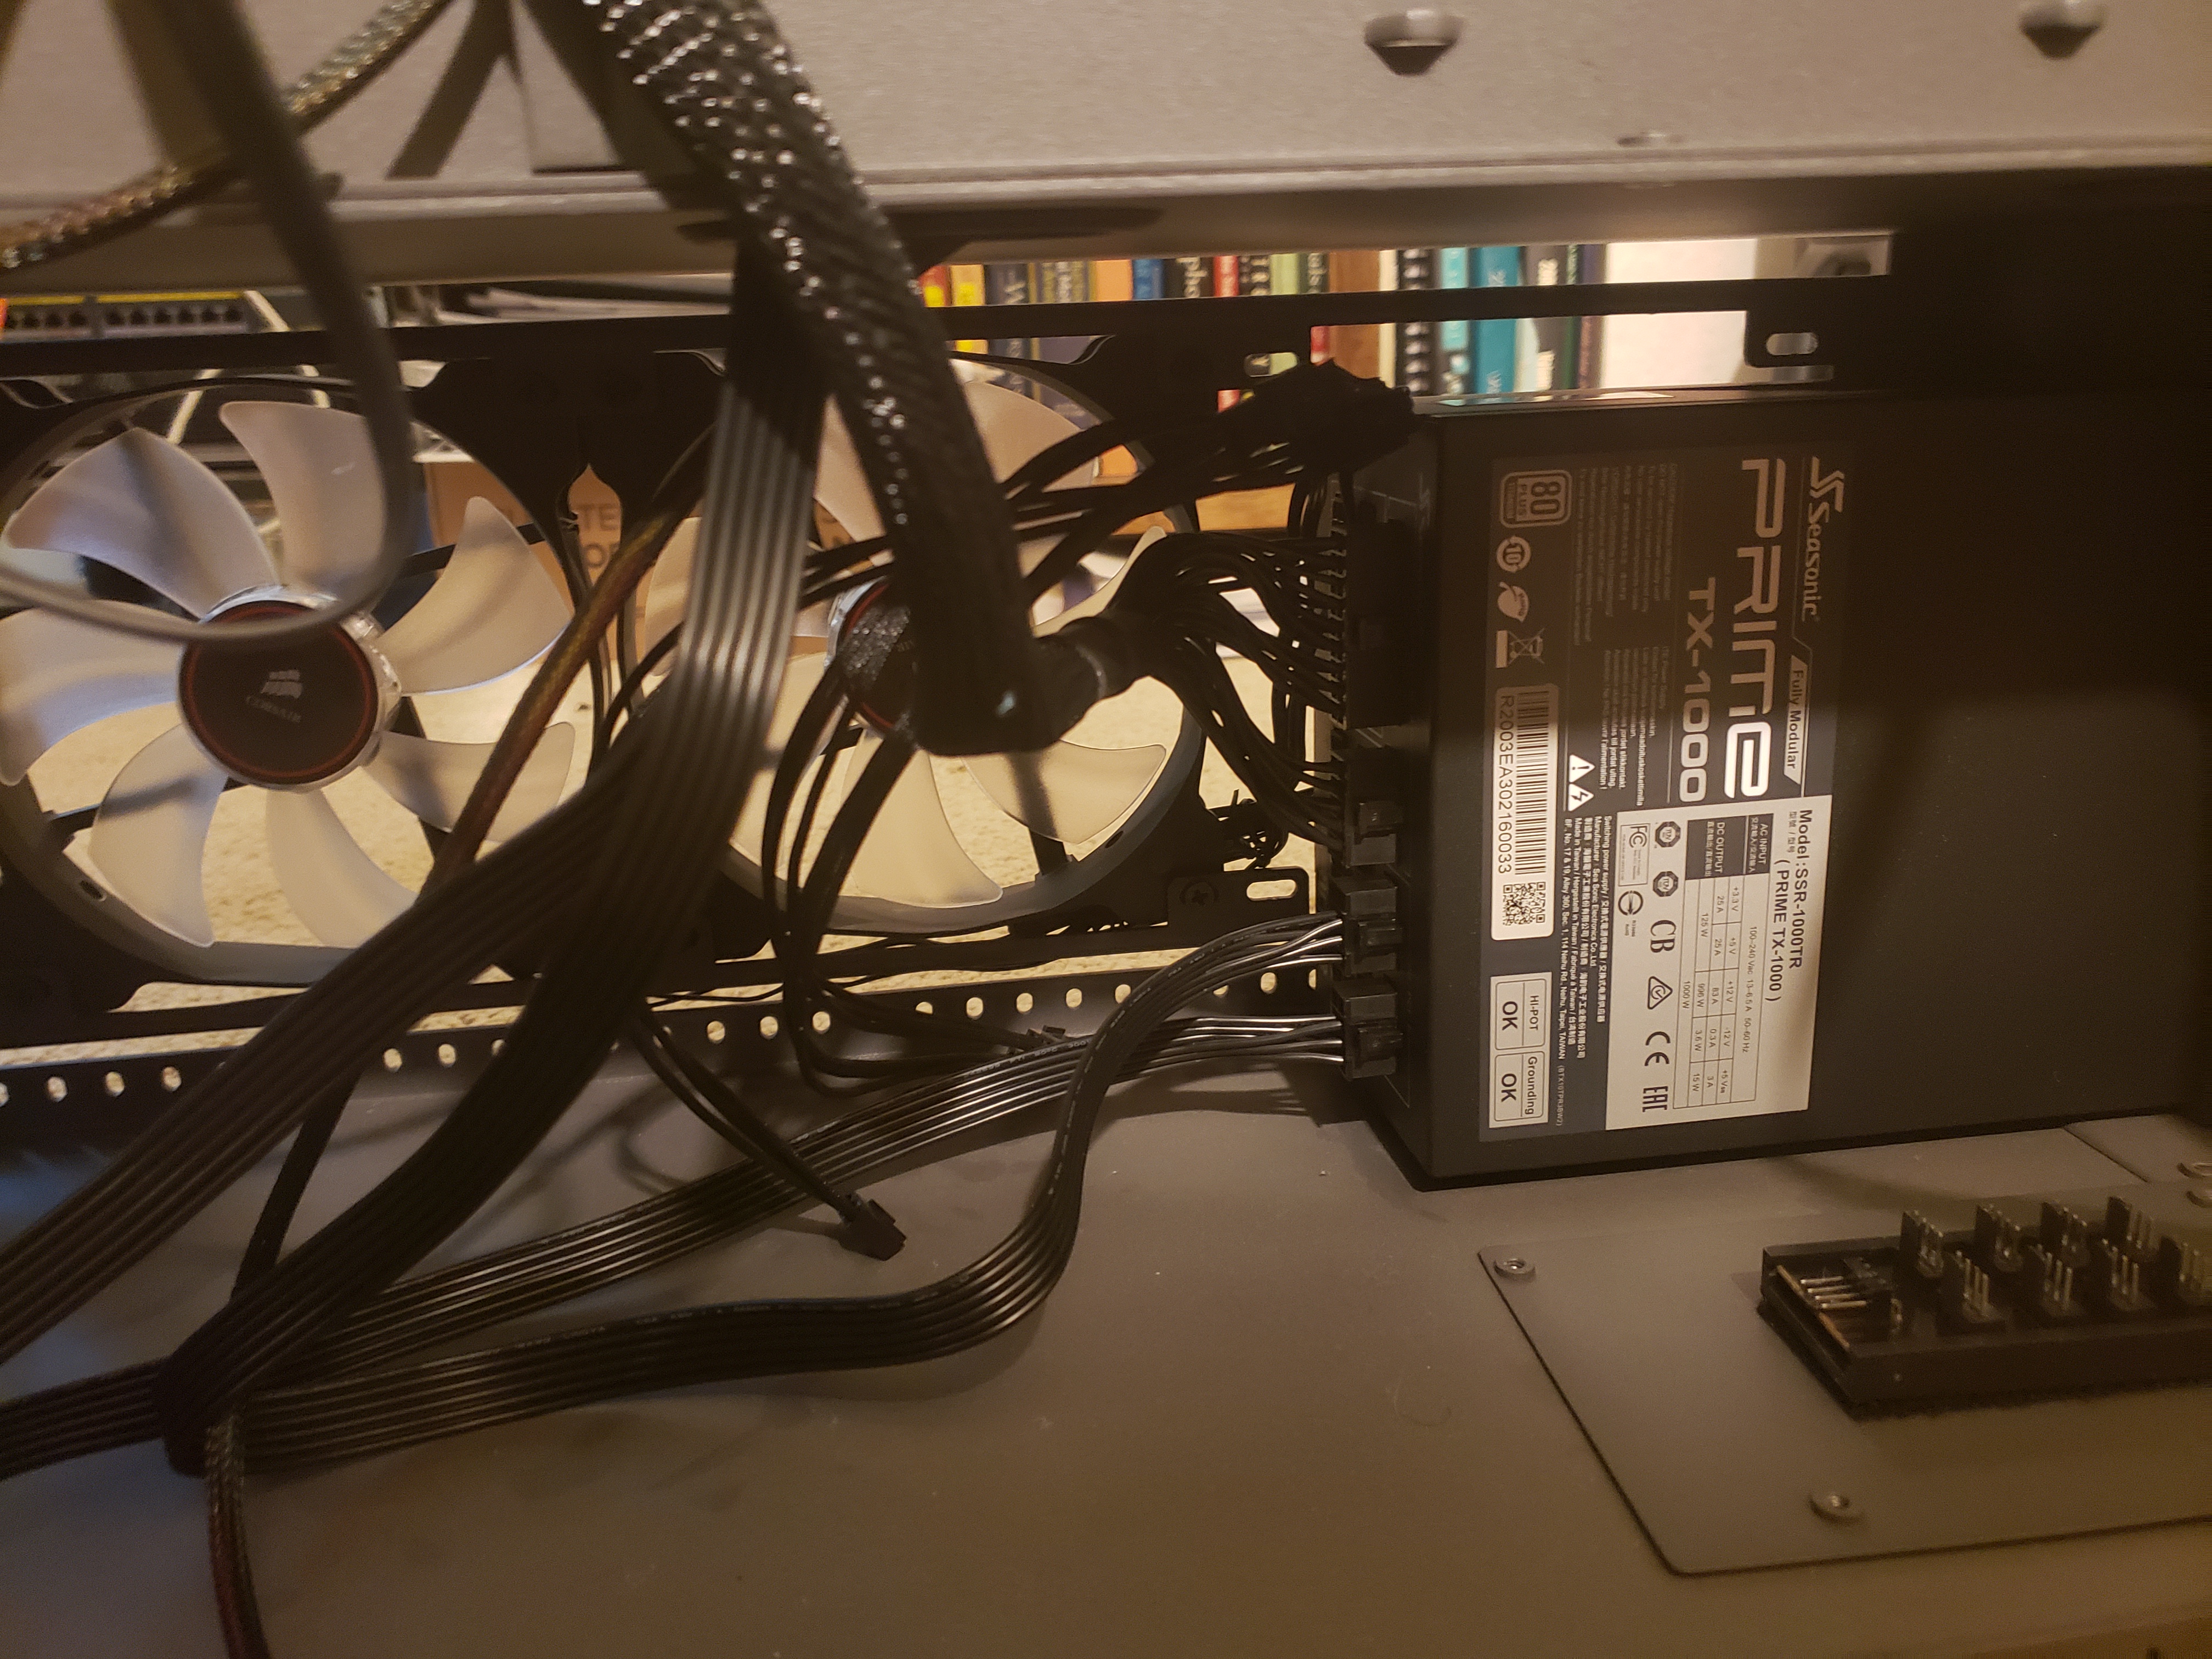
It only took 5 years but I finally got around to buying a power supply. I bought the Seasonic Prime TX-1000 to power everything. I have to say that i am impressed with the quality. I like power supplies that have modular cables to keep the PSU clean.
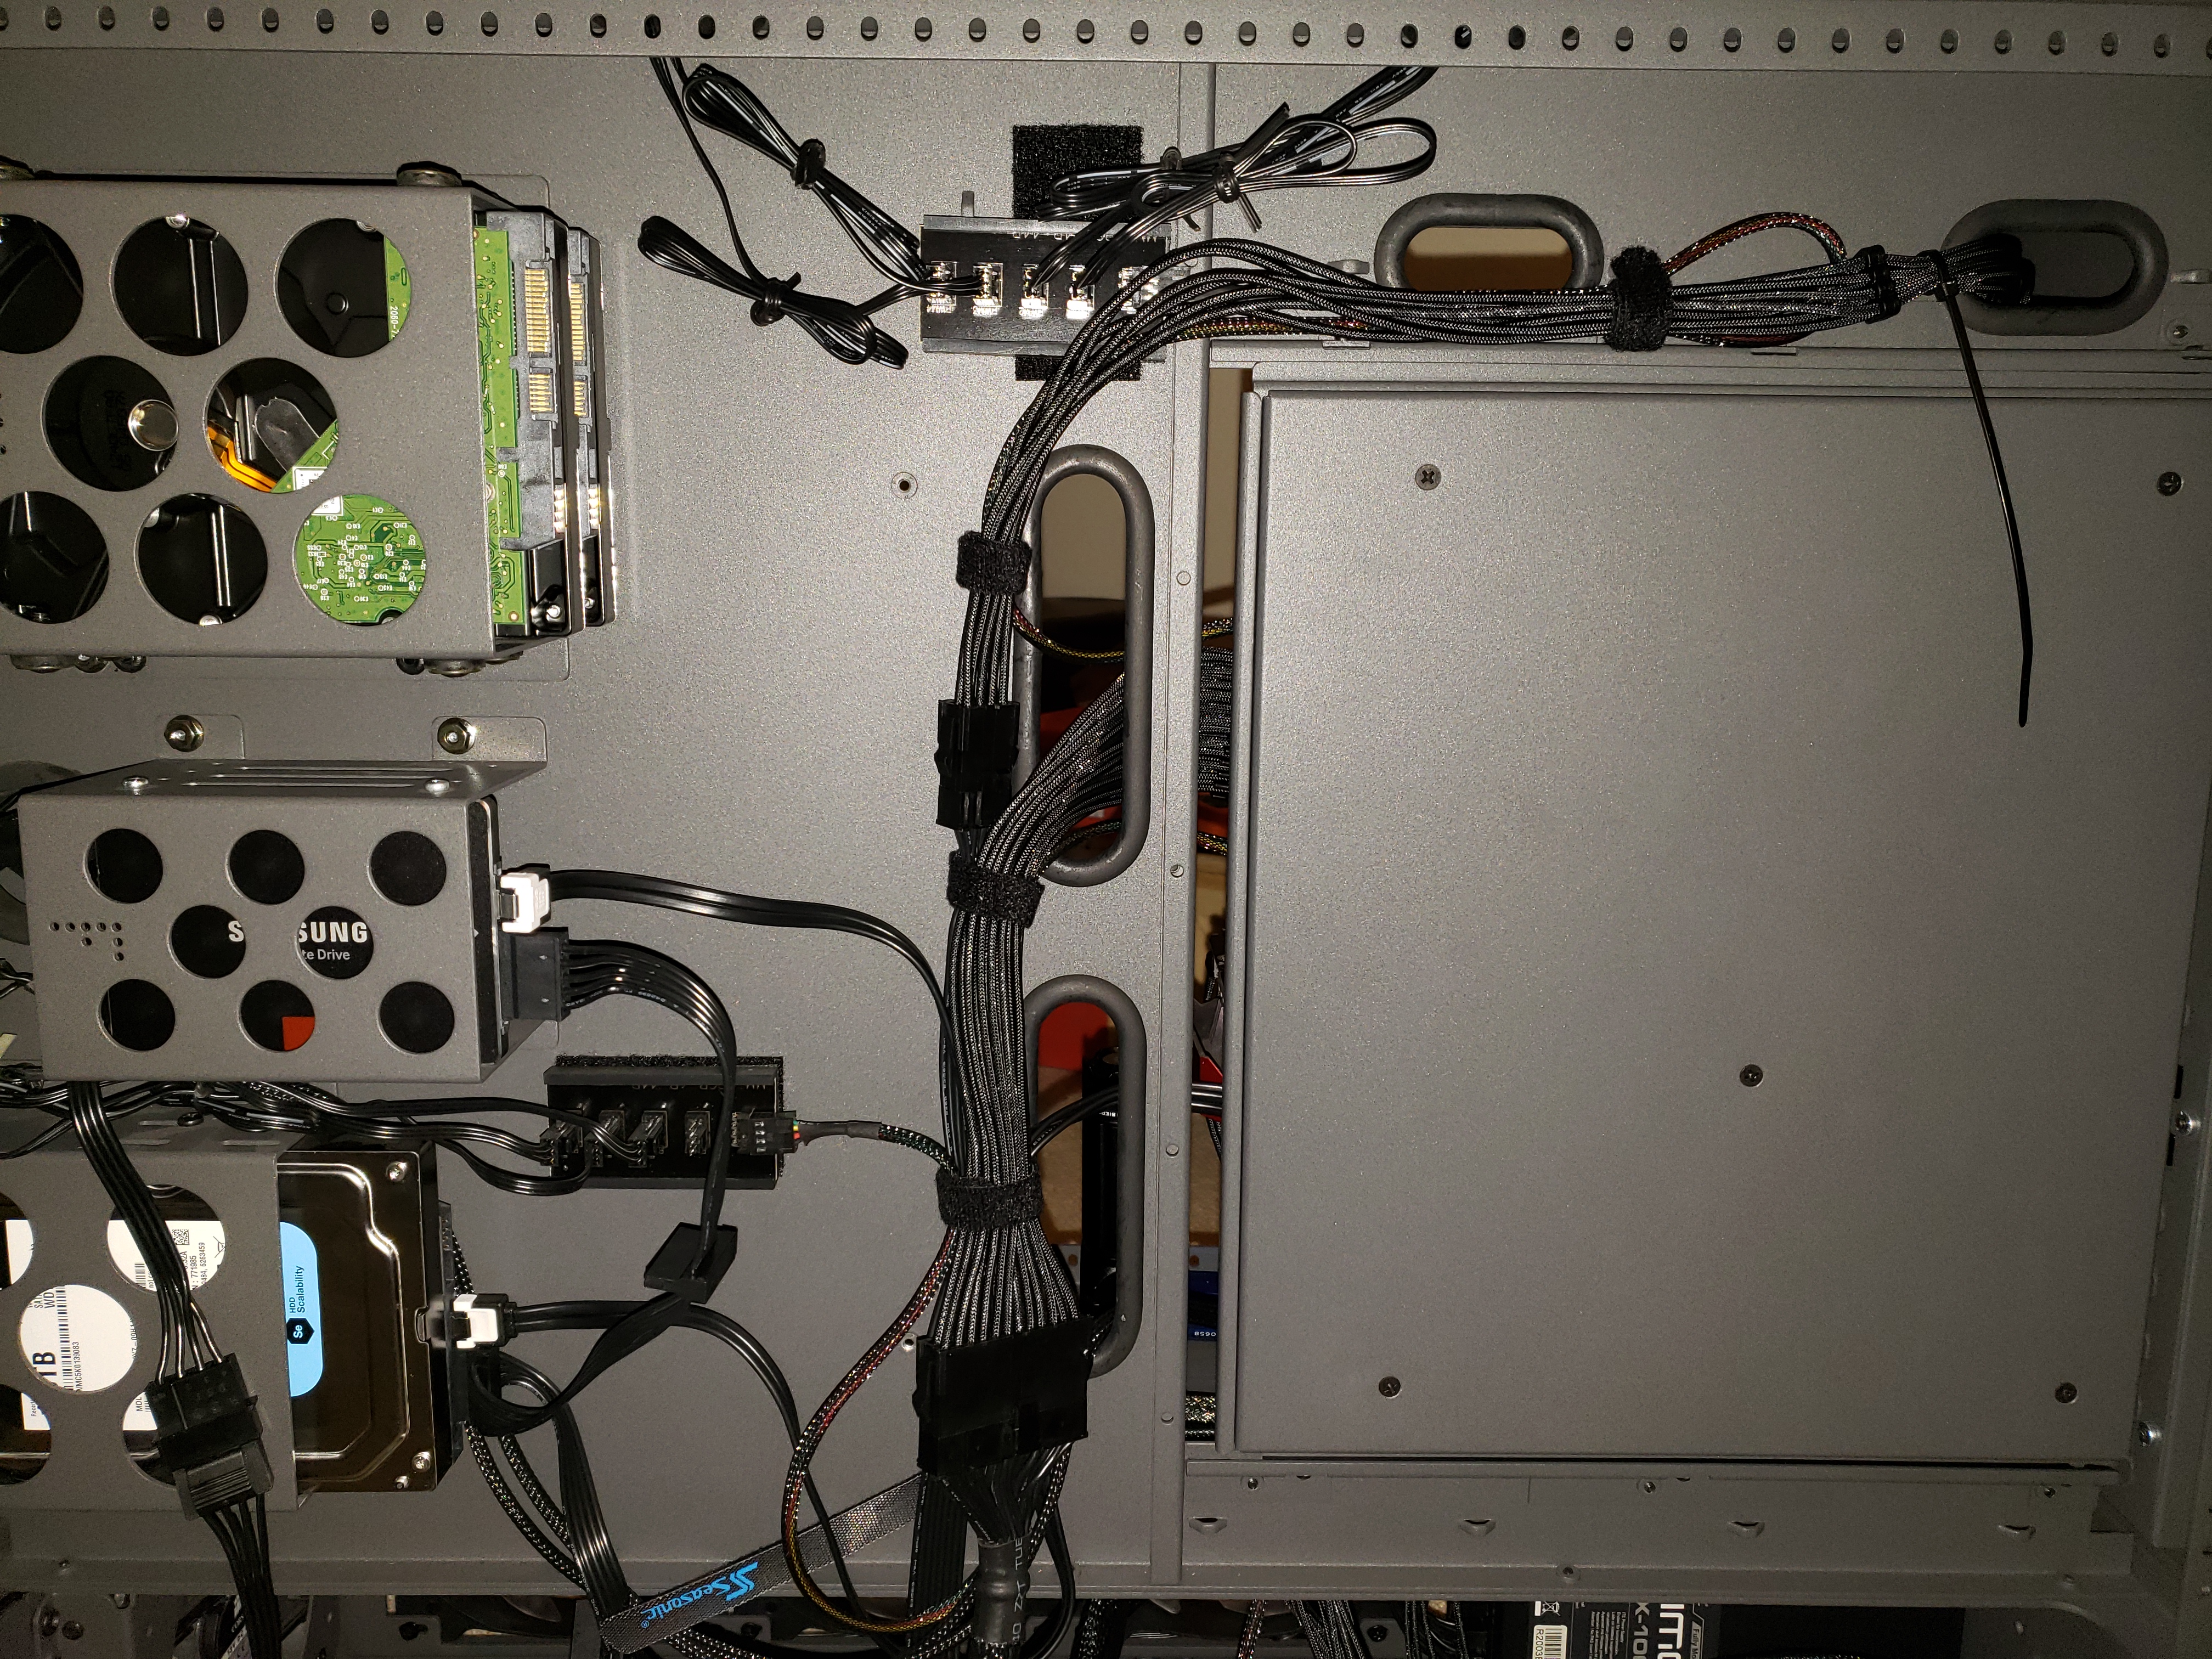
As you might have expected I had to get cable extensions for almost every cable due to the size of my case. I didn’t plan for this, so an emergency trip to Fry’s Electronics was in order. I’m glad I went because I was able to get way better looking cables.
Don’t freak out about how messy the cables look. After I got a successful POST I went back and dressed all of my cables.
I wasn’t able to plug in some of the accessories, two HDD’s and the optical drive aren’t powered for now. I plan on ordering better power cables when I add the water cooling components. For now I just need to power the necessary components to run Windows 10.
Additionally I swapped my water cooling block for the air cooler that came with my CPU. This is temporary while I amass the other water cooling parts. I don’t plan on overclocking the CPU until the system is running on water. At the very least I want to breath life into this build, so for now this PC will be cooled by air.


Shes Alive!!
I’m not going to lie, sitting on this gear for 5 years without ever powering it on made this not only an exciting moment, but one I was dreading. What if the motherboard is bad? What if I’m plagued with memory errors? What if I flip the switch and nothing happens? Needless to say I found myself trying to find any excuse not to turn the computer on for the first time. But that would make for the most anti-climatic project ever!
From the pictures you can see that eventually I did hit the switch on the power supply, and when I did the LEDs on the motherboard lit up, the Front Base panel turned on, and a red START button sat there glowing, ready for me to press it. Once pressed the whole system erupted, bathed in the warm glow of red and blue lights.
The beauty of a ROG motherboard is the amount of indicator LEDs and displays on the board that help in troubleshooting at errors. Using the boards manual and the display in the upper right corner I was able to follow along with the machine and see where it may be hung up. This came in handy as the motherboard didn’t recognize the graphics card at first, and I wasn’t getting anything displaying out of the onboard HDMI port.
A quick search of the OPT code and a tip from my buddy Ben, and I realized I needed to remove the graphics card to get a clean POST. Once I did that I was able to get into BIOS and set the boot to load Windows 10 off a USB flash drive. Once Windows 10 was installed on the SSD I was able to reinstall the graphics card and boot into Windows.


Finishing Up
The last thing to do was to dress the cables and make everything look nice and neat. The only complaint I have with my CaseLabs case is the lack of cable management. My case only has tie downs for Velcro straps along the parameter of the ATX tray. You need to get creative for cables going to the drive bays, or towards the front of the case. Additionally there aren’t any tie downs in the lower area at all, so securing all of the power cables going to the power supply is quite difficult.
Having overcome these challenges, I am quite proud of how the build has turned out thus far. At this time I’ve moved the tower back into its corner, and have been playing a few games on Steam without any issues.


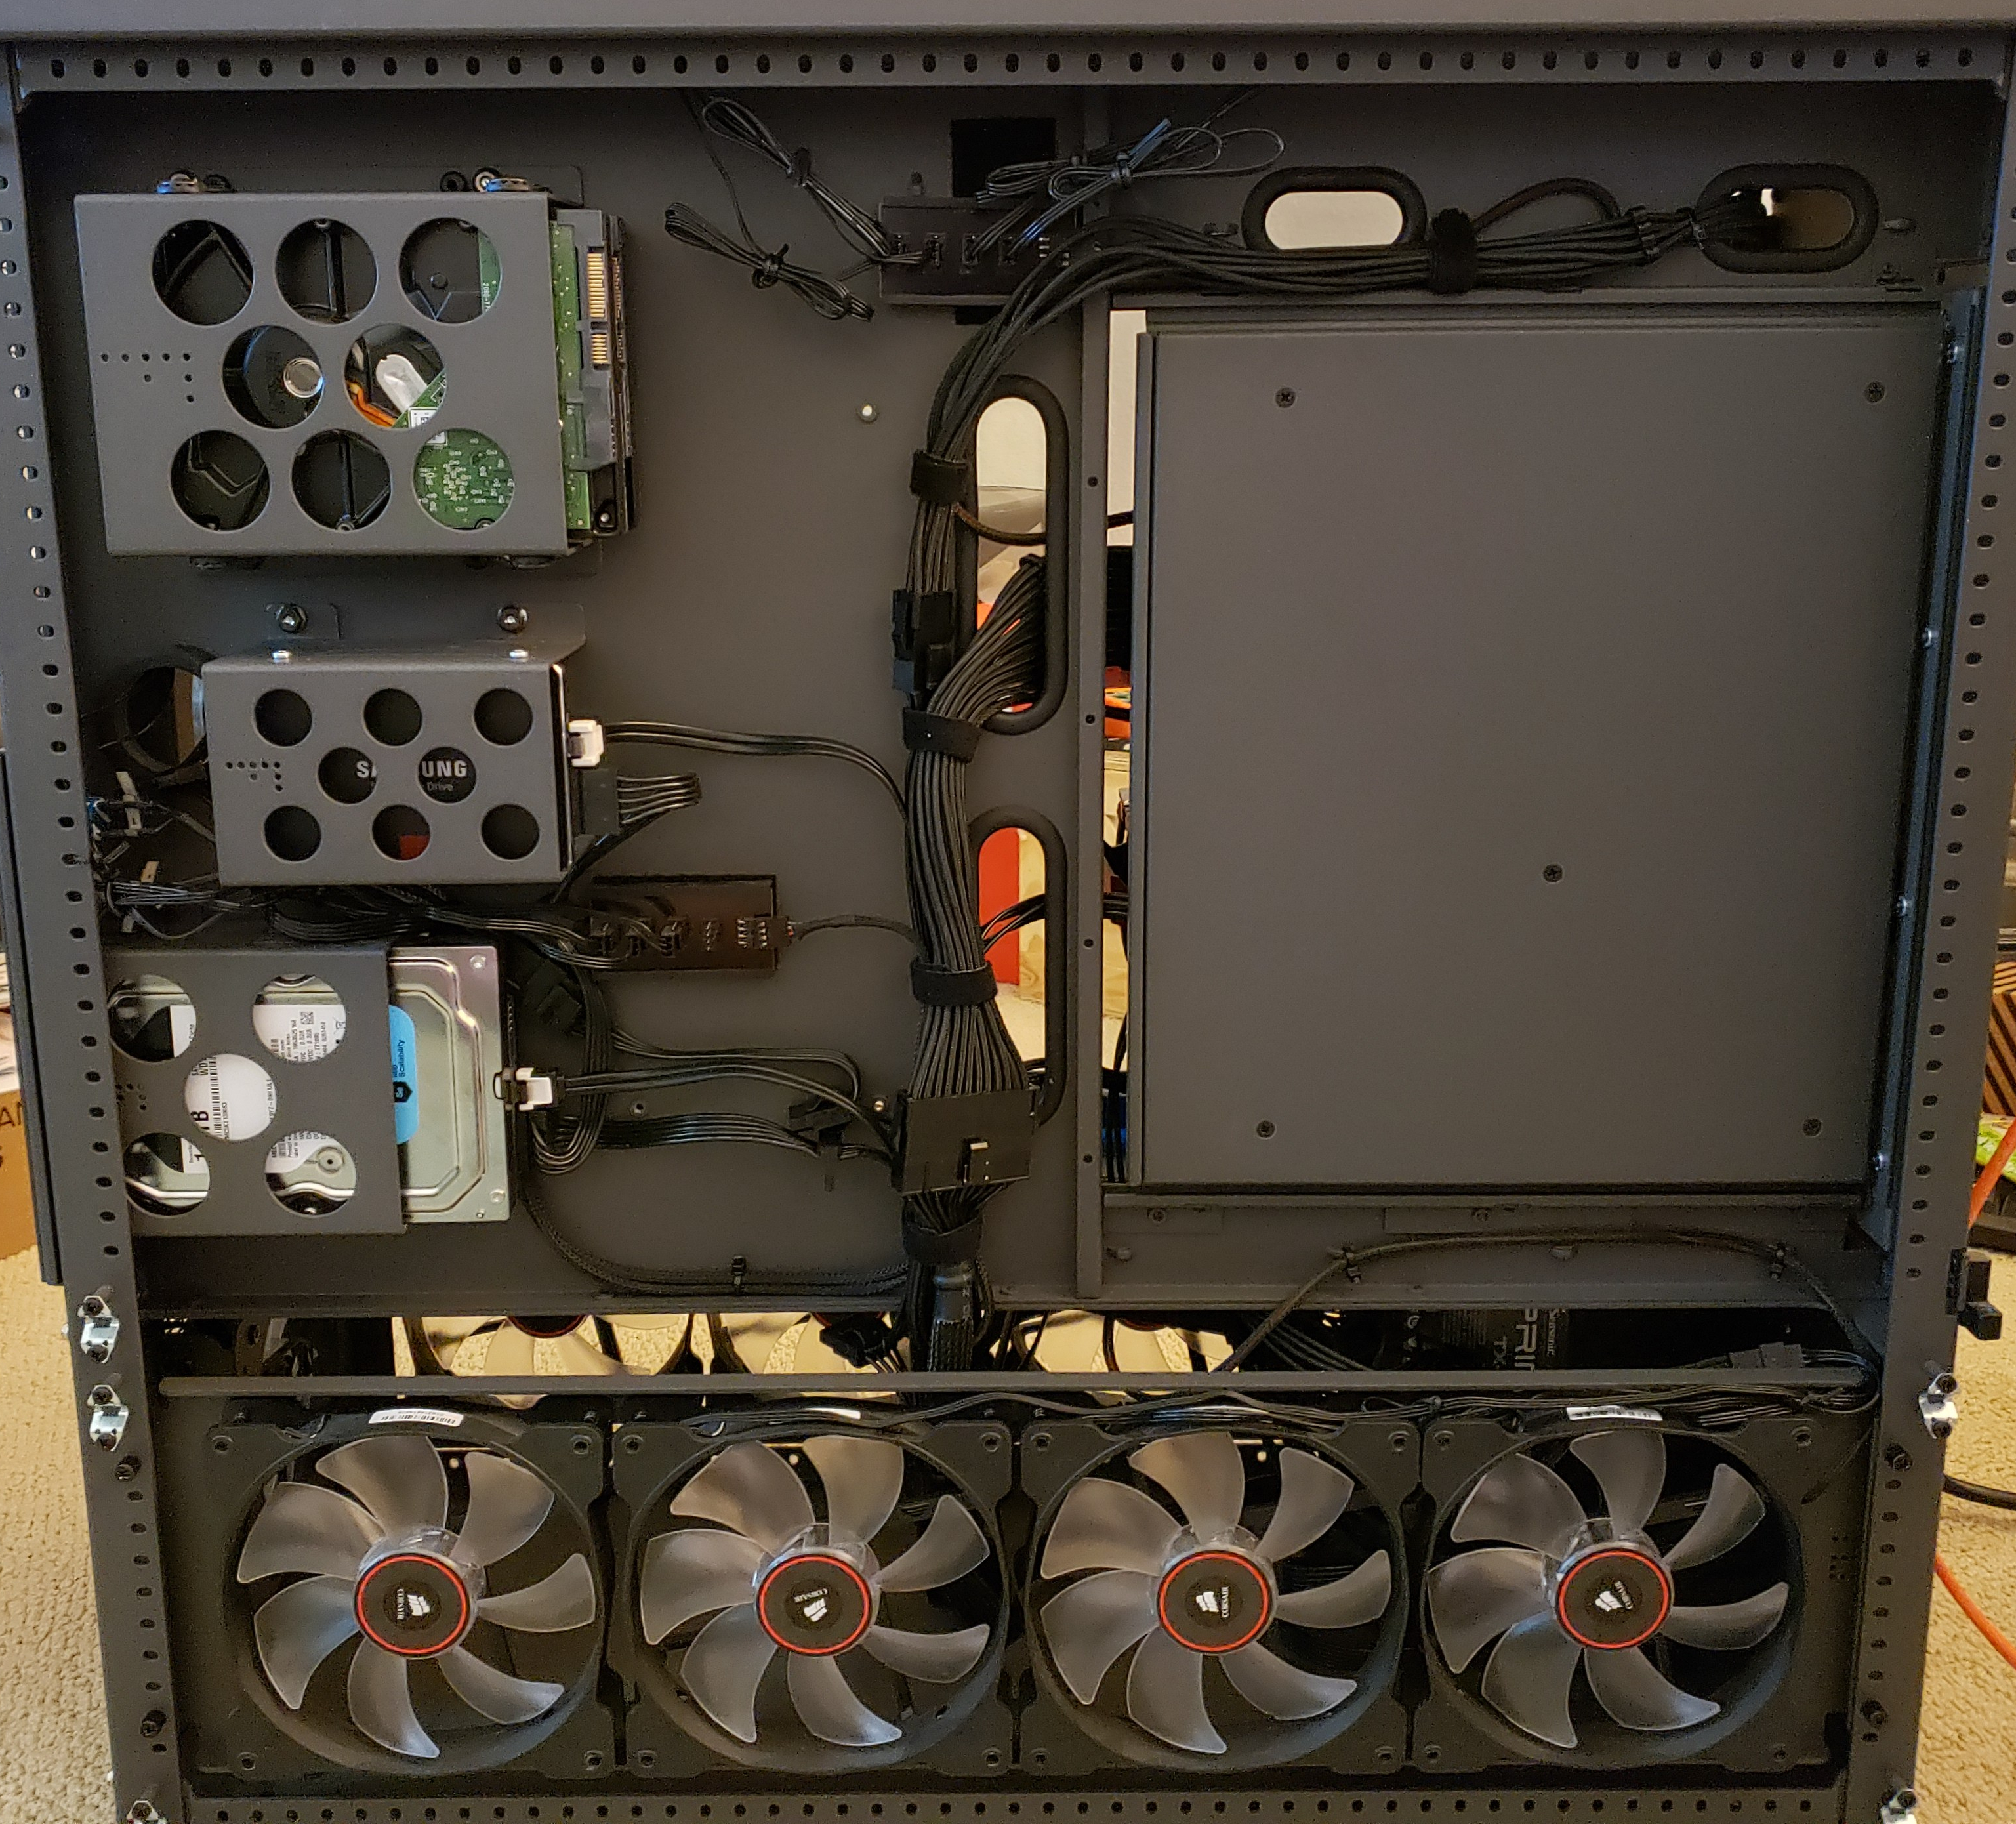


This build is far from over; as I’ve alluded in this post, I plan on installing a custom water cooled loop. Currently my PC looks odd inside because there is a lot of dead space in the front of the case. This is where I plan on putting the reservoir and pump, with the radiators placed below where the 140mm fans are.
My graphics card is setup to be cooled with either air or water, so the plan is to loop the CPU and graphic card into the water cooled system. Once I do this I will keep you updated on this page.
Parts List
| Component | Make and Model | Cost |
|---|---|---|
| Motherboard | Asus ROG Maximus VII Hero | $ |
| CPU | Intel I7-4790 | $ |
| RAM | 32GB Corsair Dominator Platinum DDR3 | $ |
| Graphics Card | Asus ROG Poseidon GTX 780 | $ |
| SSD | Samsung 850 Pro | $ |
| HDD | 3x Western Digital Enterprise-Grade 1TB HDD | $ |
| Power Supply | Seasonic Prime TX-1000 | $ |
| Case | CaseLabs SMA-8 Gun Metal | $ |
| Case Fans | 8x Corsair SP140 Red LED Fans 8x Corsair AF120 Red LED Fans | $ |
| Case Accessories | 2x ModMyToys 4-Pin PWM Power Distribution PCB – 4-Way Block 1x ModMyToys 4-Pin PWM Power Distribution PCB – 8-Way Block | $ |
| Overclock Controller | Asus ROG Front Base | $ |
| Optical Drive | Pioneer BDR-2209 | $ |
| Water Cooling Reservoir | $ | |
| Water Cooling Radiator | $ | |
| Water Cooling Pump | $ | |
| Water Cooling CPU Block | EK Supremacy EVO | $ |
| Water Cooling Tubing | $ | |
| Total $ |
